A Kalle Shirtdress and a sense of proportion

 I feel pretty confident in my ability to get a garment to fit- I have been working on that for years and getting a good fit is really one of the big reasons we sew.  But, what do you do when the style trend is oversized?  I am constantly drawn to oversized and chic easy looking styles – particularly this year when I seem to seek comfort wherever I can find it. Despite the attraction, once I put a finished oversized project on, I feel a bit overwhelmed, and I often find myself scaling down an oversized pattern to become more of a fitted pattern.  I used to think I couldn’t do oversized because I was short- but I have learned that is not the reason.  There are plenty of petite women who rock the oversize trend and at 5”4” I am technically not considered petite.  Truth be told- I tower over all of the other women on our block.  Seriously I feel like a giant in my neighborhood- it’s weird.  Proportion isn’t just about height.  There are other considerations such as long legs or long body etc.  The trick is to get the proportion mix right.

FullSizeRender (5).jpg

I was sold on an oversized and easy look for this Kaufman mammoth flannel purchased from Lakes Makerie.  This fabric is soft, thick and heavy and oozes comfort. One thing about plaid flannel is you have to consciously avoid potential pitfalls.  Potential pitfall number one: avoid looking like a lumber jack- even though it is an iconic look here in Minnesota.  Pitfall number two: try not to look like I’m wearing the spouse’s flannel shirt.  That look is chic on young cool girls but often young chic fashion looks simply won’t work for me.  Finally, I didn’t want to look like I am ready for bed- even if that is more often true than not.  That said, I wouldn’t mind feeling like I am heading to bed, just not looking like that’s the case.

FullSizeRender (4).jpg

I decided to make the Kalle Shirtdress by Closet Core Patterns with long sleeves.  This is a slightly oversized style with dropped shoulders and lots of ease through the body. I have my all-time favorite tried and true shirt dress pattern blogged about here and here, but this pattern is closer to the roomy, comfy look I was going for.  I cut a straight size 4 which is the size that matches my bust measurement. I did not grade out for waist and hips as I would need to do for a tailored style. There is plenty of fullness in this pattern, and I actually reduced some of the back fullness with a narrower back pleat.

This plaid is balanced which makes pattern matching so easy- but I still am pretty proud of my placket.  It took more than a little thinking. I kept the placket simple without buttons- not because I am lazy- but to keep it clean and unfussy.

IMG_4401.jpg

You will notice bracelet length sleeves, which I admit up front are a big measurement mistake.  However, I usually roll up my shirt sleeves because even when I am at my desk- there is a lot of hand-washing in a day and I hate soggy cuffs.  So these bracelet sleeves might actually be a genius design feature.  And for some reason, I like the proportion.  So maybe I got the proportions right?

FullSizeRender (1).jpg

Tiger Toile Fabric Crush

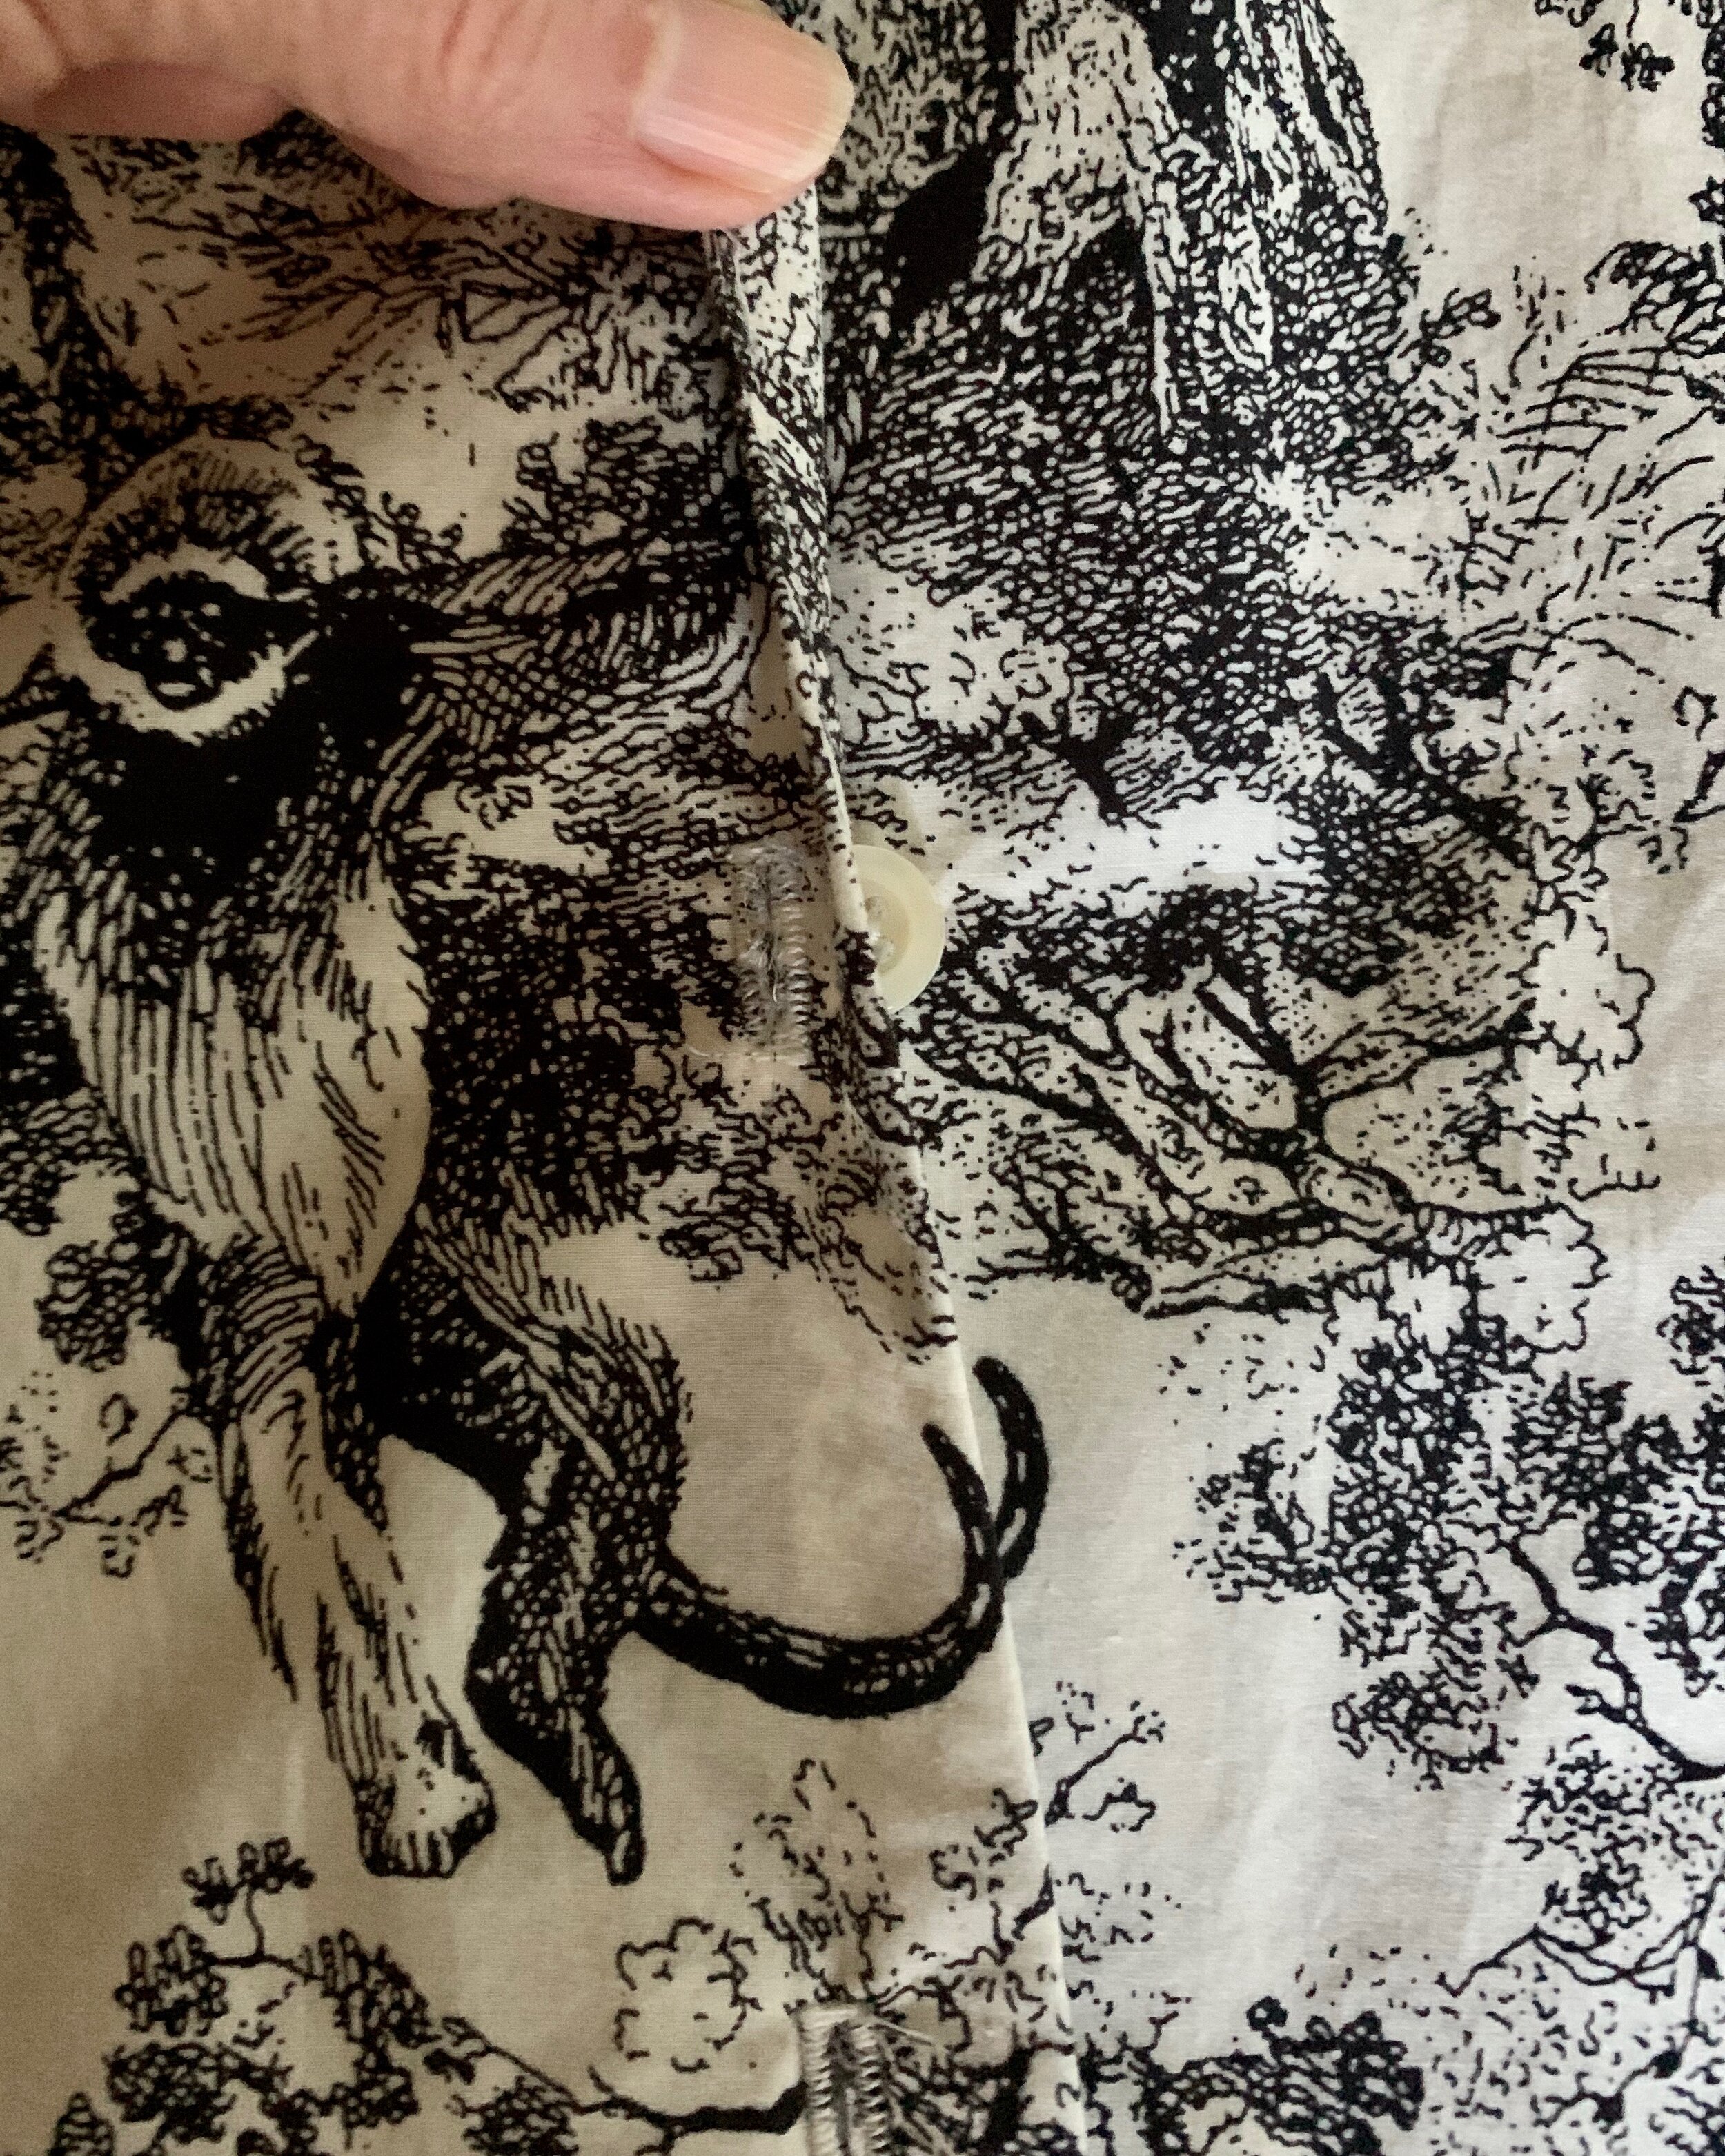
When it comes to fabric love, I tend to fall hard and fast for prints- even though my head tells me solids are more versatile.  I am thoughtful about solid color fabric purchases and- typically - thoughtfully making a purchase for a specific purpose. But when it comes to prints- the heart takes over and I simply purchase because I love it without a clear idea of what the fabric will ultimately become. That was the case with this jungle toile cotton lawn from Stone Mountain Fabric, sadly- no longer available.

IMG_1177 (1).jpg
IMG_1357.jpg

Even though I fell head over heels for this fabric, I wasn’t ready to commit to a pattern for months. This fabric is a prefect shirting weight- it has a little crispness but it is still lightweight, so I was leaning to making a shirt dress- I know -predictable.  As I was deliberating over styles ad nauseam, I did some poking around online- which is my preferred mode of procrastination.  To my surprise and delight, I stumbled across a designer item that looks pretty much identical to my adored fabric here  - yes- that is Dior!!! I feel pretty self-satisfied and rather smug about my print purchase. In addition, this internet intelligence also sealed the idea to make a shirt dress.

IMG_1159.jpg
IMG_1333 (1).jpg

With special fabric, it is much less stressful to use a tried and true pattern, so I went with my favorite and perfect fitting shirt dress pattern – Simplicity 8014.  There are plenty of skirt and sleeve options- I chose a straight cut for comfort.  The only modifications I made were to add a cuff to the short sleeves and put a pleat in the back instead of gathers. Happily, I think the style works with and without a belt.

IMG_1166.jpg

 I spent what feels like the better part of the day fiddling with pattern placement.  I had to be careful with where the tiger rear ends landed on the body of the dress.  This is very rare precaution for me- being a somewhat hasty sewer at times- but I cut each front piece separately to allow for pattern matching.  I actually don’t know how to systematically pattern match when the design is such a large repeat- I should do some research.  I was very trial and error about it- but look at the final match.

IMG_1546.jpg

 I typically finish my shirts with French seams, but for this model I went with mock flat felled seams following the Colette instructions here.

IMG_1550.jpg
IMG_1245.jpg

 I understand a shirt dress may be a rather staid and safe choice, but this print is so fabulous, I think this style lets the fabric do the roaring.

IMG_1102.jpg


A scrappy shift dress

With all of this stay at home time, I find myself poking around in less traveled corners of the house just looking for a diversion.  On one of my weekend adventures nosing around up in the attic, I stumbled upon a narrow swath of fabric leftover from a shower curtain I made for Adam for his first apartment at University of Wisconsin Madison- more than 10 years ago.  The fabric is from Ikea. I really like the print (nordic cool) and even though the fabric is a sturdy home decorating weight, I started noodling around on a dress idea because – unchecked- that’s where my mind goes when fabric is involved. Shower curtain to dress!

IMG_0766.jpg

The fabric remnant was 15 inches wide and over 70 inches long. I knew I would have to pattern block- I am not narrow enough anywhere for 15 inches in width- and the pattern must run up and down.  With those constraints, the dress options were narrowed.  I didn’t want to do anything with much piecing because the fabric is stiff.  However, I must note, I am very drawn to patchwork trend right now and am eager to do a serious patchwork project but that’s another day and not with this scrap. 

For this simple pattern blocking project, it was easy to land on a solid black to balance the dramatic print. I just needed to match the weight of the Ikea fabric so I looked for a canvas or twill weight fabric. This black twill was hands down the best option. I used the wrong side of the fabric for a smoother finish.

IMG_0780.jpg


In order to keep the fabric (and pattern) largely intact, I chose a simple a-line dress. I used my favorite a-line shift pattern -a Cynthia Rowley Simplicity 2584 shift pattern - crossed with some features from Vogue 8945.  My tip for a winning shift dress is the old Goldilocks standard- make sure it’s not too big and not too small. This pattern is a “just right” fit for me so I only had to fiddle with pattern piecing dissection for pattern blocking.

IMG_0748.jpg

I simply cut the front of the dress as wide as the fabric piece allowed and fortunately, that was a well placed asymmetrical line just after the neckline which made measuring and piecing a breeze.  I cut the remaining front from black twill – adding accommodation for ½ inch seams. The back piece was easily cut from the black twill. Two pattern pieces- easy.

IMG_0753.jpg

The other little modification to this shift-is an easy dropped shoulder that I drafted at the armhole without adding fullness to the shift.  I simply drew an extended sleeve for this hack. There is a good discussion (including diagrams and guidance) about the range of dropped shoulder options here

IMG_0723.jpg

The cap sleeve was a good design choice because it was easy to finish the armholes with purchased black bias binding. I also used this binding to finish the neckline. Staying home more than usual during this pandemic has it’s small silver linings. It was a bonus to discover this fabric treasure -and to remember it’s origin story. Best of all, it feels like a “free” new dress.

Upcycling and Refashioning with Vogue 9004

I was cleaning/organizing the cupboards in the basement on Saturday – just living my typical best life weekend edition.  Among our silk screening supplies, there were several old men’s dress men’s (discarded from the spouse) that we wear to protect our clothes when silk screening.  Two of the shirts looked so nice together, I started plotting a refashion sewing project, and my life and outlook immediately improved.

IMG_9364.jpg

 I am more than familiar with taking apart my sewing projects and remaking to get a good result.  But refashioning and upcycling, is a relatively new adventure for me.  With a refashion, the original garment gets a complete transformation into something very different. After spending a moment journeying down the refashion rabbit hole on the internet, I settled on using Vogue 9004, because I owned it, and because it was hot and a sleeveless blouse seemed a perfect idea.

IMG_8862.jpg

First step was to disassemble the shirt.  After I took the sleeves off and separated the front and back from the collar, I played around with placing the pattern pieces.  I hoped to make use of the buttons or button holes for the back instead of using a zipper as called for in the pattern.  Love the fact that everything I need for this project can be found in these two shirts- except for thread and some interfacing.   In the best of all possible worlds, I would have preferred to make use of the button holes- button hole anxiety is real even after all these years.  But fitting front and back pattern pieces left me with the button side- which was better than nothing.  Although, note it was a little tricky when finishing to line up the button holes with the pre-sewn buttons.

IMG_8863.jpg

The pattern actually calls for a zipper in back and you can see the back is a little bit nipped and fitted.  I cut the back straight to make use of the button up closure, so the top is a less fitted- which I prefer. That was the only change I made to the pattern.  I cut the bias strips for finishing the armholes from the sleeves.

IMG_9361.jpg

The only tricky aspect to this project was negotiating the different weights of the shirts.  The white stripe is woven tighter and firmer (nicer) than the blue- I assume this translates to a higher thread count.  I had to fuse in some additional interfacing in the end to get a little extra body on the blue half of this top.

IMG_9357.jpg

I had so much fun with this project and it was such a win to make a fun top out of something destined for the recycling bin. So, I promptly asked the spouse if there were any other dress shirts that he was ready to discard.  Stay tuned.

IMG_8860.jpg


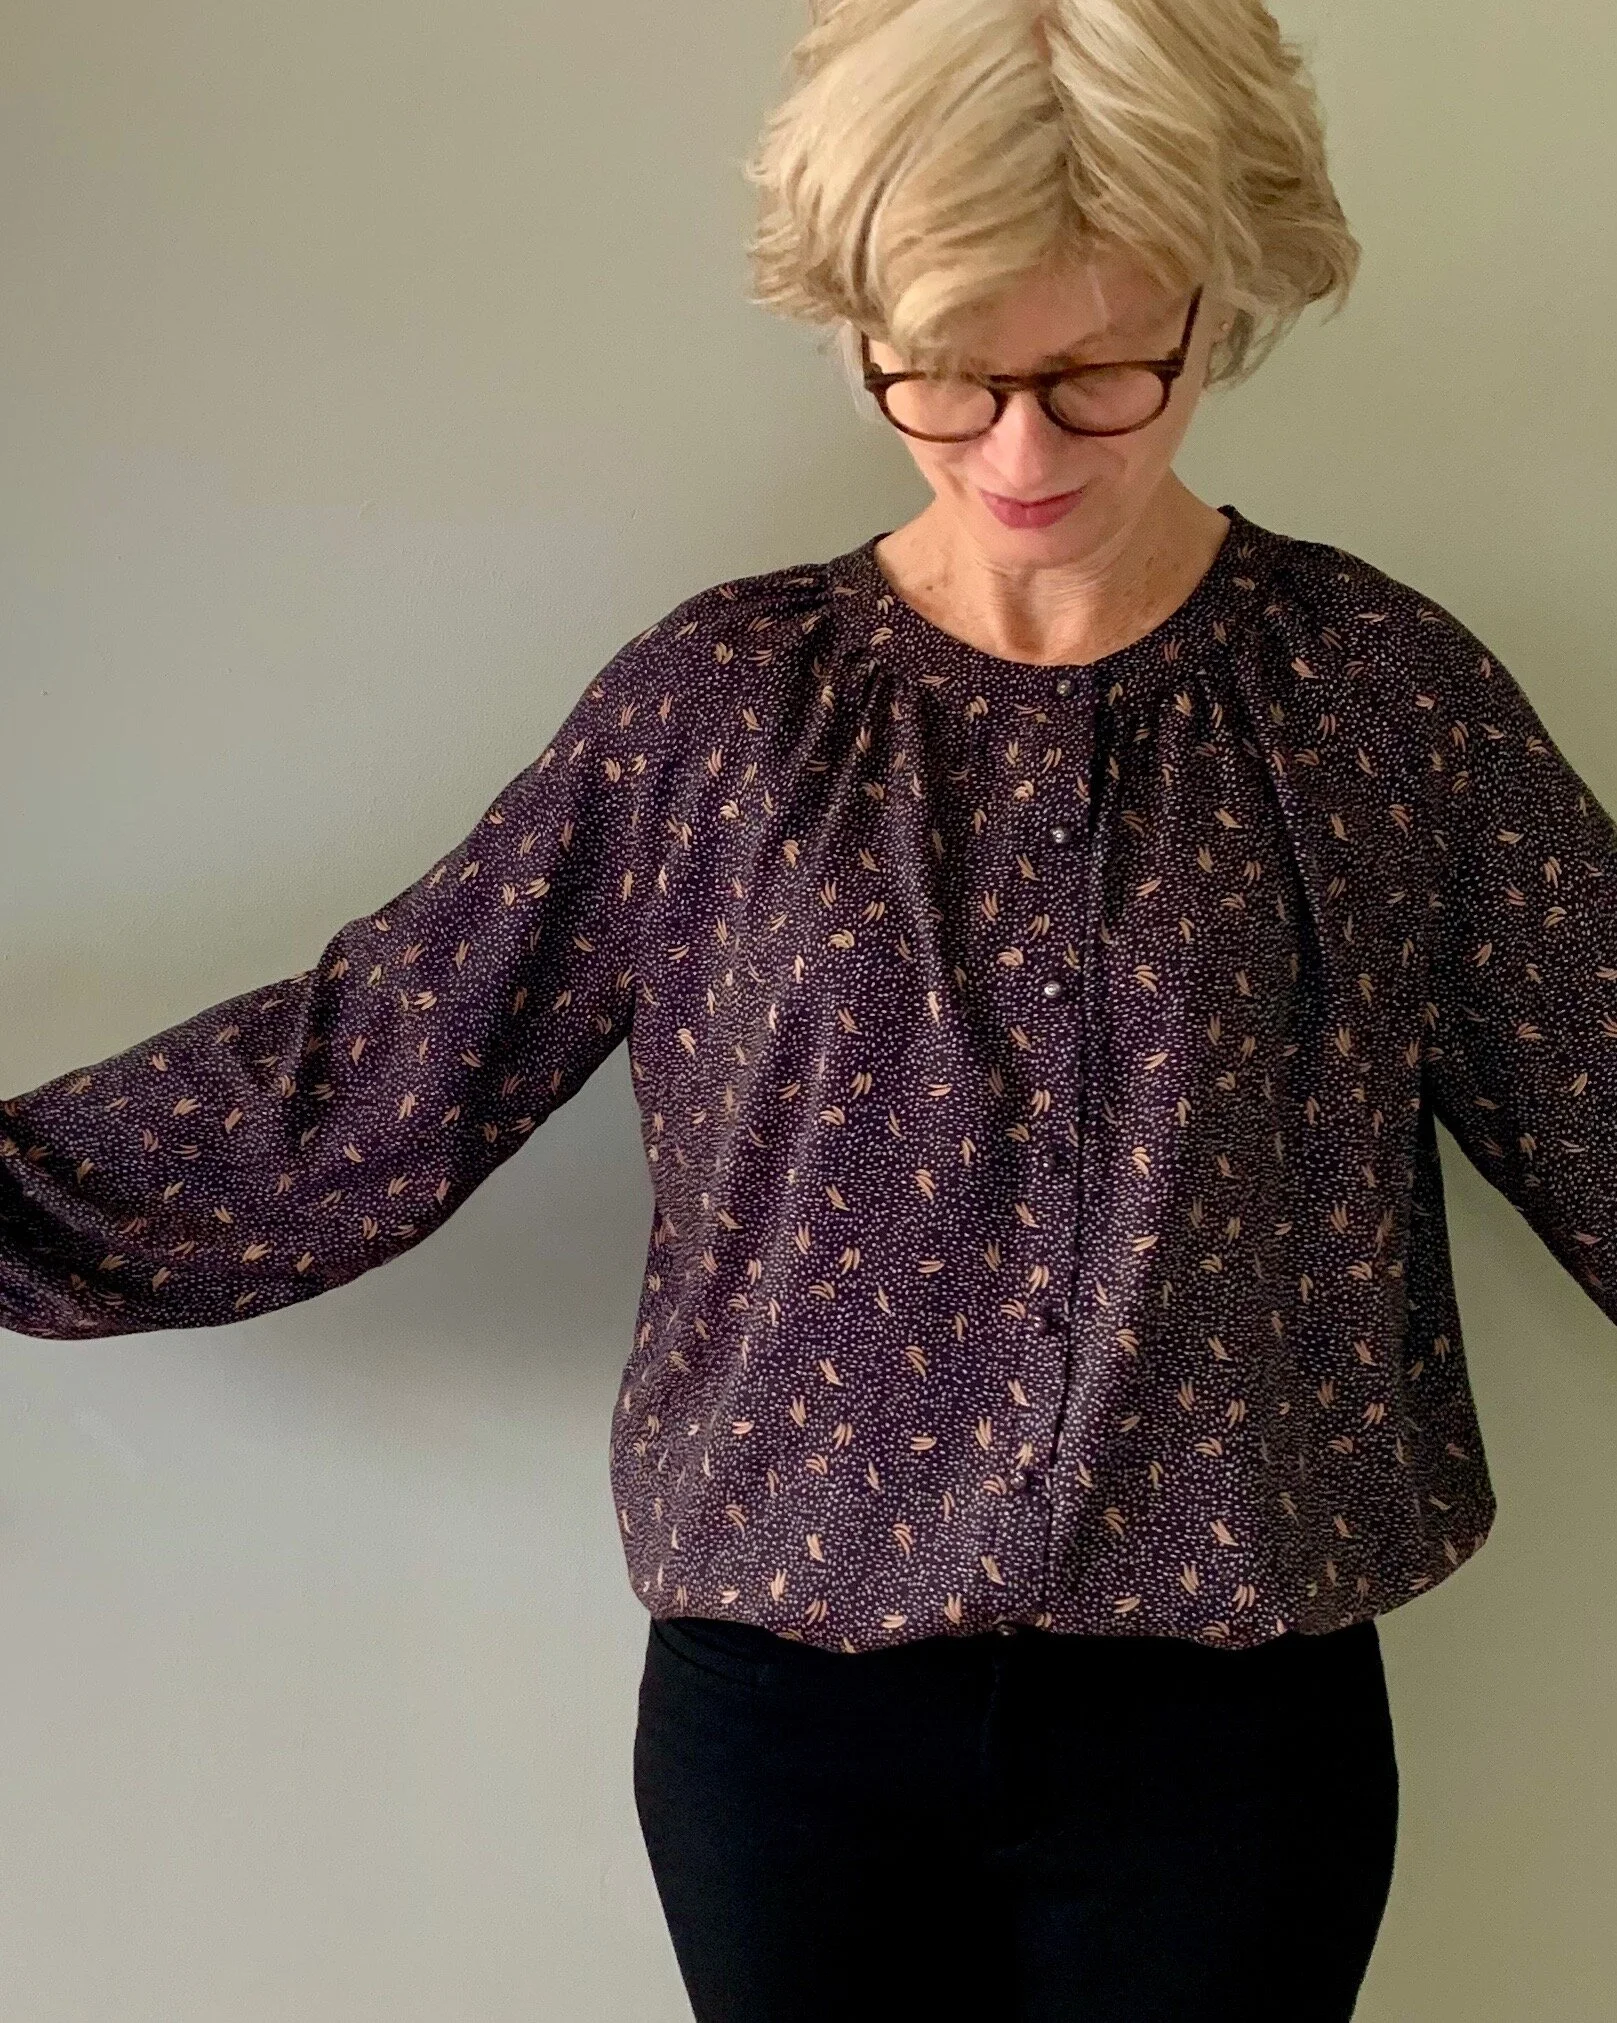
Fluent in French- Blousette Rose in Atelier Brunette

It seemed appropriate to use a French pattern for my first project with the much admired Atelier Brunette viscose.  My spouse is fairly fluent in French. He studied in France twice and has attended a biweekly French conversation breakfast group for the past 30 plus years. I took some French language and culture classes in college, and we have hosted my spouses’ French friends and their children at our house numerous times over the decades.  Given all this, I may have been a bit over confident in my cross cultural abilities, when I went ahead and purchased Campanule- La Chemise Bohème- as a pattern down load- fully aware the pattern maker Blousette Rose didn’t offer the instructions for this pattern in English.

IMG_4184.jpg

The first little bump was trying to figure out whether the pattern pieces included seam allowances. My language skills were useless- but a quick Google search confirmed they didn’t- Merd!

The instructions are comprehensive and helpful- especially if you speak French. I particularly like the nicely drawn diagrams that are included.

Screen Shot 2019-11-07 at 5.51.28 PM.png


The instructions also include links to video tutorials- which I checked out. These videos are well done and helpful even if your French language skills are petite- like mine. So, I give this company high marks and no complaints about the pattern instructions- but I give myself a “fail” in my French reading comprehension. Fortunately, this blouse isn’t tricky and I have made a fair number of blouses- so I didn’t really have any problems.

IMG_3938.jpg

 This is my second go around with a French pattern maker- and I found this brand to be quite generous compared to my previous experience.  The sleeves and shirt length were too long for me by two inches- I am 5 foot 4 inches for reference.  The cut is also very generous.  My neckband didn’t lay as flat as I desire- which may be a drafting issue or may be user error- or maybe something was lost in translation.

IMG_4038.jpg

 A word about the fabric.  I found the Atelier Brunette fabric worth the hype.  J’adore!  I tossed it in the wash on gentle to pre-shrink- and it came out perfect.  After wearing the blouse- wrinkles hang out like magic.  I also found the viscose stable and easy to handle when sewing. 

 It was a bit of a challenge to find buttons to match the lovely midnight background on this fabric.  Navy is too bright and black is  – well -- too black.  I found these adorable buttons online that are actually branded Atelier Brunette- so I was able to order with no worries.  I think they are perfect for this shirt.

IMG_4273.jpg

Update- I noted recently that Blousette Rose now offers a small selection of their patterns with instructions for English speakers- but not the Campanule.