Tiger Toile Fabric Crush

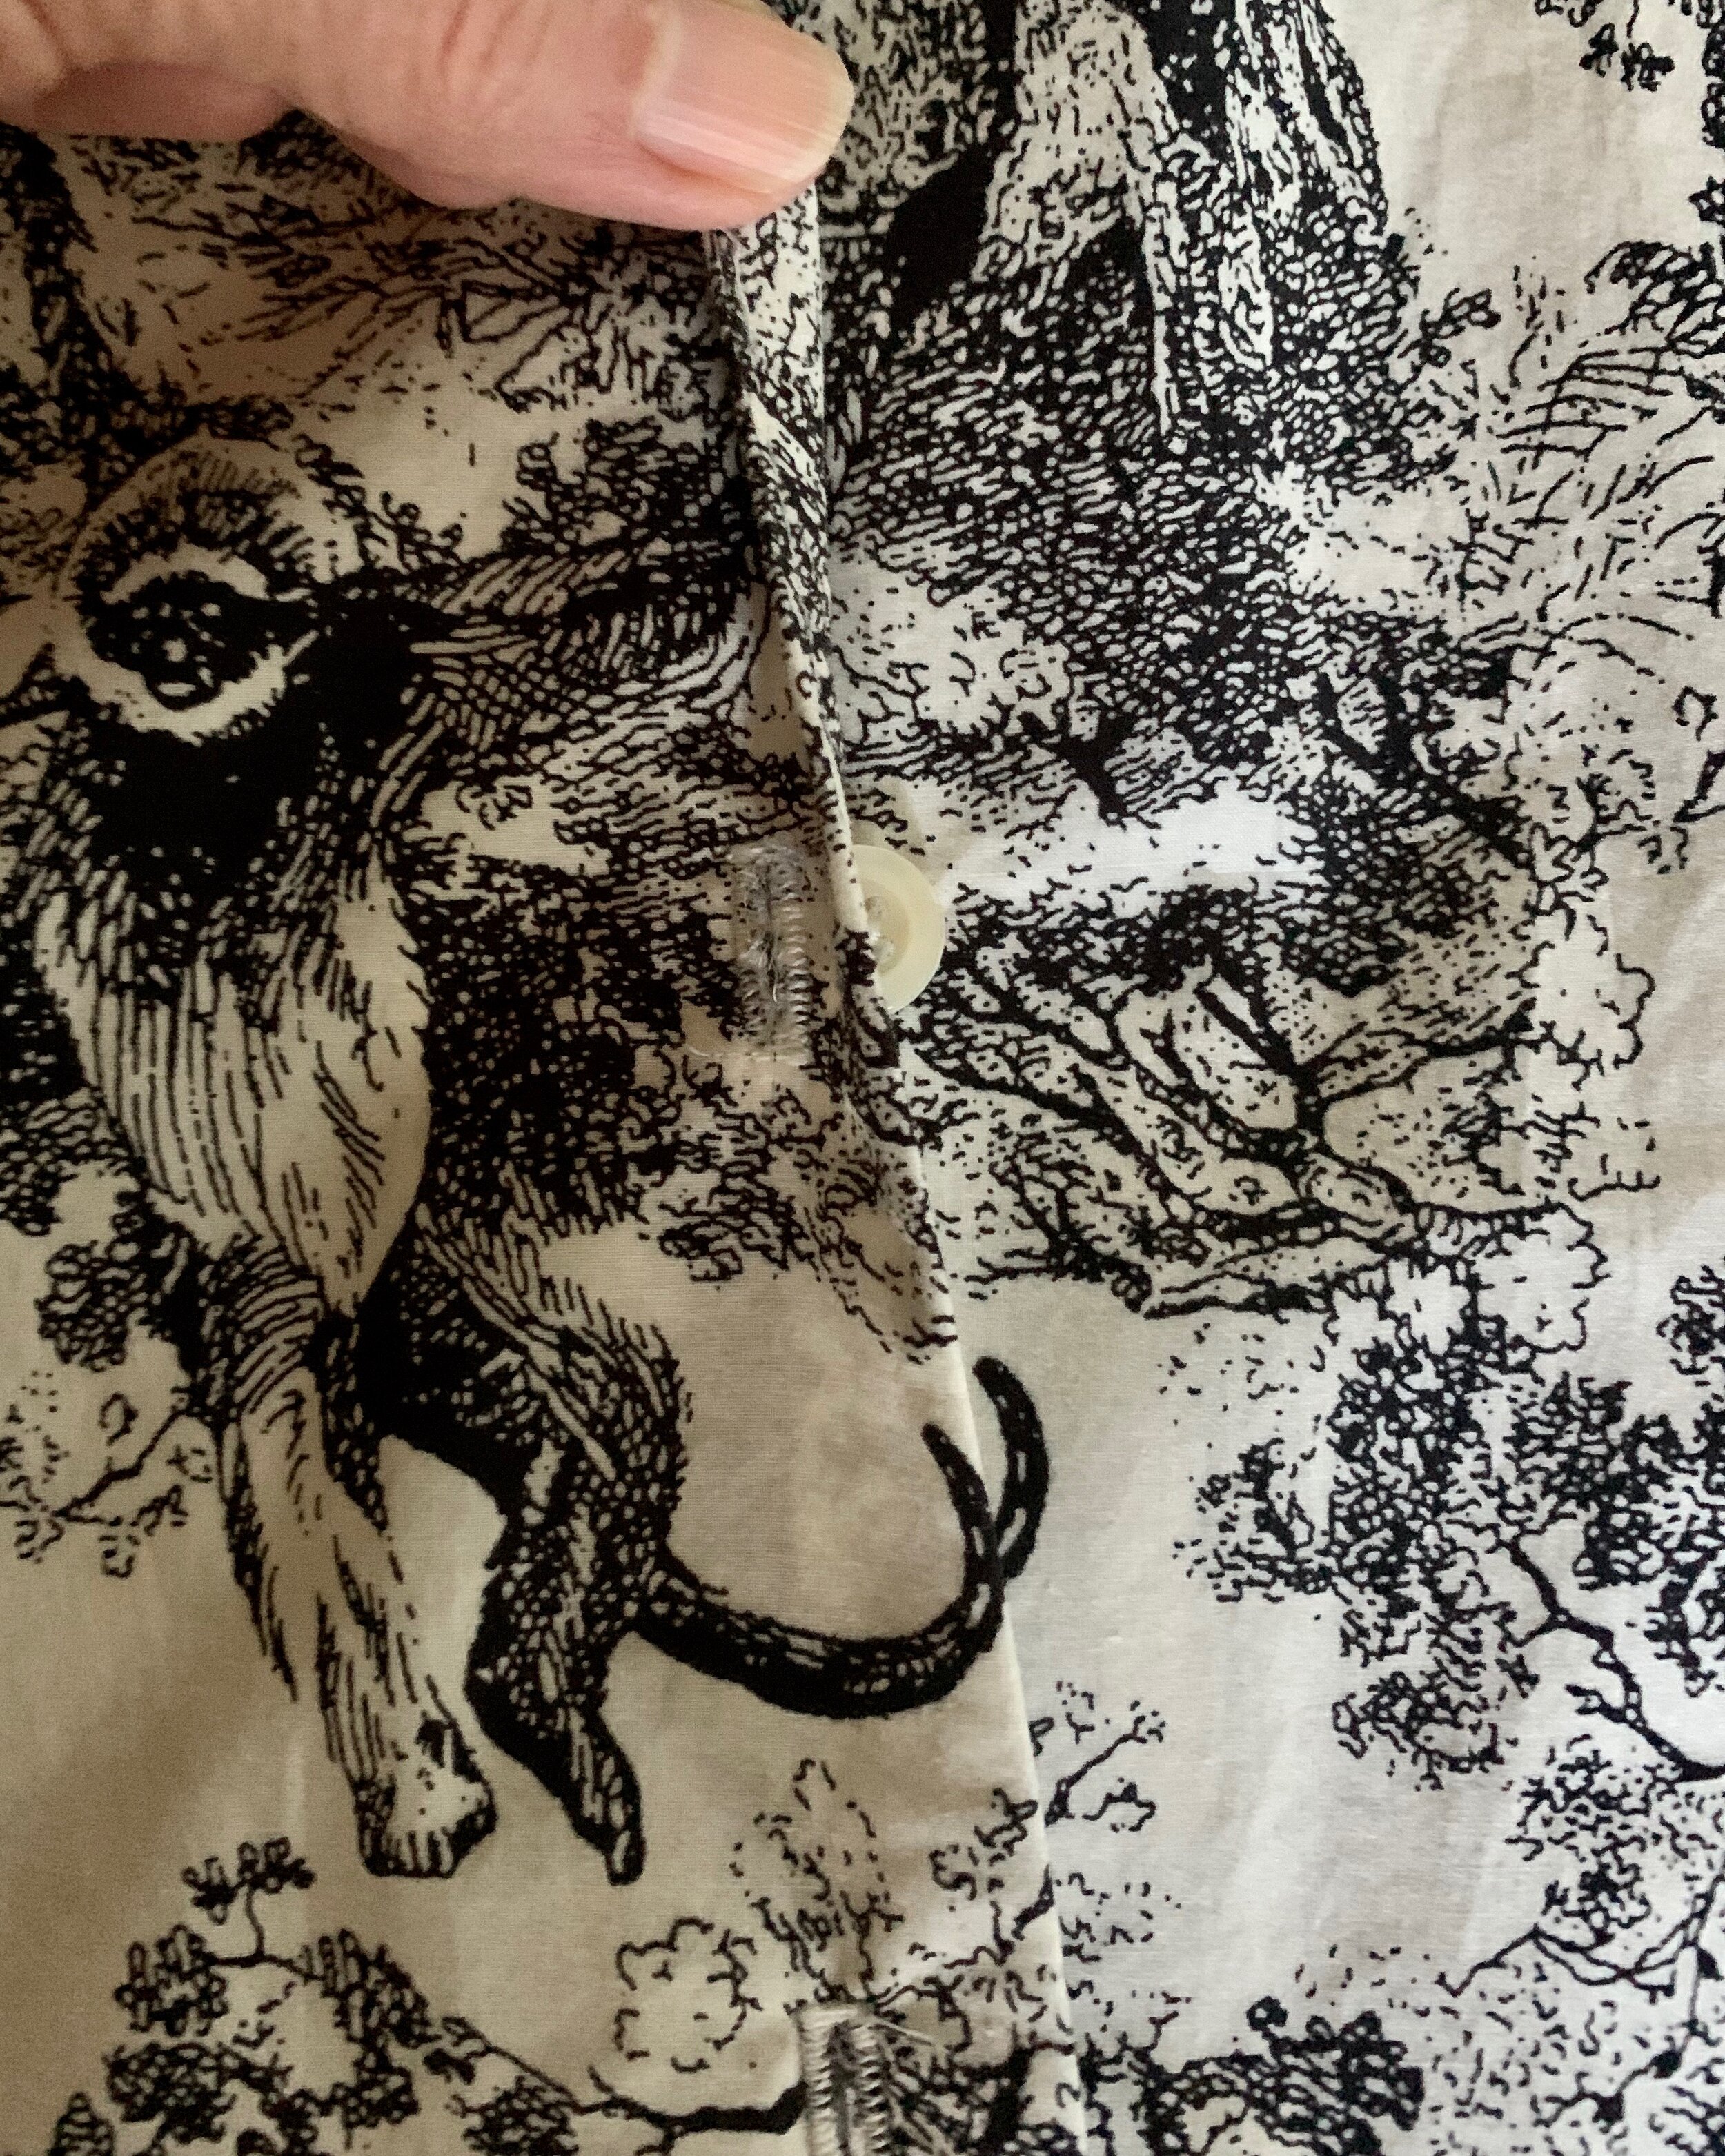
When it comes to fabric love, I tend to fall hard and fast for prints- even though my head tells me solids are more versatile.  I am thoughtful about solid color fabric purchases and- typically - thoughtfully making a purchase for a specific purpose. But when it comes to prints- the heart takes over and I simply purchase because I love it without a clear idea of what the fabric will ultimately become. That was the case with this jungle toile cotton lawn from Stone Mountain Fabric, sadly- no longer available.

IMG_1177 (1).jpg
IMG_1357.jpg

Even though I fell head over heels for this fabric, I wasn’t ready to commit to a pattern for months. This fabric is a prefect shirting weight- it has a little crispness but it is still lightweight, so I was leaning to making a shirt dress- I know -predictable.  As I was deliberating over styles ad nauseam, I did some poking around online- which is my preferred mode of procrastination.  To my surprise and delight, I stumbled across a designer item that looks pretty much identical to my adored fabric here  - yes- that is Dior!!! I feel pretty self-satisfied and rather smug about my print purchase. In addition, this internet intelligence also sealed the idea to make a shirt dress.

IMG_1159.jpg
IMG_1333 (1).jpg

With special fabric, it is much less stressful to use a tried and true pattern, so I went with my favorite and perfect fitting shirt dress pattern – Simplicity 8014.  There are plenty of skirt and sleeve options- I chose a straight cut for comfort.  The only modifications I made were to add a cuff to the short sleeves and put a pleat in the back instead of gathers. Happily, I think the style works with and without a belt.

IMG_1166.jpg

 I spent what feels like the better part of the day fiddling with pattern placement.  I had to be careful with where the tiger rear ends landed on the body of the dress.  This is very rare precaution for me- being a somewhat hasty sewer at times- but I cut each front piece separately to allow for pattern matching.  I actually don’t know how to systematically pattern match when the design is such a large repeat- I should do some research.  I was very trial and error about it- but look at the final match.

IMG_1546.jpg

 I typically finish my shirts with French seams, but for this model I went with mock flat felled seams following the Colette instructions here.

IMG_1550.jpg
IMG_1245.jpg

 I understand a shirt dress may be a rather staid and safe choice, but this print is so fabulous, I think this style lets the fabric do the roaring.

IMG_1102.jpg


A scrappy shift dress

With all of this stay at home time, I find myself poking around in less traveled corners of the house just looking for a diversion.  On one of my weekend adventures nosing around up in the attic, I stumbled upon a narrow swath of fabric leftover from a shower curtain I made for Adam for his first apartment at University of Wisconsin Madison- more than 10 years ago.  The fabric is from Ikea. I really like the print (nordic cool) and even though the fabric is a sturdy home decorating weight, I started noodling around on a dress idea because – unchecked- that’s where my mind goes when fabric is involved. Shower curtain to dress!

IMG_0766.jpg

The fabric remnant was 15 inches wide and over 70 inches long. I knew I would have to pattern block- I am not narrow enough anywhere for 15 inches in width- and the pattern must run up and down.  With those constraints, the dress options were narrowed.  I didn’t want to do anything with much piecing because the fabric is stiff.  However, I must note, I am very drawn to patchwork trend right now and am eager to do a serious patchwork project but that’s another day and not with this scrap. 

For this simple pattern blocking project, it was easy to land on a solid black to balance the dramatic print. I just needed to match the weight of the Ikea fabric so I looked for a canvas or twill weight fabric. This black twill was hands down the best option. I used the wrong side of the fabric for a smoother finish.

IMG_0780.jpg


In order to keep the fabric (and pattern) largely intact, I chose a simple a-line dress. I used my favorite a-line shift pattern -a Cynthia Rowley Simplicity 2584 shift pattern - crossed with some features from Vogue 8945.  My tip for a winning shift dress is the old Goldilocks standard- make sure it’s not too big and not too small. This pattern is a “just right” fit for me so I only had to fiddle with pattern piecing dissection for pattern blocking.

IMG_0748.jpg

I simply cut the front of the dress as wide as the fabric piece allowed and fortunately, that was a well placed asymmetrical line just after the neckline which made measuring and piecing a breeze.  I cut the remaining front from black twill – adding accommodation for ½ inch seams. The back piece was easily cut from the black twill. Two pattern pieces- easy.

IMG_0753.jpg

The other little modification to this shift-is an easy dropped shoulder that I drafted at the armhole without adding fullness to the shift.  I simply drew an extended sleeve for this hack. There is a good discussion (including diagrams and guidance) about the range of dropped shoulder options here

IMG_0723.jpg

The cap sleeve was a good design choice because it was easy to finish the armholes with purchased black bias binding. I also used this binding to finish the neckline. Staying home more than usual during this pandemic has it’s small silver linings. It was a bonus to discover this fabric treasure -and to remember it’s origin story. Best of all, it feels like a “free” new dress.

Sew this pattern: Sienna Shift dress

Although I am frequently out of step with popular culture- talk to my adult children- I try to keep up with fashion trends.  My favorite pursuit is tweaking and adapting a current trend to make it work for me- such as altering the style so the scale will work on my frame –read: I do not have model proportions- or modifying a style a bit so I feel “at home” in it.

I have dabbled in the ruffle trend- but haven’t found the sweet spot. It doesn’t help that every time I make a project with ruffles, the spouse looks it over and announces he doesn’t like ruffles- he says they look reptilian.  Nevertheless, I persist, because now it’s kind of a personal challenge to see if I can re-create this trend in a way that gets a favorable response- or at least feels more like me.  So, here is my latest interpretation of the ruffle trend that I find is more aligned with my style: the Sienna Shift dress from Sew this pattern.

IMG_0258.jpg

 I was drawn to the pattern because the ruffles are not gathered which makes them more subdued.  I also like a shift dress to have some shaping.

IMG_0389.jpg

This is my first go around with this pattern maker, and the drafting and instructions are excellent.  This was a relatively quick and straightforward make- the pattern download and cutting went smoothly and there are not many pattern pieces to keep track of. I am crazy happy with the fit. I cut a size 8 in the bodice –according to the pattern measurement instructions- and drafted out to a size 10 at waist and hips.  I got an excellent fit at the bust line, shoulders and arms. 

I used a dark chambray from Lakes Makerie- which is a fabric that I am comfortable in.

IMG_0317.jpg

I love the ruffle finish on this dress.  I have had more than a few fails trying to achieve a clean finished edge on ruffled projects. This ruffle is finished with a self bias binding on the edges. I think this is genius and works fabulously.

IMG_0282.jpg

I made only two minor modifications to this dress: I added fullness in the skirt after the hip drafting out to a size 12, and I lengthened the skirt substantially for ease of movement and wear-ability. 

In the end, the spouse still pronounced this dress’s ruffles a little bit lizard. But, I am comfortable in the result- which I consider a win.


Kalle-luia

At long last, I can join the legions of sewists who made and adore the Kalle Shirt dress by Closet Case patterns.  

IMG_5820.jpg

Despite being late to the Kalle party, I am tickled pink with my very wearable toile. I am also absolutely in love with this charming cotton print from Liberty of London with its life gives you pink lemons way about it.

IMG_5915.jpg

 I made version C of the Kalle shirt dress with a few modifications.  The biggest change is I eliminated the pleat in the back which reduced the fullness of the dress substantially. I cut my dress with a straight and even hem.  With the reduced fullness it made sense to square the hemline.  It was also a design choice out of necessity as I didn’t have enough fabric for the curved finish.  I did squeeze out a self-fabric tie which I tied in a bow when wearing above. If the bow seems a bit too frivolous, I can simply knot the tie. This is my third go with Closet Case patterns and I find the instructions and drafting spot on.

IMG_5903.jpg

This adorable cotton Liberty print that I used is a quilting cotton.  Quilting cottons are so plentiful and available in so many fetching prints.  I have no qualms about using quilting or home decorating cotton for making garments and have expressed my particular love of gingham in an earlier blog post.  Quilting cotton comes in different weights, but generally quilting cotton is medium weight and quite a bit stiffer than apparel cotton.  The finish is also a little more casual and home-spun which you can see below. Cotton shirting and other higher thread count plain weaves will provide a more polished smoother and silkier finish.  

IMG_6885.jpg

I purchased this enchanting quilting cotton from Lakes Makerie. I forgot how easy and carefree it is to work with quilting cotton.  The fabric is so stable- no slipping and sliding -making sewing and cutting super straightforward. Also, because it is a natural fiber it is somewhat malleable- it irons up sharp and holds a crease.  All of these properties are perfect for a structured shirt dress.  Because this was medium weight, I didn’t need to interface my self tie. I used French Fuse interfacing for the collar and plackets which worked a charm. The other benefit of using quilting cottons is they are more affordable than apparel fabric which makes them perfect for making a toile. The only stumbling block with this fabric was figuring out which way was up- design-wise.  I may have gotten that wrong!

My shirt making skills are always improving as I continually learn more and more techniques (tricks) for better outcomes.  For this project I tried a new system for the collar stand.  I used a template for the collar as a guide to sew more perfect and even curves in front.  To do this, I traced the collar stand pattern on sturdy paper and then laid the paper template on the fabric collar stand and sewed around the template as shown below.

IMG_5613 (1).jpg


Ready to Wear Copycat

Shirt dresses are a wardrobe staple for me- particularly for work.  I purchased a sturdy navy corduroy from the Fabric Store to make another of these wardrobe workhorses for cool weather.  But, as often happens when sewing basics, I put this project off in favor of sparkly, shiny, new sewing projects.  Then, I stumbled across this brilliant ready to wear twist on a shirt dress here and I found the inspiration I needed to finally make this up. 

Let the pattern hacking-drafting begin.

IMG_8689.jpg

First step in copycat dressmaking is to examine the pattern lines and scour my patterns to find the basic structural pieces.  When does hacking turn into drafting? I kind of based my pattern on Simplicity 2246- but very loosely. I changed up the front closure. The Simplicity pattern has a separate button placket and I was planning on using big buttons- like the inspiration dress -and a button placket would be too fussy.  I also added fish eye darts in the back for subtle shaping similar to the design I was following.  Then, I drafted the simple drop waist skirt piece. I didn’t simply draw a straight line rectangle.  The top piece needs a slight curve from side seam dipping in the middle.

Pretty straightforward- but then came the collar

IMG_8781.jpg

I gained – the hard way - a bit of collar wisdom working my way through this.  I actually made and applied two separate collars- before landing on the final outcome.

There is plenty of collar terminology to wade through: applied or grown on, stand or flat, convertible or non-convertible.  On top of that there are a bunch of collar names: Peter Pan, shawl, Eton, mandarin etc. 

I never use the collar included in Simplicity 2246 because it is a one piece mock two piece stand collar- which I find a little unusual. I am generally most fond of a traditional two piece stand collar- despite the associated sewing challenges. On the inspiration dress, there isn’t a stand collar piece in front.  However- notice the bit of a stand in back – this is a mix of stand and flat collar.  This is exactly the collar construction I used in the Foreman jacket.  When you wear the collar open, you get a lapel look, and you can also wear the collar buttoned up.  This is called- appropriately-a convertible collar- because you get two collar looks.

I first gallantly made an attempt drafting and installing the mixed stand convertible collar with a back stand, but when installed the collar would not roll smoothly.  You can’t press or mold faux leather- so the drafting needs to be spot on. So the easier and ultimately successful solution was to draft and install a simple convertible collar.  Gertie has simple instructions for drafting a convertible collar here.

IMG_8820.jpg

I am very pleased with my copycat look, and super happy with this riff on a traditional shirtdress. PS- notice the red nose- outside temperature is 20 degrees Fahrenheit!