Kalle-luia

At long last, I can join the legions of sewists who made and adore the Kalle Shirt dress by Closet Case patterns.  

IMG_5820.jpg

Despite being late to the Kalle party, I am tickled pink with my very wearable toile. I am also absolutely in love with this charming cotton print from Liberty of London with its life gives you pink lemons way about it.

IMG_5915.jpg

 I made version C of the Kalle shirt dress with a few modifications.  The biggest change is I eliminated the pleat in the back which reduced the fullness of the dress substantially. I cut my dress with a straight and even hem.  With the reduced fullness it made sense to square the hemline.  It was also a design choice out of necessity as I didn’t have enough fabric for the curved finish.  I did squeeze out a self-fabric tie which I tied in a bow when wearing above. If the bow seems a bit too frivolous, I can simply knot the tie. This is my third go with Closet Case patterns and I find the instructions and drafting spot on.

IMG_5903.jpg

This adorable cotton Liberty print that I used is a quilting cotton.  Quilting cottons are so plentiful and available in so many fetching prints.  I have no qualms about using quilting or home decorating cotton for making garments and have expressed my particular love of gingham in an earlier blog post.  Quilting cotton comes in different weights, but generally quilting cotton is medium weight and quite a bit stiffer than apparel cotton.  The finish is also a little more casual and home-spun which you can see below. Cotton shirting and other higher thread count plain weaves will provide a more polished smoother and silkier finish.  

IMG_6885.jpg

I purchased this enchanting quilting cotton from Lakes Makerie. I forgot how easy and carefree it is to work with quilting cotton.  The fabric is so stable- no slipping and sliding -making sewing and cutting super straightforward. Also, because it is a natural fiber it is somewhat malleable- it irons up sharp and holds a crease.  All of these properties are perfect for a structured shirt dress.  Because this was medium weight, I didn’t need to interface my self tie. I used French Fuse interfacing for the collar and plackets which worked a charm. The other benefit of using quilting cottons is they are more affordable than apparel fabric which makes them perfect for making a toile. The only stumbling block with this fabric was figuring out which way was up- design-wise.  I may have gotten that wrong!

My shirt making skills are always improving as I continually learn more and more techniques (tricks) for better outcomes.  For this project I tried a new system for the collar stand.  I used a template for the collar as a guide to sew more perfect and even curves in front.  To do this, I traced the collar stand pattern on sturdy paper and then laid the paper template on the fabric collar stand and sewed around the template as shown below.

IMG_5613 (1).jpg


Paradox dress

What came first: did I imagine this dress or did I copy it from ready to wear? This dress represents the classic chicken or egg paradox. I might have come up with the design for this easy summer play dress, or I may have simply reinterpreted a great dress I glimpsed online in ready to wear- I really can’t remember which came first. 

IMG_6996.jpg

In any case, I am super pleased with this project.  I had this fabulous blue cotton spandex knit fabric from Mood Fabrics in my stash, and I wanted a dress with plenty of ease of movement and comfort for summer antics.  This is a dress I can ride my bicycle in.

IMG_6994.jpg

To make this dress I began with my favorite t-shirt pattern which is the Ruska t-shirt in the book Breaking the Pattern by Named Clothing.  And then I simply added a big rectangle skirt.  The only tricky part was the pleats and this is where the fun -and another paradox- began. 

IMG_6961.jpg

I wanted to use pleats for the skirt for a flatter and fancier finish than gathering the skirt. I decided to use knife pleats which are a simple pleat where the folds are pressed to one side in the same direction which makes the pleat three layers thick. The knife pleat can be used as a style effect or across the entire part of a garment, as I did with this skirt. Knife pleats are the style of pleat used for kilts.

Since I didn’t have a pattern, I needed to figure out how to pleat this entire skirt. Happily, while searching for tips for measuring and creating knife pleats, I found a trick that eliminated measuring and marking. You can simply use a FORK to create knife pleats!   Another paradox. I read the written instructions, but couldn’t puzzle it out until I watched a YouTube instructional video here.  Basically, you insert the fork and turn the fabric and fork toward you for a full turn, and sew. This was not only easy and fast- it was super fun. Watch me start pleating EVERYTHING now.

IMG_7109.jpg
IMG_7110.jpg

The only other decision point on this dress is how long to make the drop waist. I am long waisted and fiddled quite a bit, but ended up letting the hemline dictate the placement.


Sewcial Mashup Challenge with Vogue 1395

I am a longstanding pattern masher- aka: taking pattern pieces from separate patterns to create my own unique project. So, the sewcial mash up challenge hosted by Lori of Girls in the Garden and Lindsey at Inside the Hem this month is right up my alley. I had Rebecca Taylor Vogue 1395 in my pattern queue for several years- and this challenge was the inspiration I needed to FINALLY make this dress.  I have a few Rebecca Taylor patterns and I find her designs feminine and wearable.  This pattern has a versatile and slightly casual shape that is super appealing. I love the pull on and go style- with waist definition from those ties!   But, I read several reviews that recommended some significant modifications for the shoulders and armholes- including these reviews from the sensational sewists  Katie and Lauren.  I decided this pattern would be a good candidate for pattern mashing- specifically to change out the wide neckline and the back and shoulders.  I also wanted to add longish sleeves.

IMG_0616.jpg

I was determined to use patterns I had on hand for this mash up- so my mash-up includes the bodice front and back and sleeves from Simplicity 8737.  I actually made the v-neckline a wee bit deeper and wider than the Simplicity pattern piece and omitted any fastening in the back.  With a slightly deeper v-neck and the full bodice, I knew it would slip easily over my head without any fussy back closures. I omitted the neckband in the Simplicity view. I also skipped the big cuff and finished the bottom of the gathered sleeve with a narrow band.  I used the front facings from the Simplicity pattern.  The Vogue pattern uses bias binding for the v-neck, but I am partial to using facings.  I had to draft a back neck facing from the altered back bodice.

IMG_0699.jpg

There wasn’t a lot of expertise involved in combining bits and pieces of these patterns.  One mash up task was to make certain the top fit the bottom- or skirt.  I aligned both pattern bodice fronts and backs to make sure the fullness was similar and would match up with the Vogue skirt- and the patterns were remarkably similar.  But because the back on the original dress wraps to the front- I had to ever so slightly gather the back skirt to fit the back bodice. 

IMG_0742.jpg

The other tricky mash-up aspect was to figure out how to add ties.  I had to improvise on both the pattern and the construction/placement of the ties because they are attached to the bodice back in the Rebecca Taylor Vogue pattern.  I drew a pattern slightly scaled from the Vogue pattern shape and attached the ties in the side seams.

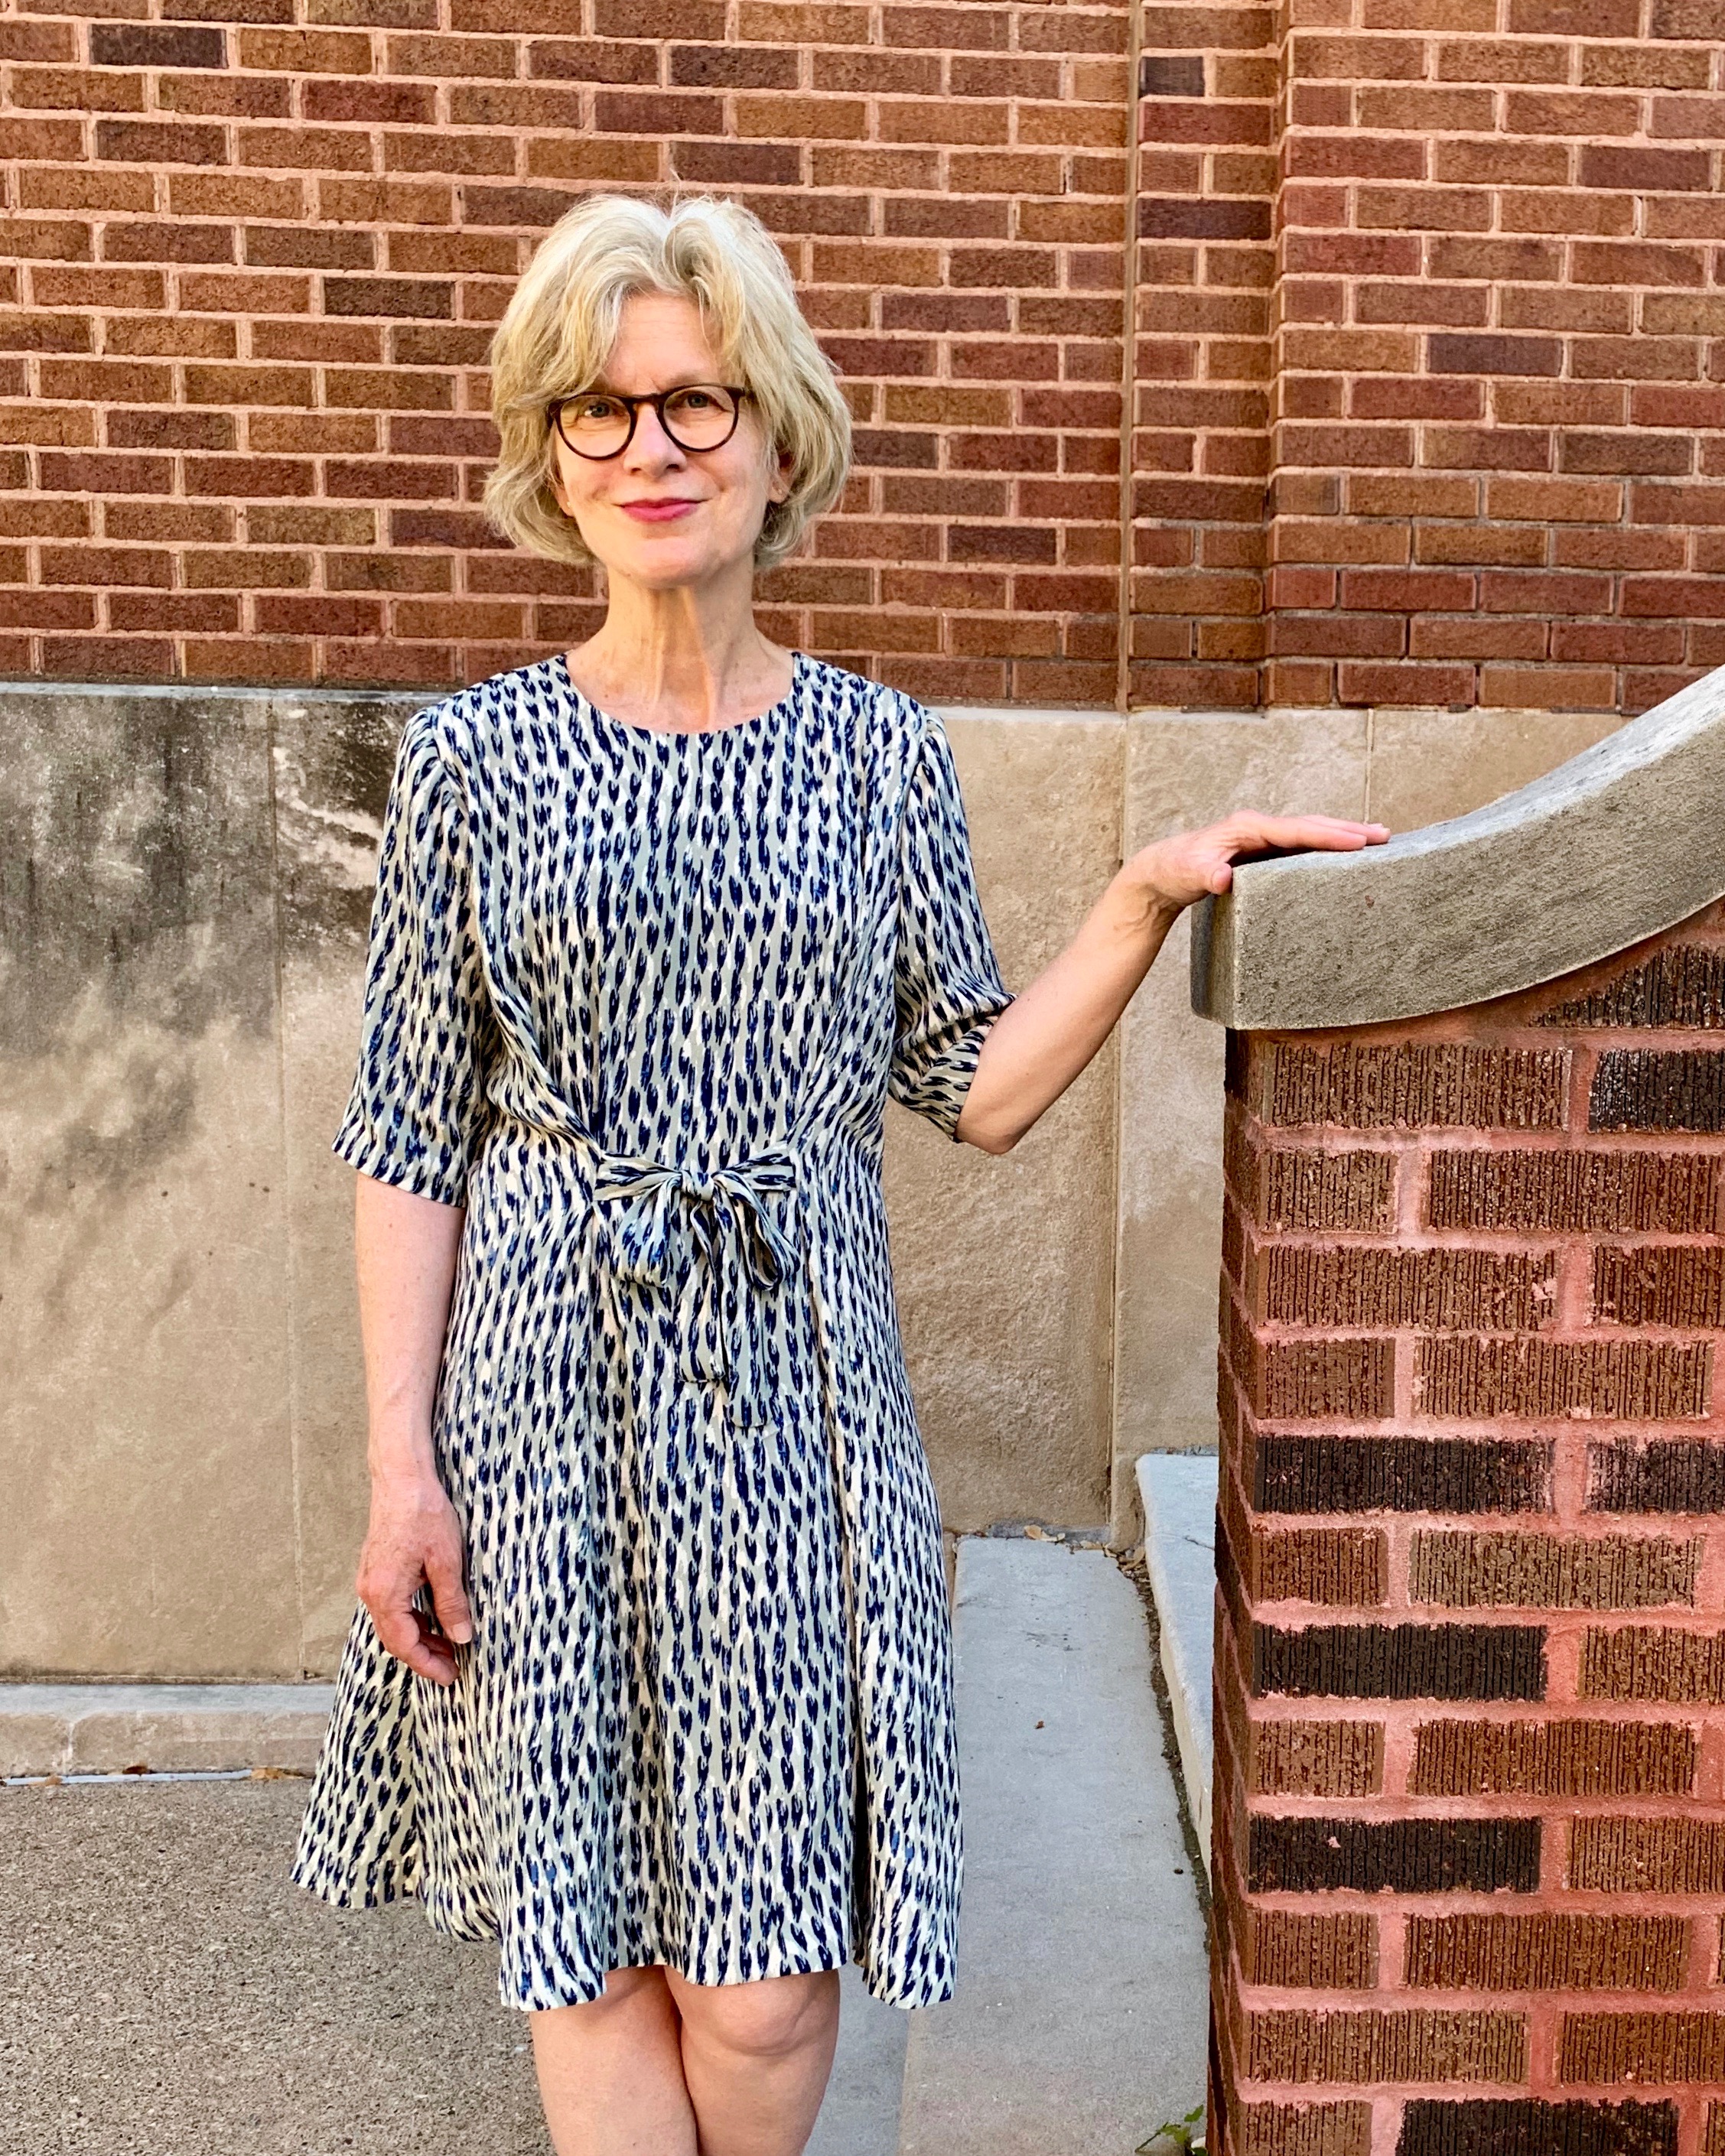
The fabric is a just-right rayon crepe from the Fabric Store- perfect weight and not too slippery.

IMG_0589.jpg

By the Book- Solina dress

This project was by the book.  Literally.  The Solina dress pattern is from the book Breaking the Pattern by sisters Saara and Laura Huhta who are also the founders of the Finnish indie pattern company Named.

IMG_7033.jpg

I was immediately drawn to this striking book when I saw the elegant, streamlined and modern patterns and beautiful styling.  The deal was sealed once I calculated it was actually cost effective to purchase this book- because there were several patterns I knew I would make.  The book offers 10 patterns, but there are 20 variations included.  For example, the Solina style can be made as a dress or a jumpsuit or top.  The book also provides tips and suggestions for numerous options for customization- so you can easily create a one of a kind garment. A dream for those of us who routinely fiddle with patterns.

IMG_3076.JPG

The templates for all the patterns are included as pattern sheets in the book.  PLUS- if you purchase the book, you receive a code to download PDF patterns to your home printer if you prefer to do that.  Originally, I thought I would download the patterns, because I download and assemble patterns frequently these days (albeit grudgingly- because while it may be old school of me- I prefer printed pattern pieces) But in the end, I decided to go the pattern tracing route. 

Surprisingly- this pattern tracing option is starting to grow on me. I think of myself as a somewhat intuitive sewist, and I find there is something in the act of tracing the pattern that transcribes it into your brain, and it kind of gives you a head start on construction because you really feel the pattern by drawing it out. It’s similar to studies that demonstrate people learn better when they write the words out longhand on paper. Anyway- the short story is- I am growing fond of tracing the pattern on Swedish tracing paper with my colored pencils

IMG_6988.jpg

Saara and Laura explain that Solina means “babble of water.” This influenced my fabric choice which is a lovely rayon crepe from The Fabric Store.  The print is a lot like the moody river with its grey and blue palette.  The Solina dress is quick and easy.  I made it even quicker by shortening the sleeves and eliminating the sleeve ties.  The other change I made was to sew the front skirt seam closed.

IMG_7023.jpg

I goofed on measuring the length and would prefer a longer dress- will have to pay attention next time.  I am pretty ok with the swishy aspect of the dress, but if I make this again, I would use a slightly heavier fabric that has a bit more body. 

IMG_7015.jpg

A denim worker dress- Butterick 6655

Because May Day 2019 is both international workers’ day and an office work day for me, this past weekend, I made a denim worker dress.  Denim is a workhorse of a fabric and appropriate for the tough jobs.  We all know and love denim for many reasons: it is perfect in all seasons, washes and dries and ages to a beautiful patina, goes with almost everything, and it’s blue.  This particular denim has some stretch which gives it even more super powers in my book.  Denim fabric is easy to track down.  I found this fabric at Treadle Yard Goods

IMG_4841.jpg

I snatched up this new Butterick pattern in a hurry during a pattern sale because of the appealing asymmetrical buttoning.  I didn’t realize it was actually a faux button-up- until I cut out the pattern!  Completely my fault for not reading the pattern description which clearly discloses this is a mock button front.

IMG_4844.jpg

Button fake out!

And even though I was initially a bit disappointed by the mock button trick- I am super pleased with this pattern and results.

The fit was perfect.  Because this dress is a simple shape, I could do a quick comparison to my trusted dress (makeshift) sloper and determined this dress would fit well- and it does.

IMG_4902.jpg

I made absolutely no changes to this pattern- which is unusual for me.

I envisioned sturdy brass worker buttons and after some hunting- tracked them down at JoAnn.

IMG_4801.jpg