Merchant and Mills Foreman- For Son

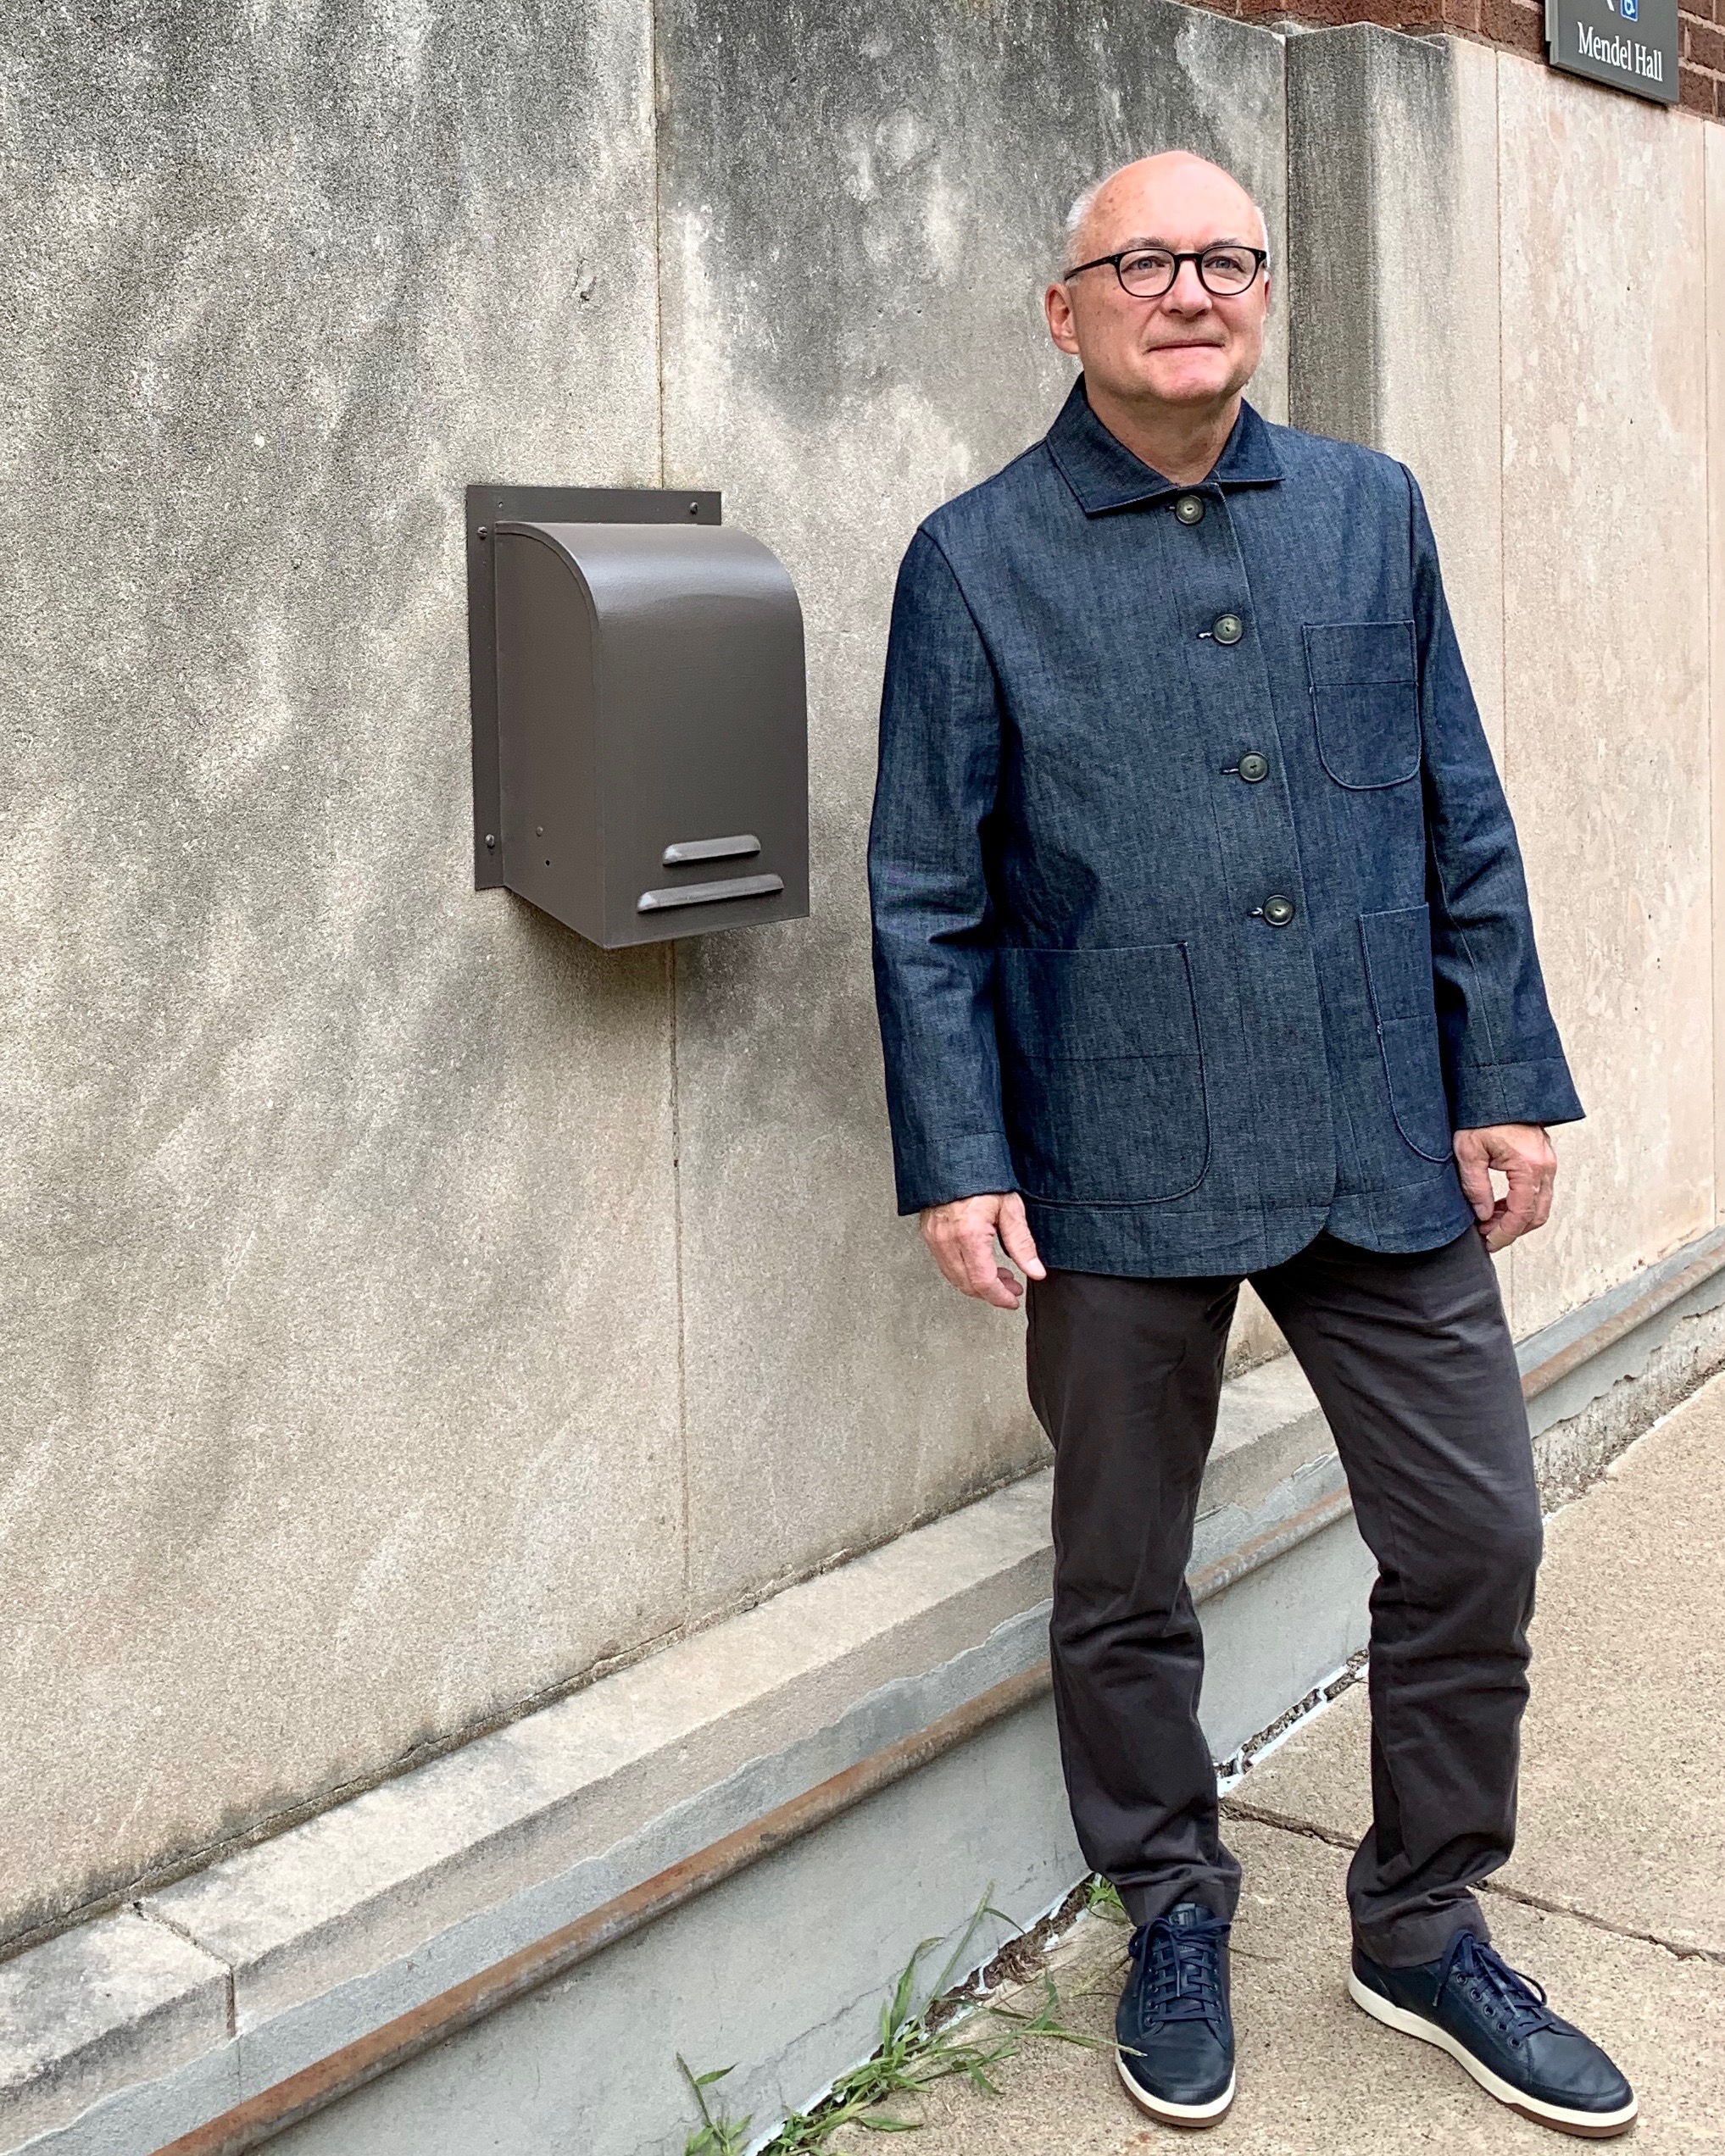
My oldest turned 30!  This called for a special gift and the Merchant and Mills Foreman chore coat rose to the occasion. This is my first experience with a Merchant and Mills pattern and I give it highest marks all around.  Clear instructions and the pattern drafting is superb. Mike models the coat below;

IMG_9650.jpg

While I took my time- because this was a special make- this coat went together easily and smoothly.  The collar and facing construction are so well done.  Some reviewers of this pattern suggested lining the pockets- but I went with the pattern recommendation to simply turn the edges. I was totally on board with the unlined profile of this jacket and just went with it throughout.  I finished the facing edges with a neutral linen bias binding- which blends nicely with the earthy denim.

IMG_9387.jpg

I used a fabulous designer dead stock denim from Lakes Makerie that was absolutely a dream to work with- super malleable and sturdy.

Adam is 5’ 7”, so I shortened the coat by an inch.  Other than that, I made no pattern modifications- except adding a hanging loop.  Adam measures for a size 38 and that is the size I made- but in the end, I think he would have preferred a slimmer -more European fit.  If I made this again, I would make a 36.

IMG_9403.jpg

I love the subtle design touches- the extra-large pockets and interesting top-stitching detailing.

IMG_9666.jpg

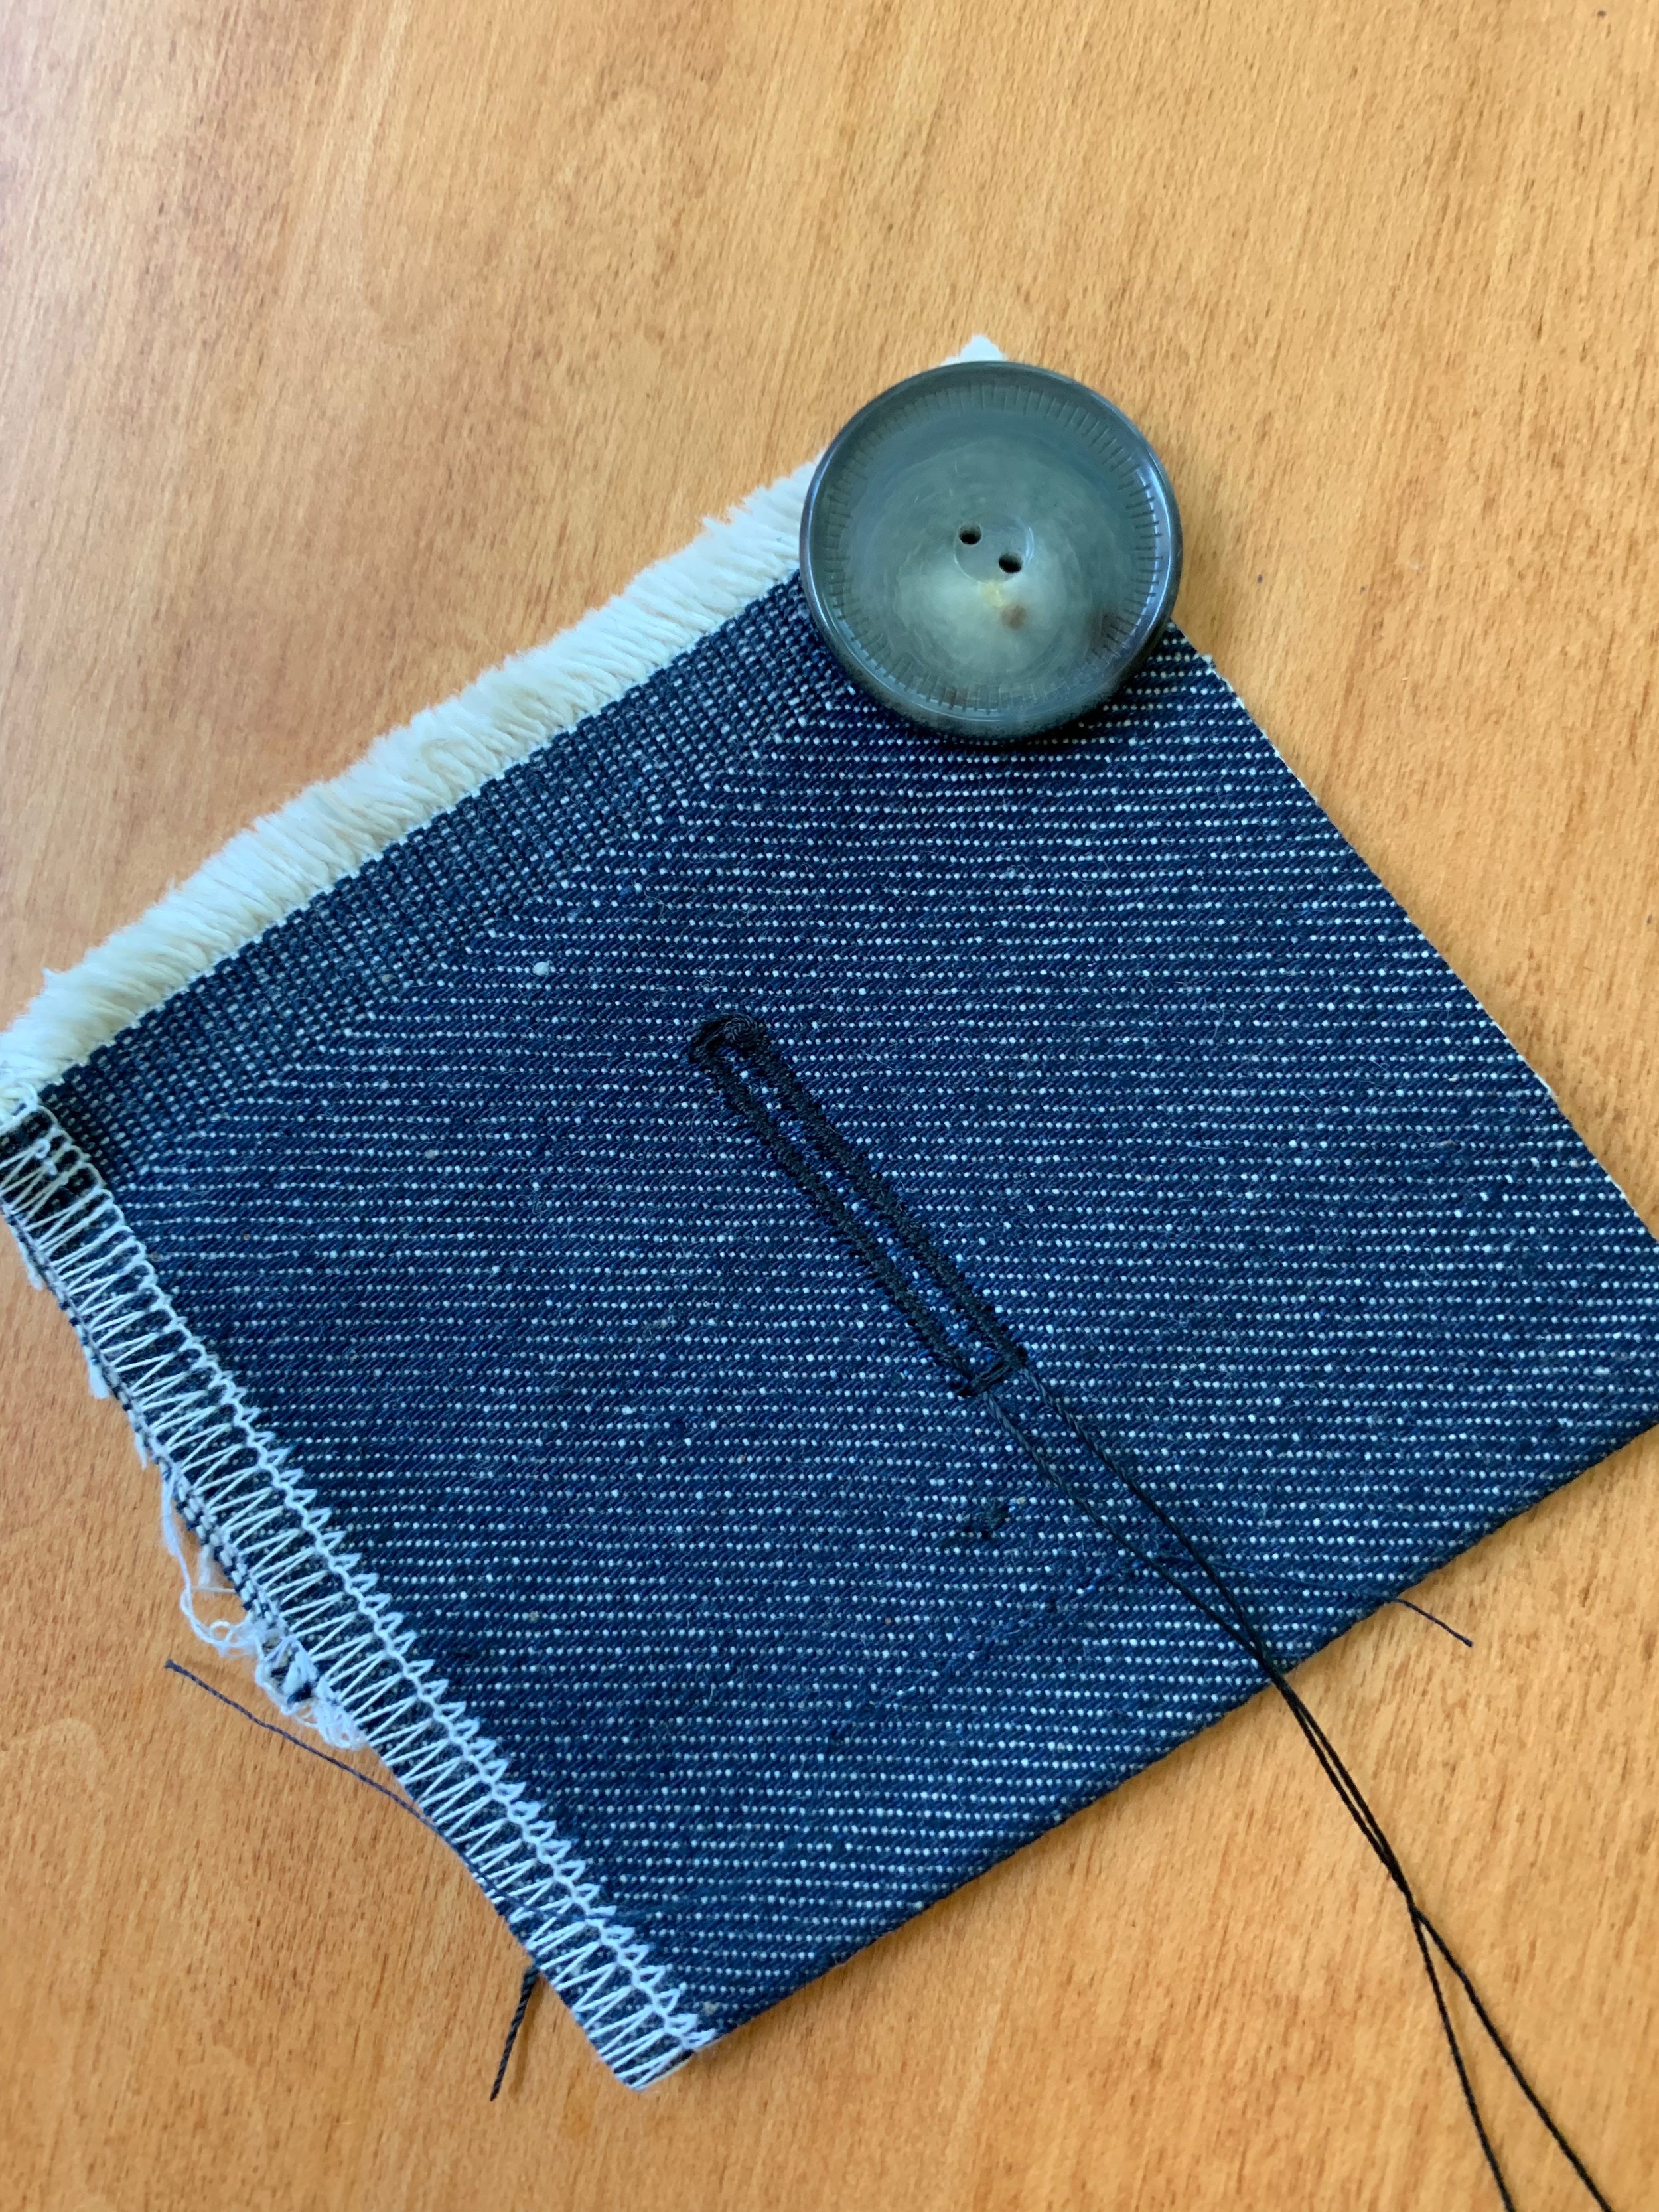
I did a few other special- slow sewing touches.  For example, I made corded button holes by laying down and stitching over a length of topstitching thread see diagram below.  After you stitch the button hole, you simply pull the thread taught and trim. 

Are you also admiring those beautiful buttons?

IMG_9604.jpg

In my search for the perfect button, I found corozo buttons at Treadle Yard Goods. The corozo or tagua nut -which is a seed from a tropical palm- is used for buttons and carving figurines.  I read the corozo is sometimes referred to as vegetable ivory- so cool!  These buttons are absolutely beautiful and have a natural variation and are soft and smooth and soothing to touch.  So much better than plastic.

Before packing the coat off to send to Adam, I asked Mike to try it on for measuring the correct length for the sleeve- because father and son are surprisingly about the same size.  Mike tried it on and immediately gave me a puzzled look- because…. he pointed out…I put the buttons on the wrong side- or rather the left side, where I always put buttons when sewing for women. I was totally on auto pilot and temporarily forgetting that men’s wear has buttons on the right.  Rats!

IMG_9713.jpg

After pouting a bit, this gender-based button discrepancy piqued my interest.  Why different?!  So I did a little internet searching to find out the reason. While I didn’t come up with a definitive answer, I did find some interesting and crazy theories.  The craziest reason I found was that Napoleon mass-produced clothing that was intentionally difficult for women to put on.  Ha!  A more plausible reason is that in the Renaissance and Victorian eras, women’s clothing was complicated and wealthy women had assistance, so the buttons were on the right to make it easier for servants or family members assisting in dressing. Only the sharpest mind will notice. And the glass half full part of this story is it will keep Adam ambidextrous.

IMG_9670.jpg

Fresh in Fiona

Heat wave!  Just because our winters are long and cold here in Minnesota- that doesn’t mean are summer’s aren’t hot …and humid.  This past week- we were under a heat advisory.  Our house is nearly 100 years old and we don’t have air conditioning.  On Friday, it was 92 degrees Fahrenheit in our dining room. Thank heavens, I had just finished the Fiona Sundress by Closet Case patterns- a fetching choice when weather and moods are steamy.

IMG_9363.jpg

Even though there are several denim Fionas out there- including the pattern styling shown here- I also chose a substantial denim with stretch from Treadle Yard Goods for my Fiona. My daughter thought that denim would be too hot- but denim is wilt proof and I wanted fabric with substance for a more structured sundress. The cut of this dress is fabulous- flattering and definitely cool- even in this heat.

IMG_8392.jpg

This was my first experience with a Closet Case pattern.  And I found the pattern fit true to their sizing chart.  I cut a size 4 and graded to a 6 in the waist and an 8 in the hips. I followed the clear and thorough instructions.  Once the dress was sewn up- I decided to let out the hip side seams a bit for more ease since the fabric was so stiff.  I also fiddled with the strap placement.

IMG_8372.jpg

During construction, I was hoping to find some way to distinguish my denim Fiona from all the others, so I am super grateful for the inspiration from SewitCurly to cover buttons with flowers.  I used Liberty Strawberry Thief scraps- Liberty scraps are endlessly useful. I used the simple button covering kits widely available. I covered buttons quite a bit when I was sewing for the kids when they were small- but that was ages ago. It was satisfying and fun to pop out some one of a kind buttons.

IMG_8337.jpg
IMG_8397.jpg

I am super pleased with the results. And a sure sign of a winning project is when daughter asks me to make the same for her.

IMG_9370.jpg

A denim worker dress- Butterick 6655

Because May Day 2019 is both international workers’ day and an office work day for me, this past weekend, I made a denim worker dress.  Denim is a workhorse of a fabric and appropriate for the tough jobs.  We all know and love denim for many reasons: it is perfect in all seasons, washes and dries and ages to a beautiful patina, goes with almost everything, and it’s blue.  This particular denim has some stretch which gives it even more super powers in my book.  Denim fabric is easy to track down.  I found this fabric at Treadle Yard Goods

IMG_4841.jpg

I snatched up this new Butterick pattern in a hurry during a pattern sale because of the appealing asymmetrical buttoning.  I didn’t realize it was actually a faux button-up- until I cut out the pattern!  Completely my fault for not reading the pattern description which clearly discloses this is a mock button front.

IMG_4844.jpg

Button fake out!

And even though I was initially a bit disappointed by the mock button trick- I am super pleased with this pattern and results.

The fit was perfect.  Because this dress is a simple shape, I could do a quick comparison to my trusted dress (makeshift) sloper and determined this dress would fit well- and it does.

IMG_4902.jpg

I made absolutely no changes to this pattern- which is unusual for me.

I envisioned sturdy brass worker buttons and after some hunting- tracked them down at JoAnn.

IMG_4801.jpg