Merchant and Mills Foreman- For Son
/My oldest turned 30! This called for a special gift and the Merchant and Mills Foreman chore coat rose to the occasion. This is my first experience with a Merchant and Mills pattern and I give it highest marks all around. Clear instructions and the pattern drafting is superb. Mike models the coat below;
While I took my time- because this was a special make- this coat went together easily and smoothly. The collar and facing construction are so well done. Some reviewers of this pattern suggested lining the pockets- but I went with the pattern recommendation to simply turn the edges. I was totally on board with the unlined profile of this jacket and just went with it throughout. I finished the facing edges with a neutral linen bias binding- which blends nicely with the earthy denim.
I used a fabulous designer dead stock denim from Lakes Makerie that was absolutely a dream to work with- super malleable and sturdy.
Adam is 5’ 7”, so I shortened the coat by an inch. Other than that, I made no pattern modifications- except adding a hanging loop. Adam measures for a size 38 and that is the size I made- but in the end, I think he would have preferred a slimmer -more European fit. If I made this again, I would make a 36.
I love the subtle design touches- the extra-large pockets and interesting top-stitching detailing.
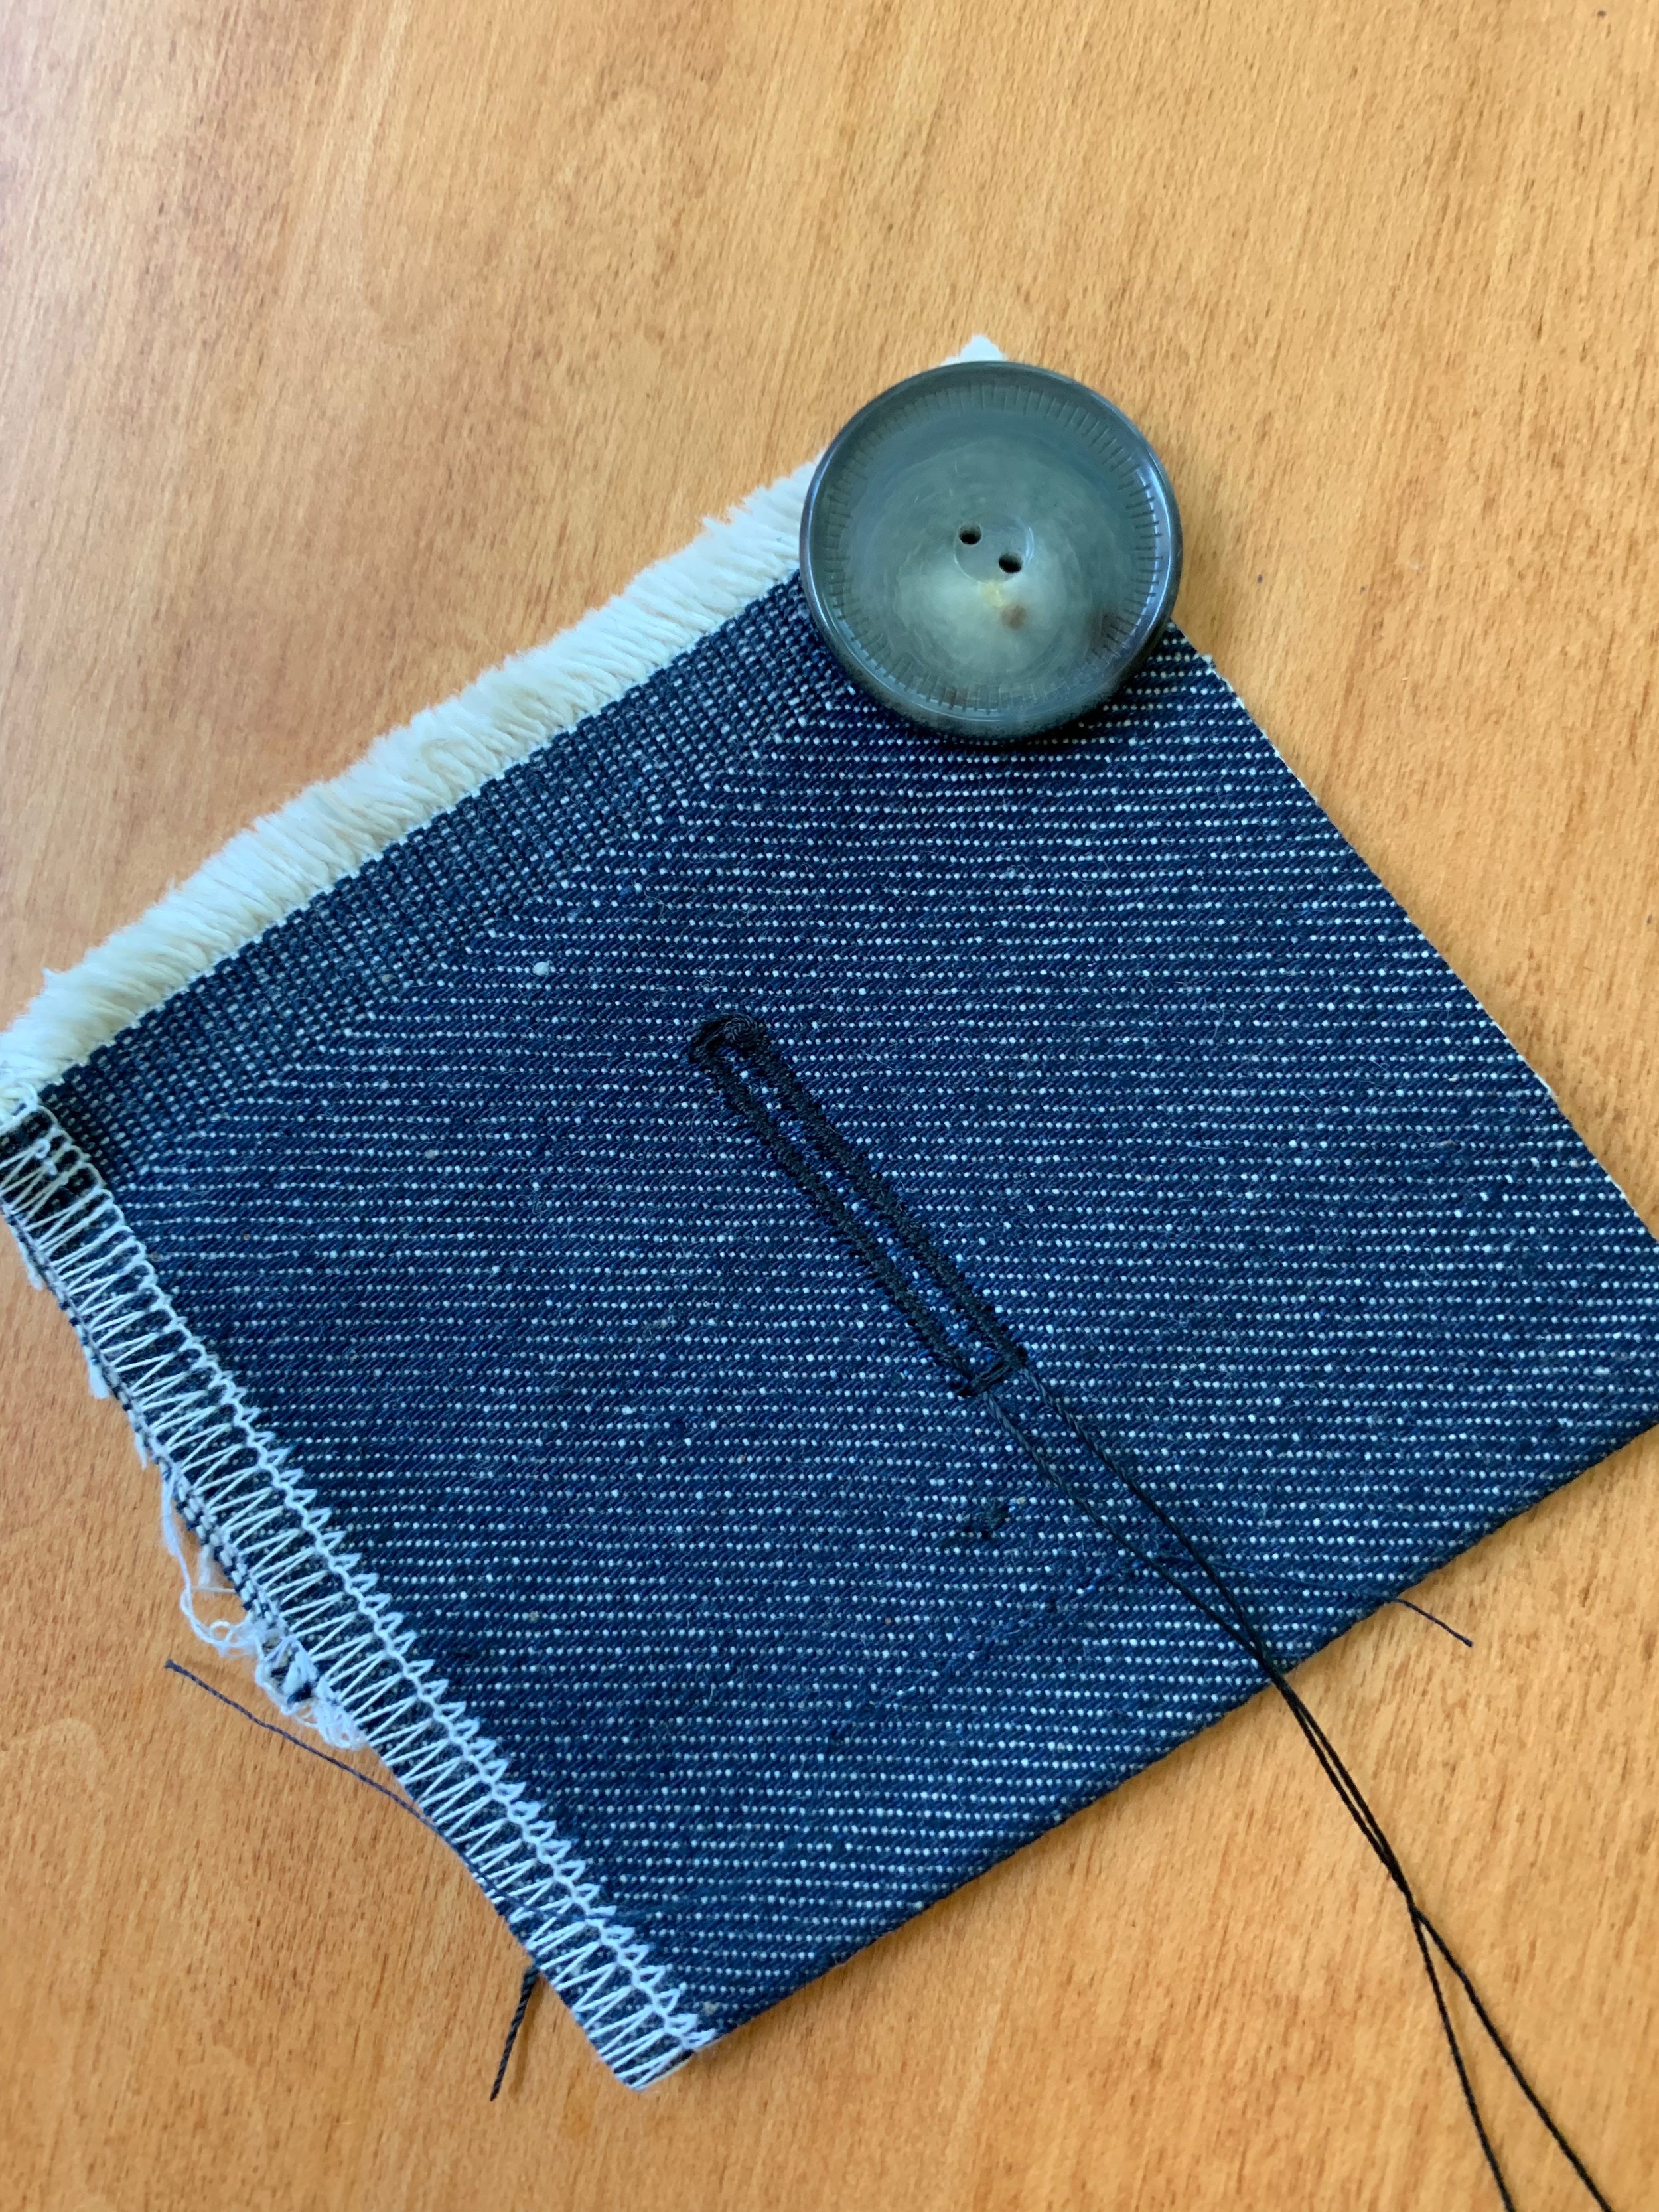
I did a few other special- slow sewing touches. For example, I made corded button holes by laying down and stitching over a length of topstitching thread see diagram below. After you stitch the button hole, you simply pull the thread taught and trim.
Are you also admiring those beautiful buttons?
In my search for the perfect button, I found corozo buttons at Treadle Yard Goods. The corozo or tagua nut -which is a seed from a tropical palm- is used for buttons and carving figurines. I read the corozo is sometimes referred to as vegetable ivory- so cool! These buttons are absolutely beautiful and have a natural variation and are soft and smooth and soothing to touch. So much better than plastic.
Before packing the coat off to send to Adam, I asked Mike to try it on for measuring the correct length for the sleeve- because father and son are surprisingly about the same size. Mike tried it on and immediately gave me a puzzled look- because…. he pointed out…I put the buttons on the wrong side- or rather the left side, where I always put buttons when sewing for women. I was totally on auto pilot and temporarily forgetting that men’s wear has buttons on the right. Rats!
After pouting a bit, this gender-based button discrepancy piqued my interest. Why different?! So I did a little internet searching to find out the reason. While I didn’t come up with a definitive answer, I did find some interesting and crazy theories. The craziest reason I found was that Napoleon mass-produced clothing that was intentionally difficult for women to put on. Ha! A more plausible reason is that in the Renaissance and Victorian eras, women’s clothing was complicated and wealthy women had assistance, so the buttons were on the right to make it easier for servants or family members assisting in dressing. Only the sharpest mind will notice. And the glass half full part of this story is it will keep Adam ambidextrous.


