Working from Home in Hudsons

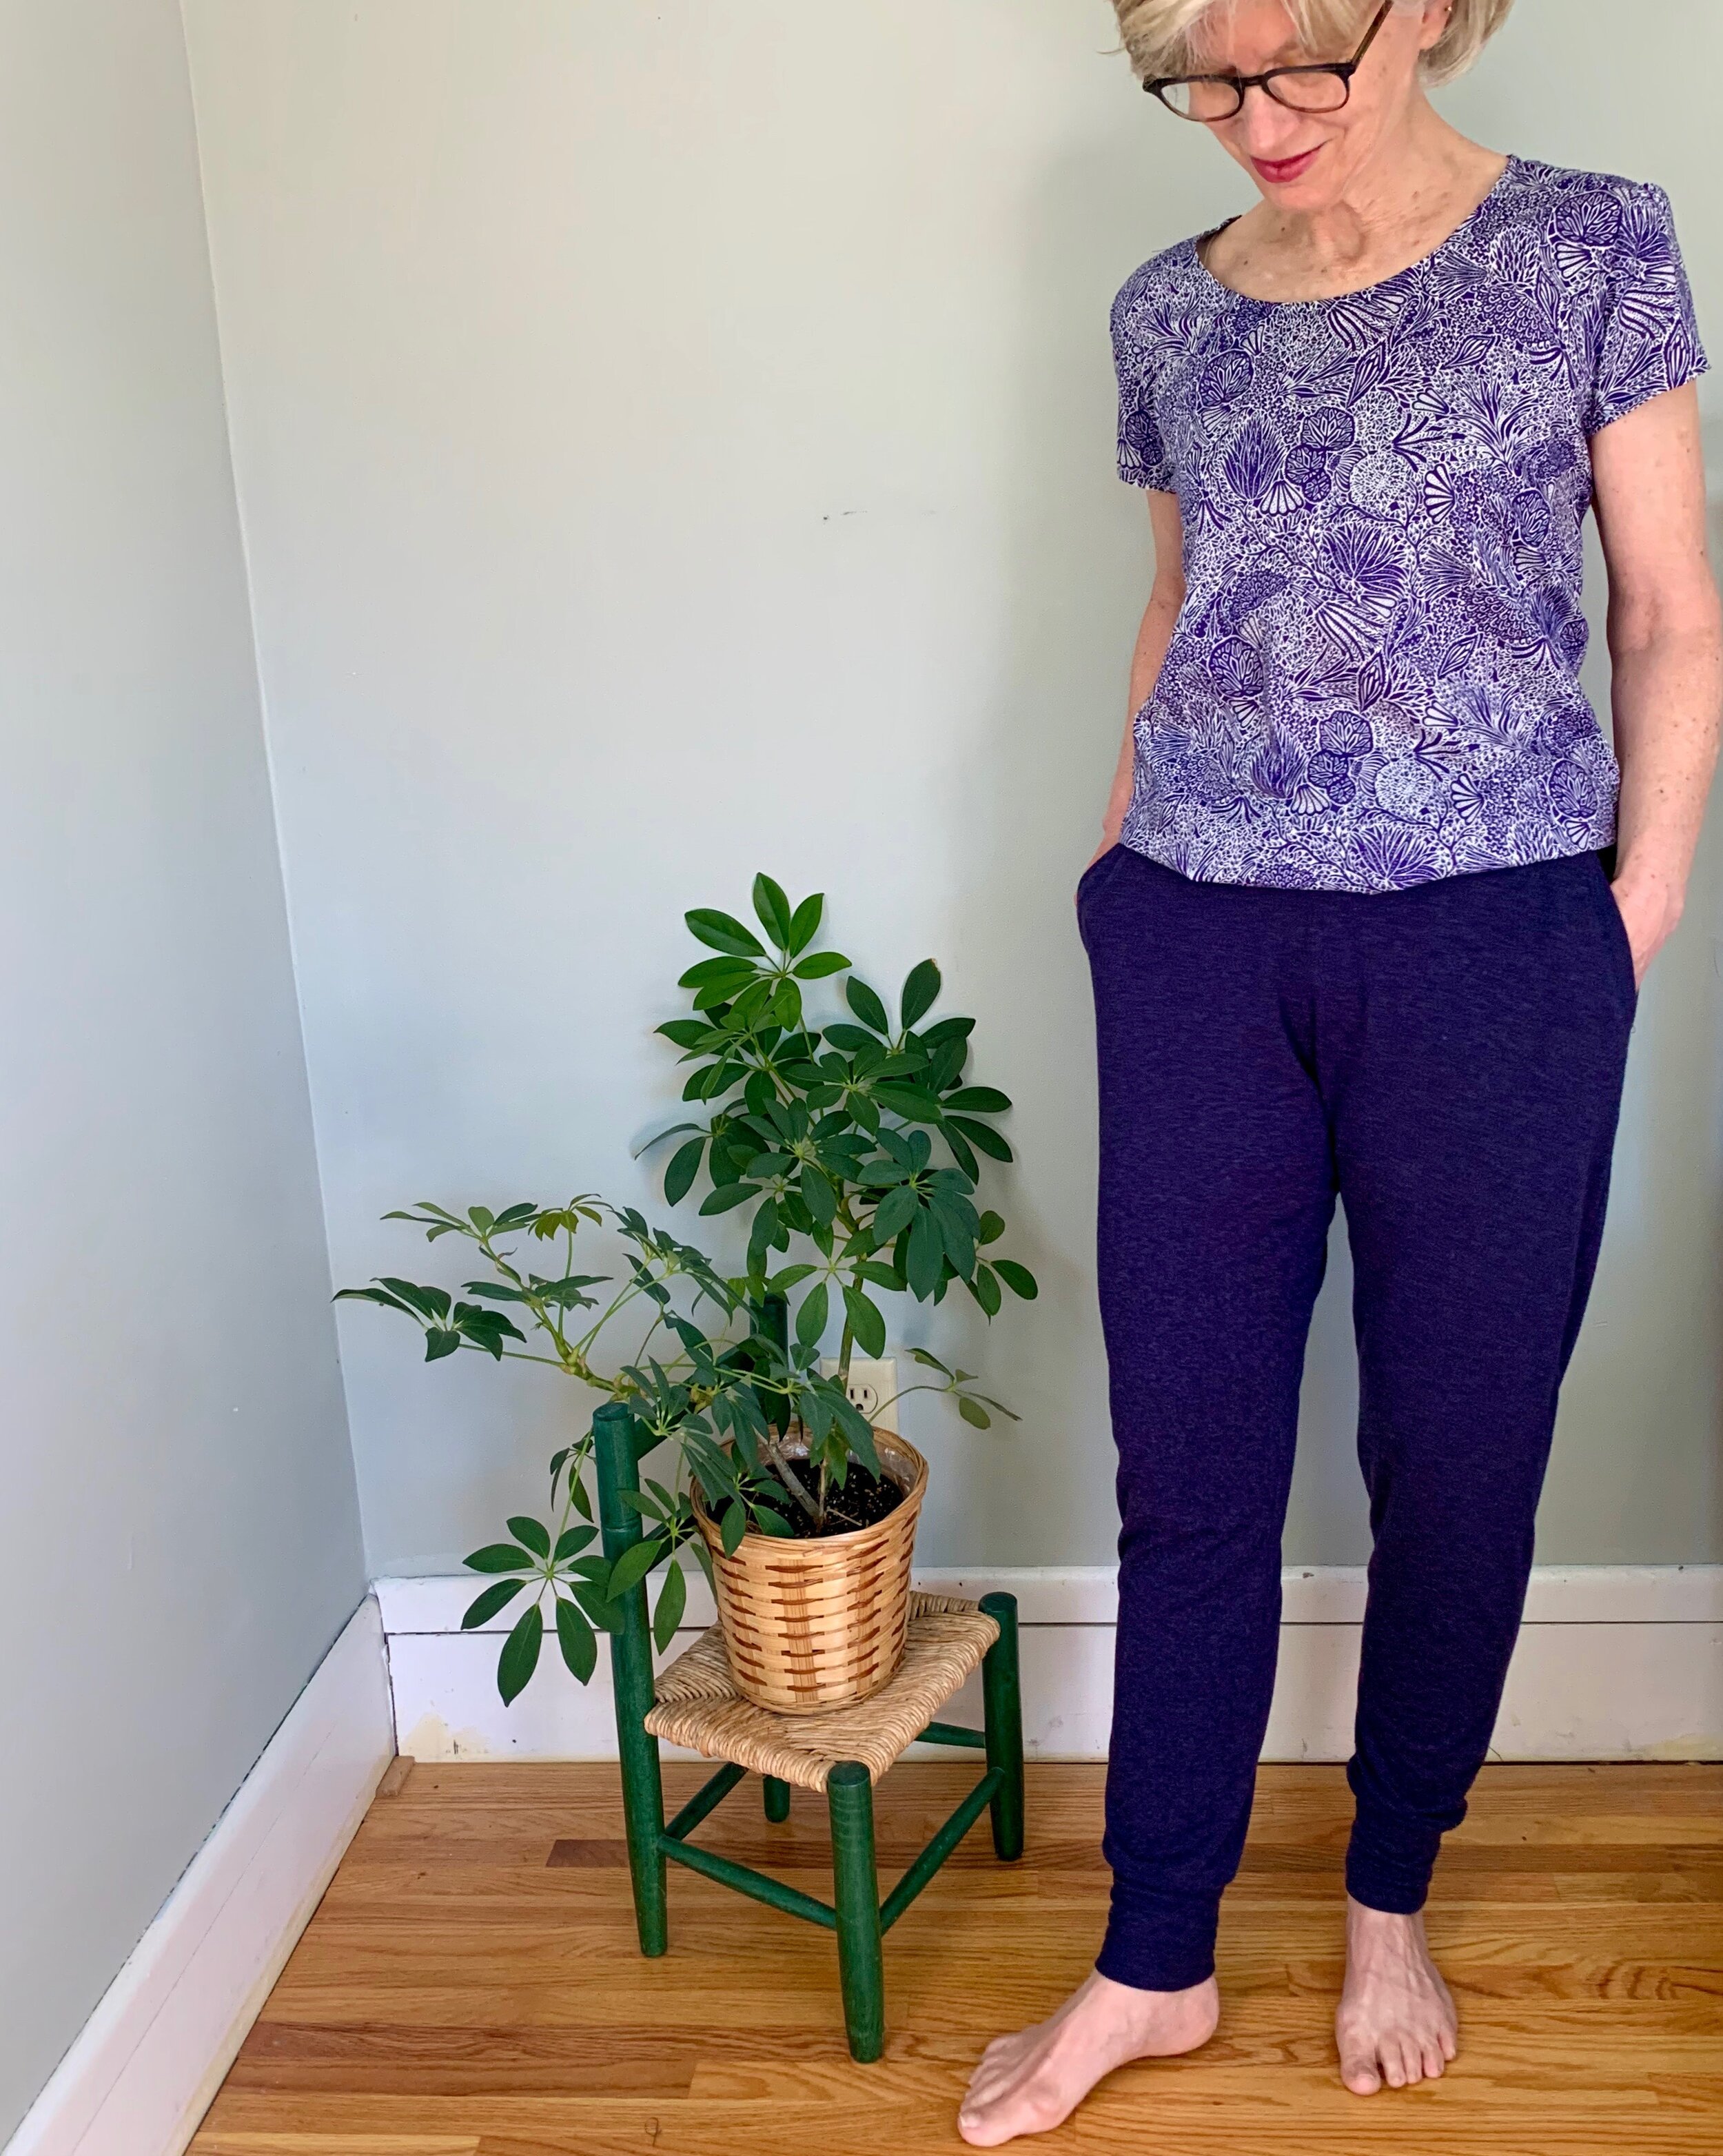
Stay at home – work from home orders were also marching orders to finally make myself a pair of the well-loved Hudson Pants by True Bias.  Participating in online team meetings means I only need to look strictly business from the waist up.  I wear leggings quite a bit for leisure wear and on weekends. The Hudson jogger is still stretchy and slim, but a little different than a legging. I was looking forward to another comfy leisure bottom option- still slim but not completely skin tight.

IMG_5211.jpg

I previously made Hudson pants for a few of the young men in my life- and I intended to make myself a pair- but kept getting distracted by those flashy, dress-up projects. Here’s an example of the Hudson pant for men I made for Adam:

IMG_6366.jpg

A major attraction of the Hudson pants is their feminine fit – somewhat slimmer than the typical jogger pant.  I cut a size 4 and did not grade out a size at the hips according to my measurements- and I still had plenty of ease.  The fabric is plenty stretchy, so I wasn’t worried. I used a merino wool blend jersey.  This fabric is fairly lightweight, but with the wool content, they are perfectly cozy.

These are definitely a quick make. They are thoughtfully drafted and the instructions are straightforward- check out the pockets. Even though there are only a few construction steps- I actually skipped a couple. I kept the waist band flat and simple by skipping the stitching through the elastic, and I also omitted the tie front. I opted for a flat and clean waistline finish. Next time I will shorten them by a wee amount to prevent any pooling at the ankles. But overall, I love them and already plan to make another pair.

IMG_5557.jpg

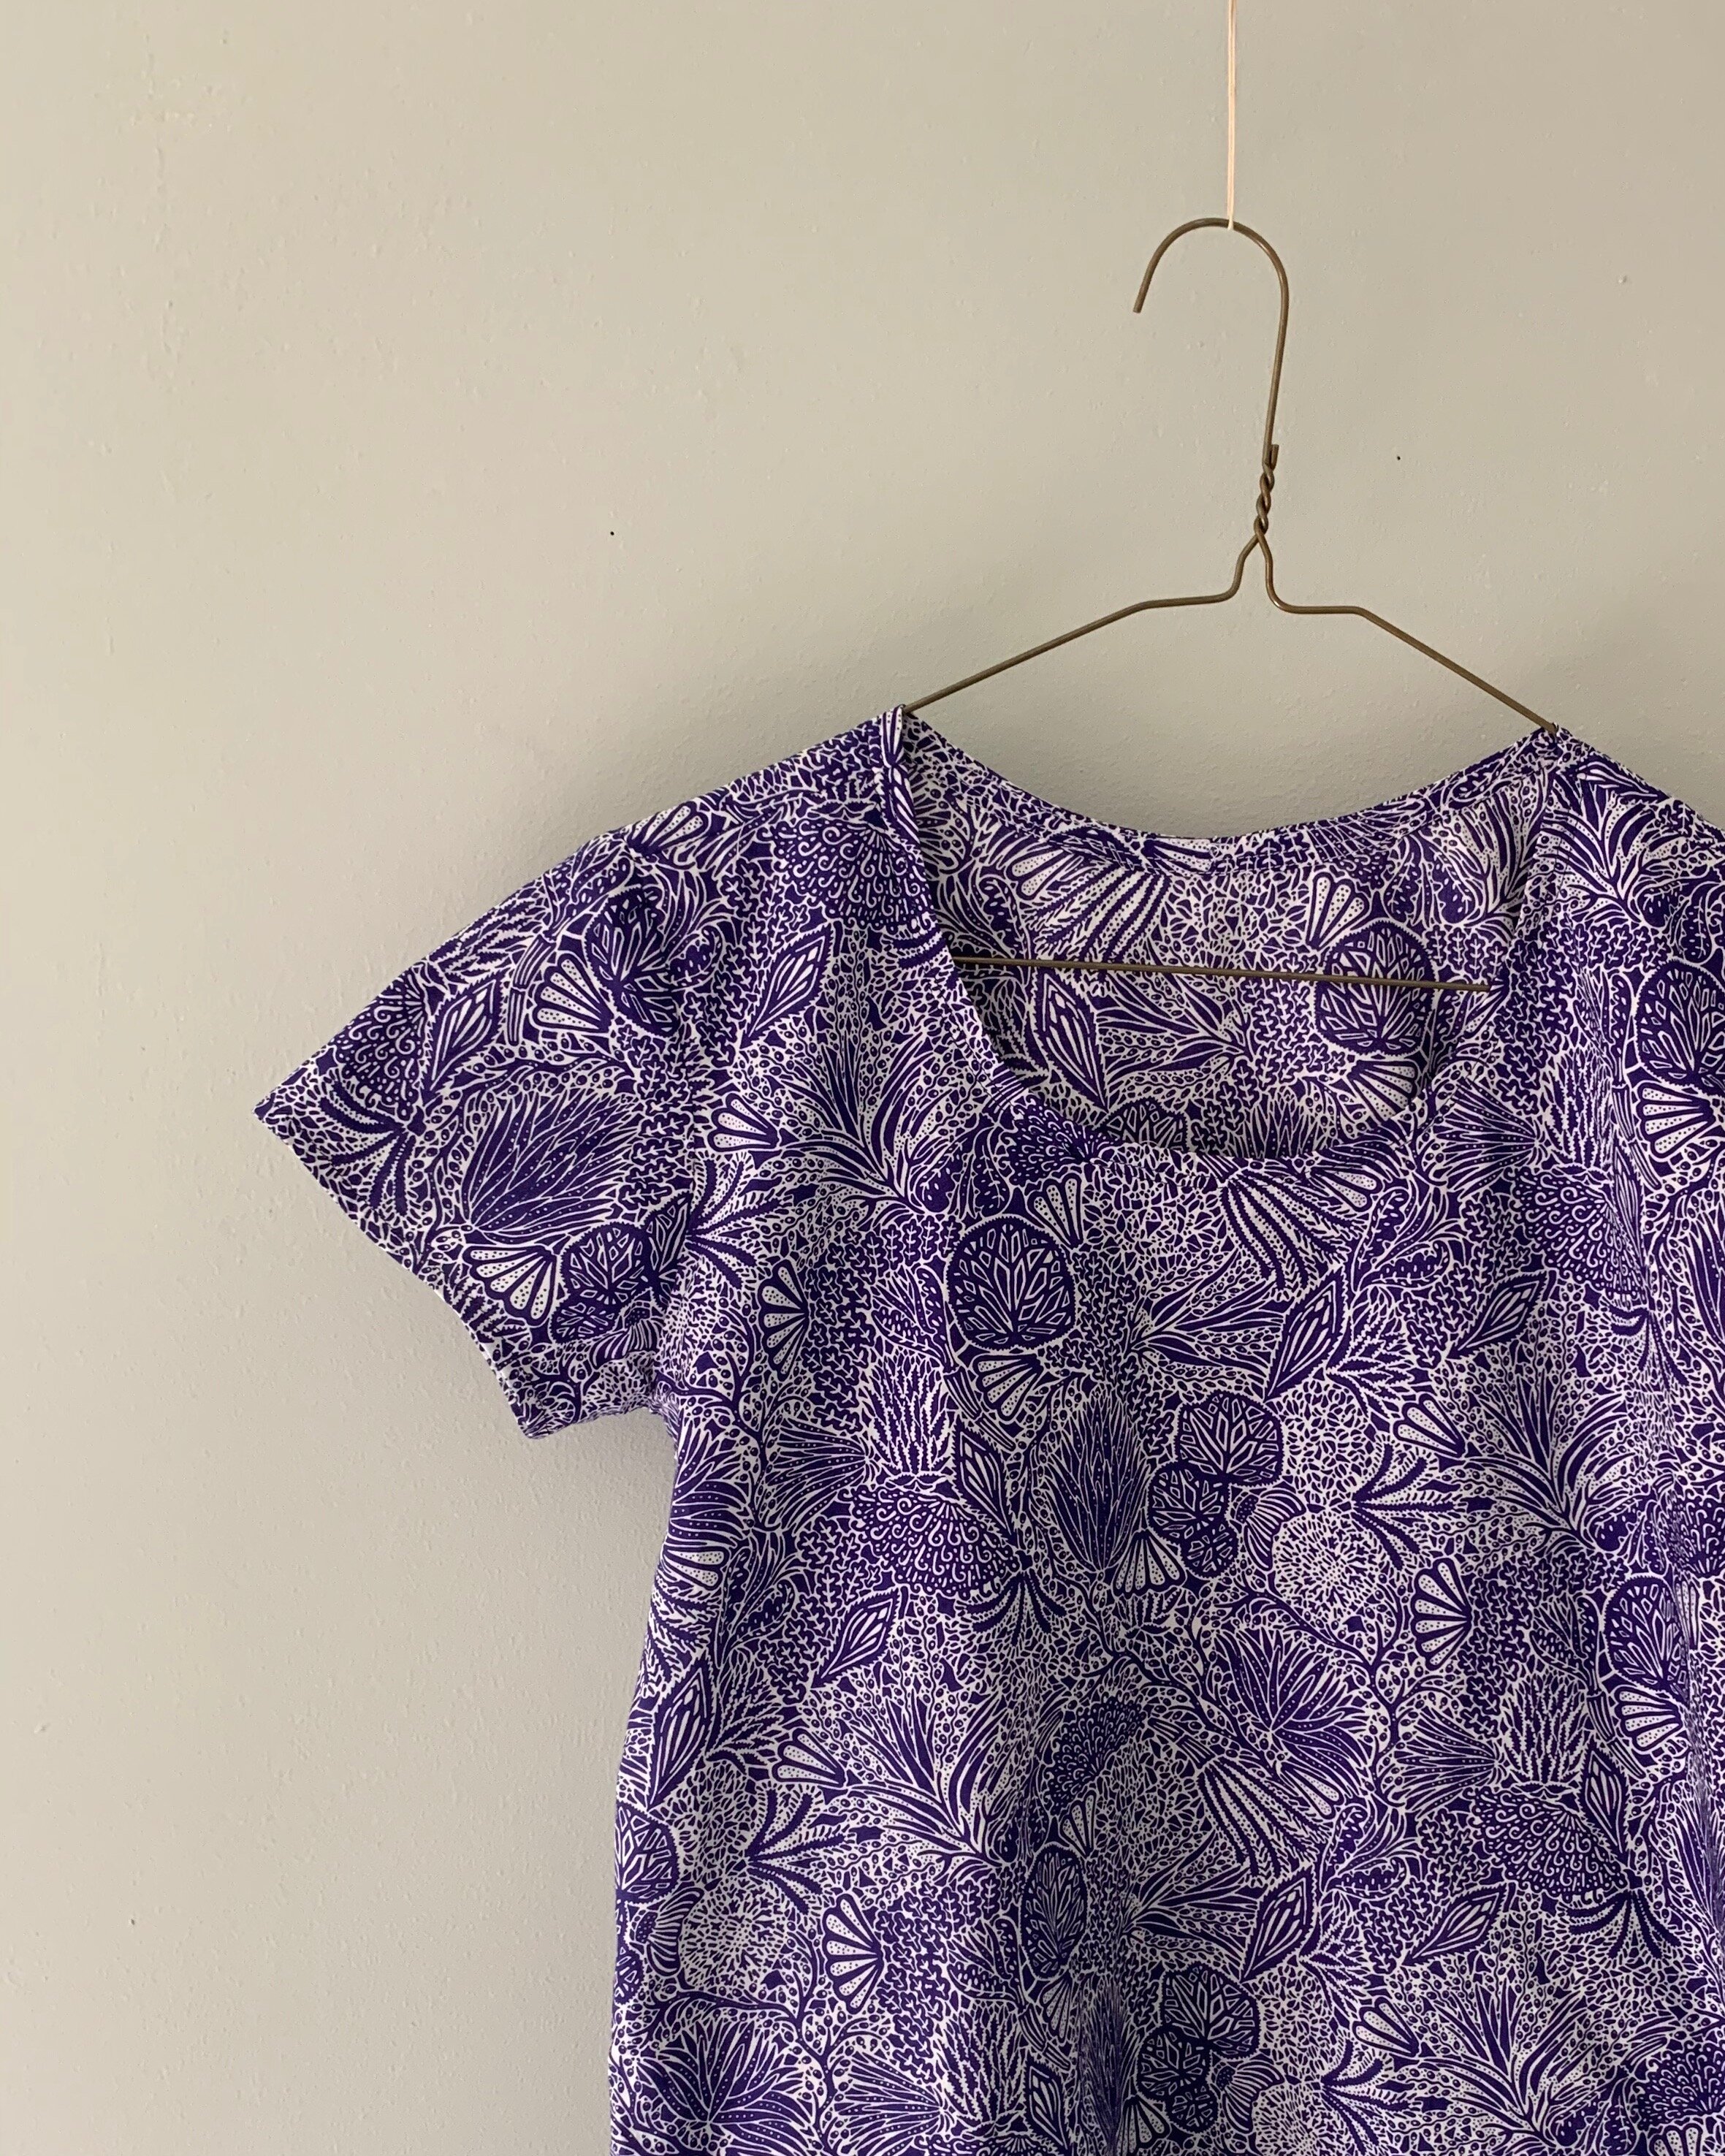
This jersey is a beautiful -but different -shade of blue that happened to match perfectly with a Grainline Scout Tee I made ages ago out of Liberty fabric.  I like a woven tee shirt, and the Grainline pattern is aces.  The fit and ease is super comfortable.  Again an easy and thoughtfully drafted project.  It’s surprisingly easy to get in and out- no tugging or struggling that might happen with some pullover woven tops-even with those slim sleeves.  Another star feature of the Scout pattern is the perfect not to high-not too low neckline that lays super flat.  

IMG_5565.jpg

I cut a straight size 2, going off my bust size- and once again I didn’t grade out for waist and hips- so it’s a bit slimmer around the waist and hip.

No buttons, snaps, zips or any other stumbling blocks for either of these patterns. These separates are a leisurely make and ideal for leisure at home wear.

Blue Velvet- for Spoolriver’s first birthday

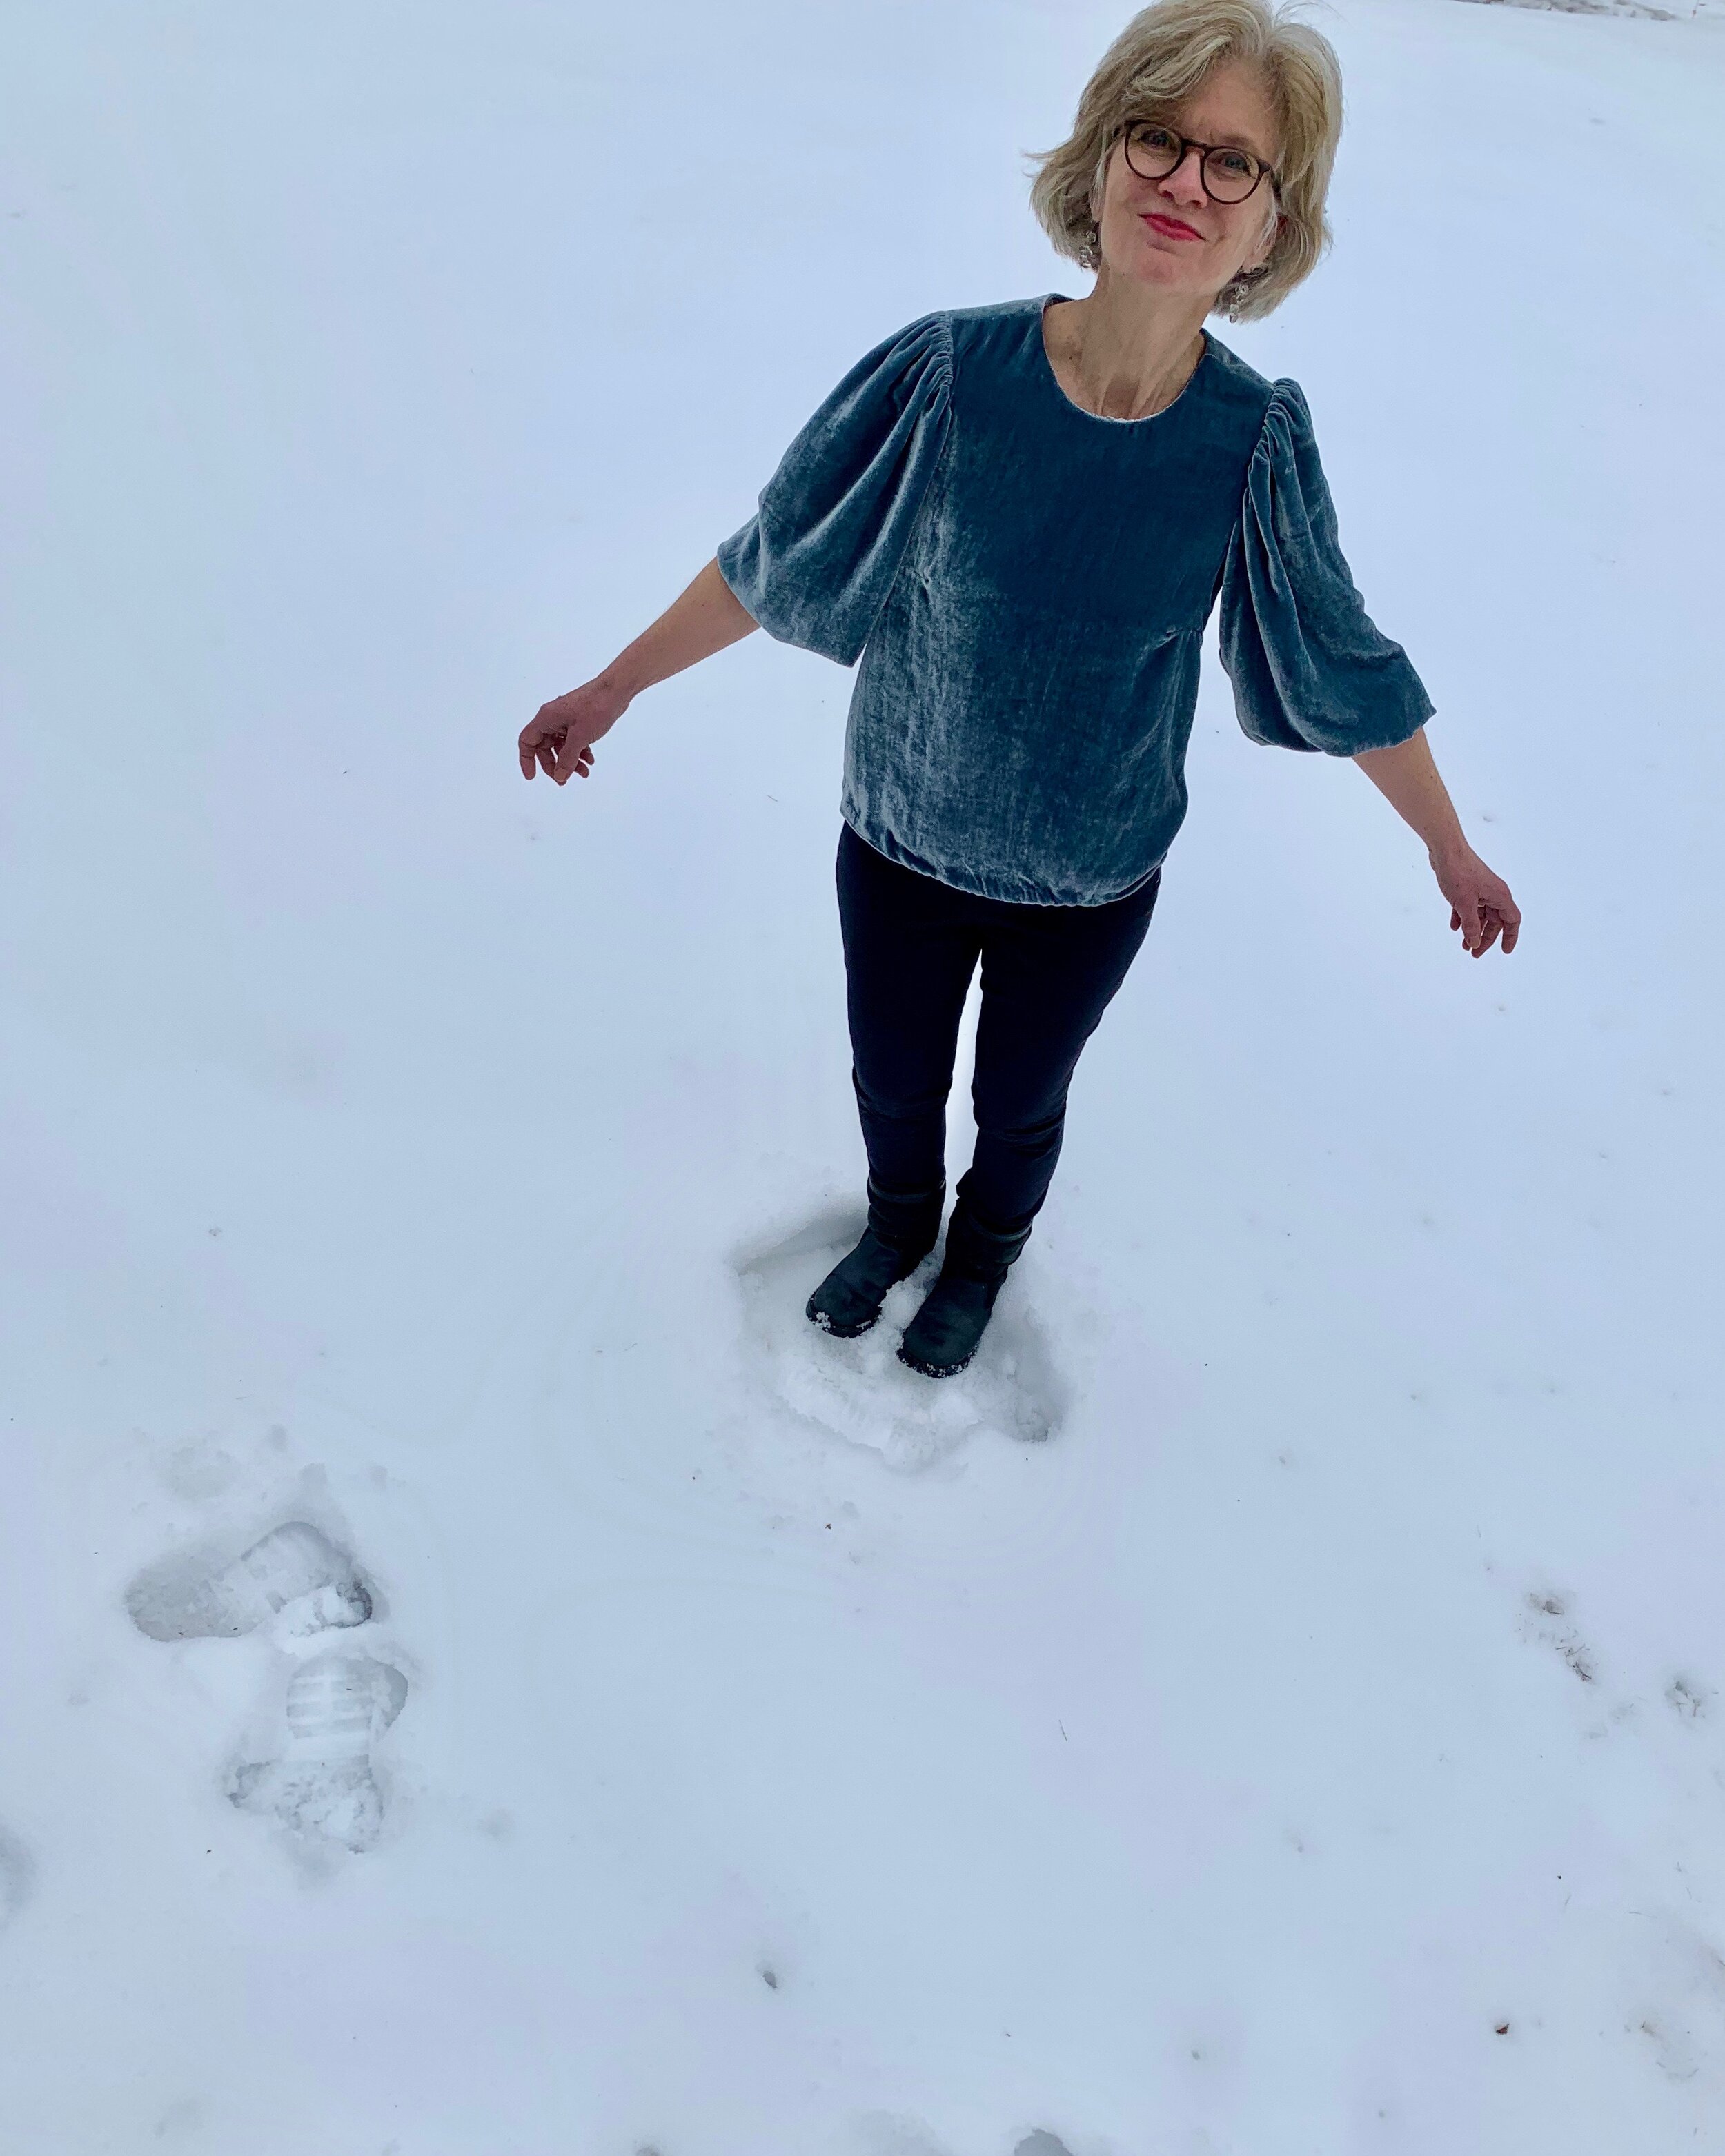
Here I am dressed up in velvet in honor of the one-year anniversary of my blog.  Happy Birthday Spoolriver! Am I impractical to be wearing Blue Velvet (cue Bobby Vinton)? Absolutely not!  Am I involved in a noir mystery directed by David Lynch? I don’t think so! No, I am simply honoring a monumental year for me. And, actually, this was a private party.

IMG_7461.jpg

So, here is why velvet is a practical party top.  I wore this top on Christmas Eve and Christmas day and was absolutely comfortable- even while sweating over cooking and serving sit down dinner for 13 and organizing next day’s pot luck dinner for 36!  And, unlike the sequined top I made for New Year’s Eve- I don’t leave a trail of sequins wherever I roamed.

I was struck by this beautiful blue silk velvet at the Fabric Store and knew it would be perfect for festive winter occasions.  Velvet may put people off, and I admit, it can be a little finicky to work with.  But silk velvet is both cozy and breathable -it’s a natural fiber.  It is sumptuous and luxurious, yet if you don’t lead a luxurious life- (read, I do the dishes) it is not precious.   I wash my silk velvet on delicate in the washing machine. And I wear it outside!

IMG_6663.jpg

I chose an easy silhouette for this fabric- which I recommend when sewing velvet.  Even though this is essentially a boxy top, I included subtle shaping with darts and gathers. This model is self drafted. Sewing velvet requires a little extra care because of the nap or fuzzy pile to the fabric.  There is a nice beginners guide to sewing velvet at Seamwork.  With this simple top, I really only had to take a few extra steps.

I make sure (double check) that all my pattern pieces are laid out on the fabric in the same direction- top to bottom of the garment.  I choose to lay them out the direction of the nap.  To figure out the direction of the nap, I simply run my hand slowly up and down the fabric- the direction that feels smooth is the direction of the nap or where the pile (or nap) is running down the fabric.  I choose that direction –pile running down- when I layout my pattern- because that’s what I was told- long ago.  But I recently read that you may want to choose the other direction (against the nap) if you want the garment to look more saturated. Whichever direction you choose, just make sure all pattern pieces are running the same way.

I use tailors tacks to mark darts or notches.  But- I typically use tailor tacks to mark- so this is no big deal

Last, I pin (with so many pins) all seams to avoid fabric creeping.  This is actually the most important precaution.  Velvet shifts when you sew it because when you put two layers of fabric- right sides together – the nap (pile) causes the fabric to shift against itself.  Trust me- it really moves- it may even be worse than sewing with slippery and shiny fabrics! I know the recommended and best way to avoid creeping fabric is to hand baste seams.  But I simply can’t be bothered with hand basting.  When I made my first silk velvet garment long ago, a sewing friend gave me the following advice: “Just pin the *&%$!# out of it.”  So that’s what I do- and it works for me.  I pin at least every 1/8th inch.

IMG_7464.jpg

The only other fiddly aspect of the top was the hem.  I originally hand stitched a hem- but the hemline looked all wobbly and terrible.  Here is the wobbly hem on Christmas Eve before the guests arrived.

IMG_6286.jpg

To improve the look, I simply added elastic to the bottom.  The finish is now both tidy and stylish and I like it better.

IMG_6518.jpg


Sequins to start a new decade

I love a festive “party in a top”- and if that top is covered with sequins- there is no mistaking that you are serious about having a good time.  During this holiday season, I did a lot of hosting- read cooking! I find it super practical to prep in jeans or black pants and a sweatshirt and then throw on a fabulous top at the last minute.  I made two party tops in December: a velvet top for Christmas Eve- because velvet is so cozy and luxurious in winter; and for New Year’s Eve, I made this sequined top. I started and finished it on December 28- in the nick of time to ring in the new decade. 

IMG_6852.jpg


I have never sewn with sequins or been tempted previously to make a sequined garment- it seemed out of my sphere. But this season, I was definitely feeling a sequins vibe - both from sewists and in ready to wear fashion.  This has been a year of sewing firsts, so I was all about ending 2019 with another new sewing experience.

IMG_6900.jpg

I saw a ready-to-wear top that inspired my top which I was able to fashion from a pattern I already own and blogged about- Burda 6914

I made three modifications to the pattern- simple! I changed up the pleats in front.  Instead of two larger pleats, I created 4 tiny pleats and centered them- see easy adjustment below.  Second, I lengthened and widened the sleeve.  Finally, I lined the top with a fabulously comfortable nude jersey lining.

IMG_6430.jpg

Sewing with the sequins was surprisingly easy- probably because the sequins on this fabric were very small.  The mesh backing was super forgiving. I simply sewed through the sequins with normal seams. I think the biggest hassle is the trail of sequins that is now strewn all through the house. Well- there are worse things than a glittery floor! I read a few tips posted by Tilly and the Buttons on Instagram that were super useful as follows:

  • Don’t use your fabric scissors when cutting the sequin fabric

  • I wear glasses and that was useful when cutting- because the sequins fly!

  • Line your garment because sequin fabric is scratchy

IMG_6901.jpg

Other good advice -that I didn’t follow because I was in a hurry- but I recommend -follows:

  • Cut pattern pieces from a single layer of fabric

  • Unpick or snip sequins from seams to make them less bulky.

IMG_6876.jpg

Although I didn’t follow the advice above, I think the top looks great. Again, my only complaint is the sequins scattered in nearly every room in the house. I don’t know if unpicking sequins would prevent the mess. But that may be worth the effort- if there is another sequined project in the future.

Florals for Fall

I don’t put away my floral prints in cold weather. So, the other day, I was interested to see this little snippet describing fall fashion: “… wearing floral prints in darker shades is officially a trend.” Well then…

IMG_3850.jpg

Even in warm weather, I lean to darker florals.  A moody floral is obviously a safe choice when sewing cool weather garments.  I know choosing prints can be tricky, and picking florals possibly even more so.  And, even though I tire of prints quicker than solids, I still choose florals often. I have said it before- Winters are long in Minnesota. And, in my book, flowers are a mood brightener.

IMG_3909.jpg

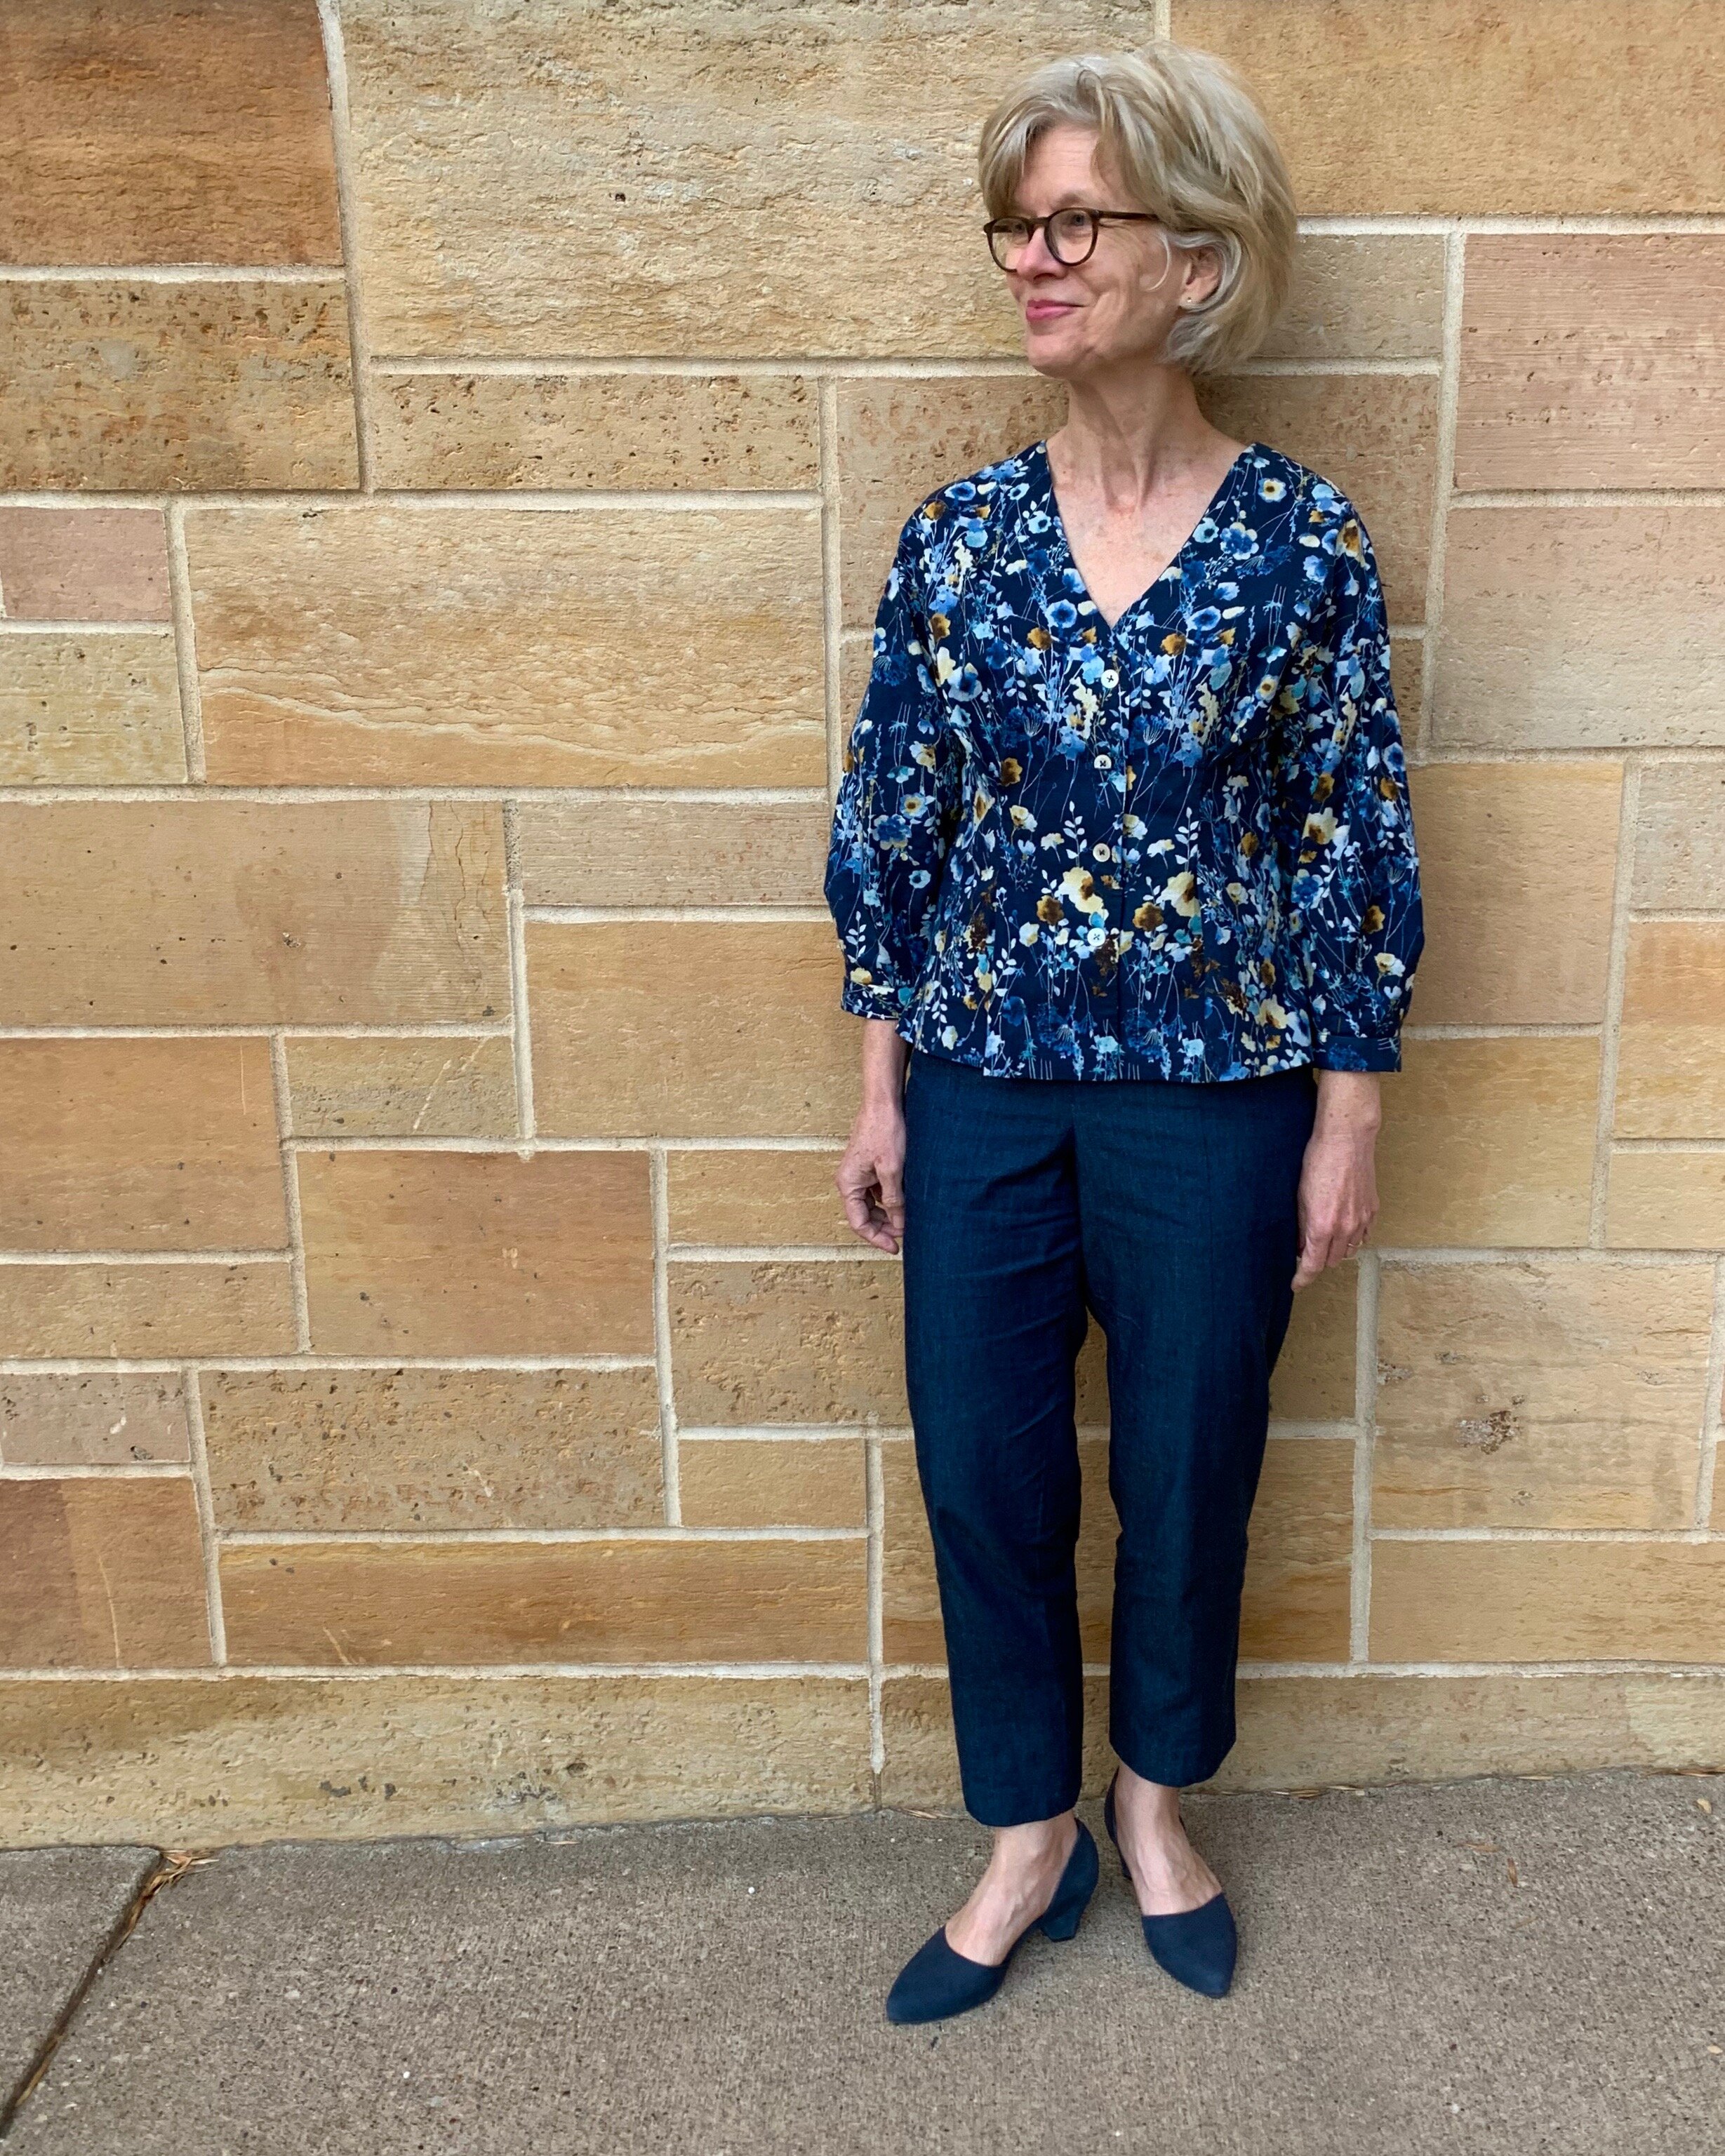
I saw this charming Burda Style top made up in lovely solids recently, but -here I go again- I went floral for my version.

This particular little floral definitely works in cool weather with the brown and golden hues. The fabric is a cotton linen sheeting- lighter than broadcloth but a bit heavier than lawn.  It is a very nice weight for blouses or tops. 

IMG_3899.jpg

This is my first Burda Style download in a while- but I remembered they ran a bit big for me.  And it proved true for this top.  I had to scale this simple top down a bit.  I drafted approximately one size smaller than the smallest pattern size (36- which should be my size according to measurements) and I also raised the neckline by a full inch by simply drawing the pattern line an inch higher all the way up the neck. With the drop sleeves and roomy fit- there are no real fitting issues. I just know I almost always need a higher neckline.

IMG_3912.jpg

 I love the detail of the pleated sleeves-pleated at the cuff- and shown here in action. I admit I have a bad habit of pointing….

IMG_3800.jpg

This top is styled with my Pietra pants- blogged about here- which seem to go with everything- especially florals!

Faux leather fun for Fall

After a bunch of head scratching, pattern hacking, self-drafted projects- I decided I needed a straightforward- out of the envelope make.  For this project- I went totally auto pilot.  I liked the styling of this Cynthia Rowley Simplicity 1314 pattern view so much, I absolutely (shamelessly) copied it- down to the shoes.

IMG_3711.jpg

 Armed with my leftover faux leather and this pattern, I made the exact dress; exactly out of the envelope; in exactly one size; in exactly the same suggested fabric.  But there you go- I like it and I’m glad I did.

IMG_2561 (1).jpg

I think this dress pattern is super flattering and the fit is perfect. I will definitely re-visit it again- perhaps with a more creative mind!

Because I made absolutely no modifications and the pattern is straightforward - all I really need to talk about is the ease of working with faux leather- if you haven’t before- and also give a shout out the fabulous quality of this particularly beautiful faux leather from Emma One Sock.

Can an imitation be better than the real deal? Faux literally means fake or imitation- not super appealing.  But, after working with this, I am a faux fan.  When I wore this dress last week, a friend asked if it was real leather.  Well-I guess that’s the goal.

IMG_2568.jpg

The only extra step I took was to change my sewing machine needle to a leather needle.  Other than that- everything was straight forward.  This leather has the tiniest bit of stretch so it works perfectly with the black ponte I paired it with- also from Emma One Sock.

 Similar to ponte- the faux leather does not fray and is very stable. 

I am typically careful pressing ponte- I (almost) always press on the wrong side- and use a press cloth on the right side.  This faux leather is viscose backed- so you can feel safe pressing on the back side.  And I used a press cloth on the front with the faux leather- the manufacturer notes you can use a medium heat iron on this fabric.

IMG_2535.jpg

My other faux leather project this month is this super simple bomber jacket.

IMG_2846.jpg

This jacket was meant to be fast and easy.  The jacket is unlined because the viscose back on this fabric is surprisingly comfortable.  And I didn’t need to finish the seams because the simple cut edges on the faux leather are so sharp and clean.

IMG_2852.jpg

Unlike the easy out-of-the envelope dress- this simple looking bomber is actually a hack of three patterns.  I had a jewel neck raglan jacket pattern– but the sleeves were too full- so I fiddled with those and modified a piece from another pattern.  Last, I used a collar and facing pattern piece from a traditional bomber pattern.  The ribbing gets five stars for really pulling this all together.

The only notable thing I did on this jacket is hand hemming.  I didn’t have enough ribbing to finish the bottom of the jacket- like a typical bomber- so I opted for a straight hem.  I experimented with topstitching on this fabric but I didn’t like how it looked.  So I attached seam binding on the hem for a little extra length- and sewed it up by hand. In the end, I really prefer this straight finish over a ribbed trim finish.

IMG_2796.jpg