Refashioned Linen Shirtdress

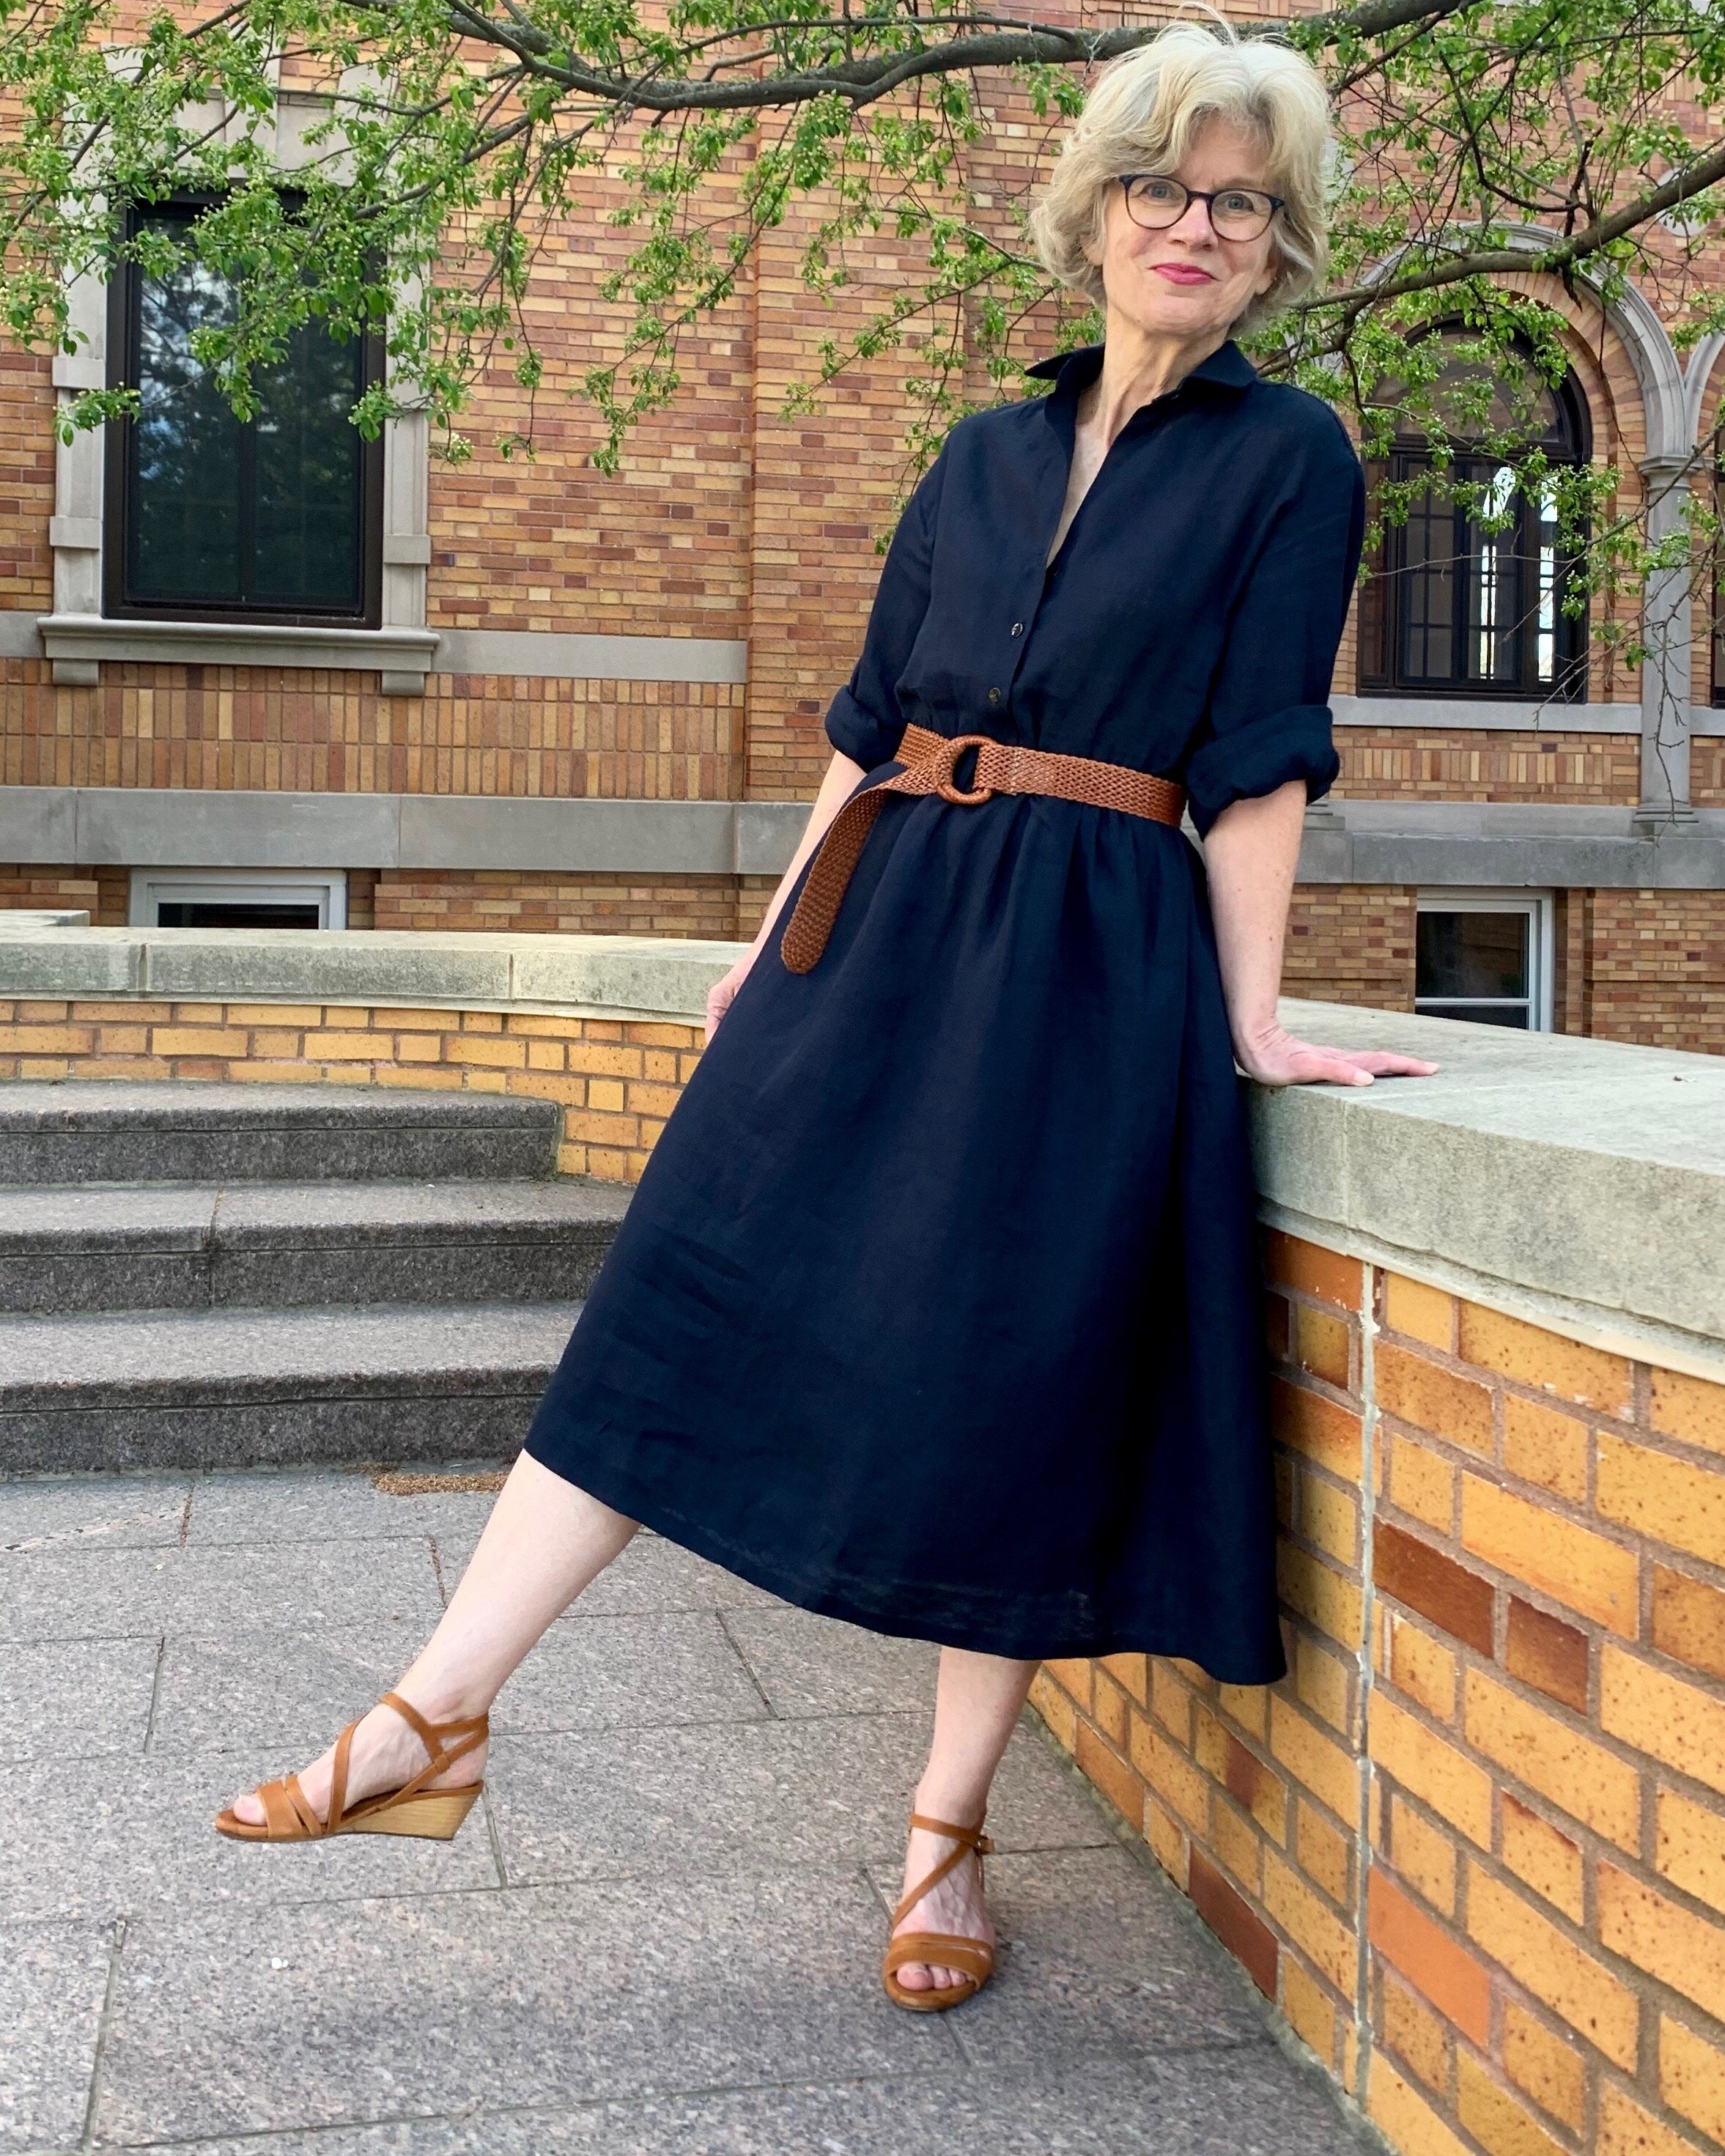
Here’s a story about a remake times two.  I have a navy linen shirtdress that I made for myself several years ago that proved to be an amazing wardrobe work horse.  It was appropriate for practically every occasion: work, travel and play -dressy or casual.  But- years later- it is now too faded and too small/short? to keep performing it’s all star role in my closet.  I wear it around the house, but that’s about it- so I set about making a replacement.

IMG_3308.jpg

I started this replacement shirt dress saga by making a kind of mashed up and hacked version of Grainline Studios’ Archer and Adler patterns. I have made several Archer shirts (blogged about here) and often use it as a base for other tops and dresses. For some reason, I was feeling extra and I added a waistline and a very big gathered skirt.  This particular linen- purchased from Stone Mountain and Daughter Fabric -is a little bit opaque, so I thought a full skirt would eliminate the need for a lining- and maybe I was having a ball gown moment.

IMG_3572.jpg

If we are talking about versatility- I think navy is a champion color and I have quite a bit of it in my wardrobe. Linen is also definitely an all-around versatile fabric.  This particular light weight linen has dual magical properties: it is both crisp- see that collar- and it drapes.

IMG_3890.jpg

I had fun twirling around in the dress for pictures and I liked it styled with different belts and shoes for different feels- but after the picture-taking session, the dress hung unworn in the closet – and lingered unworn, and almost disappeared.  What the heck?  I made this expressly because my other navy dress was so wearable.

 So I decided the dress needed a significant overhaul- or refashion -to make it more wearable.  I made a few key changes to the skirt and sleeves to give this dress a more easy going, laid back and much less structured feel. 

IMG_6324.jpg

Let the unpicking begin! First, I completely took off the skirt and reduced the fullness, which made a big difference in the feel of this dress. I added a full button closure down the entire length of the skirt, and I also attached a casing and made a drawstring waistline for comfort and super easy style.  Last, I shortened the sleeves to relaxed elbow length.  Now it’s a great one and done every day kind of dress.

IMG_6805.jpg

It feels more versatile and I can still change it up a bit with belts, shoes and other accessories.

IMG_6635.jpg

I love how linen is a season spanning fabric.  This navy linen is suitable when the weather is cool, and we all know linen is the perfect fabric in a heat wave- and (surprisingly) it actually gets very hot and humid here in Minnesota in the summer. I wore the dress to brunch on the patio this weekend in extreme heat and it was perfect. This navy shirt dress- third edition- is a winner.

IMG_6267.jpg

Working from Home in Hudsons

Stay at home – work from home orders were also marching orders to finally make myself a pair of the well-loved Hudson Pants by True Bias.  Participating in online team meetings means I only need to look strictly business from the waist up.  I wear leggings quite a bit for leisure wear and on weekends. The Hudson jogger is still stretchy and slim, but a little different than a legging. I was looking forward to another comfy leisure bottom option- still slim but not completely skin tight.

IMG_5211.jpg

I previously made Hudson pants for a few of the young men in my life- and I intended to make myself a pair- but kept getting distracted by those flashy, dress-up projects. Here’s an example of the Hudson pant for men I made for Adam:

IMG_6366.jpg

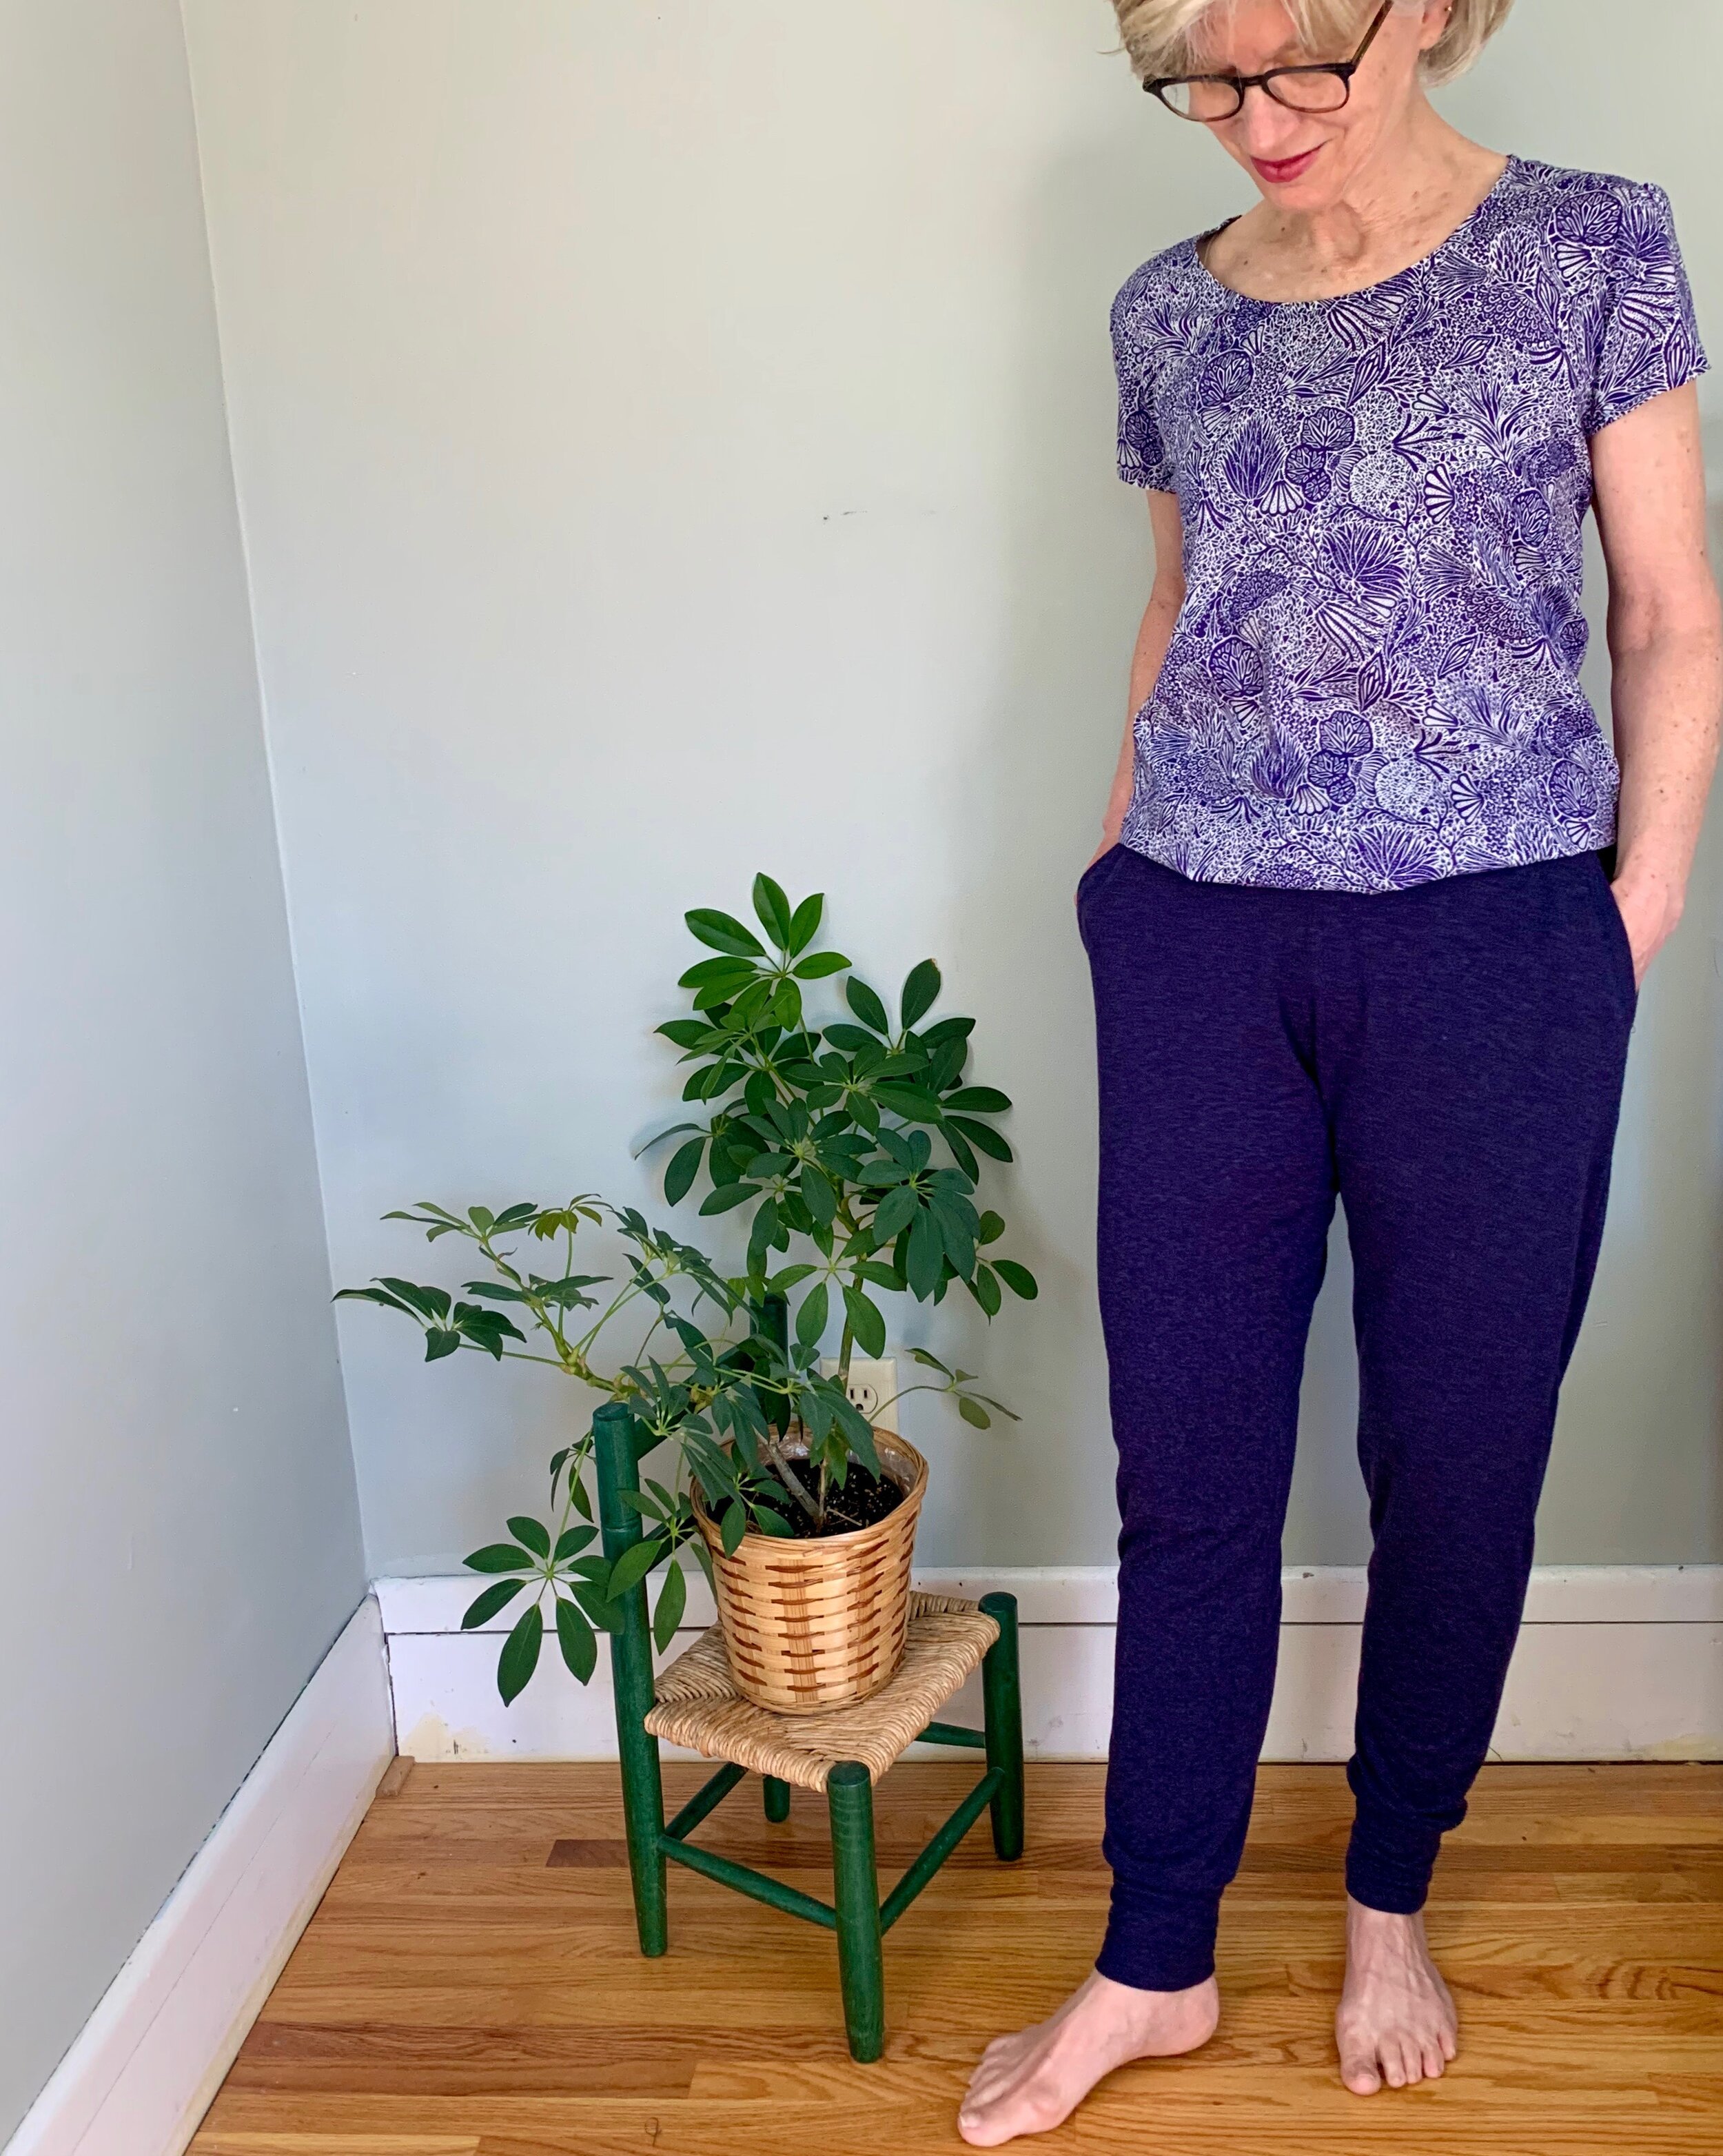
A major attraction of the Hudson pants is their feminine fit – somewhat slimmer than the typical jogger pant.  I cut a size 4 and did not grade out a size at the hips according to my measurements- and I still had plenty of ease.  The fabric is plenty stretchy, so I wasn’t worried. I used a merino wool blend jersey.  This fabric is fairly lightweight, but with the wool content, they are perfectly cozy.

These are definitely a quick make. They are thoughtfully drafted and the instructions are straightforward- check out the pockets. Even though there are only a few construction steps- I actually skipped a couple. I kept the waist band flat and simple by skipping the stitching through the elastic, and I also omitted the tie front. I opted for a flat and clean waistline finish. Next time I will shorten them by a wee amount to prevent any pooling at the ankles. But overall, I love them and already plan to make another pair.

IMG_5557.jpg

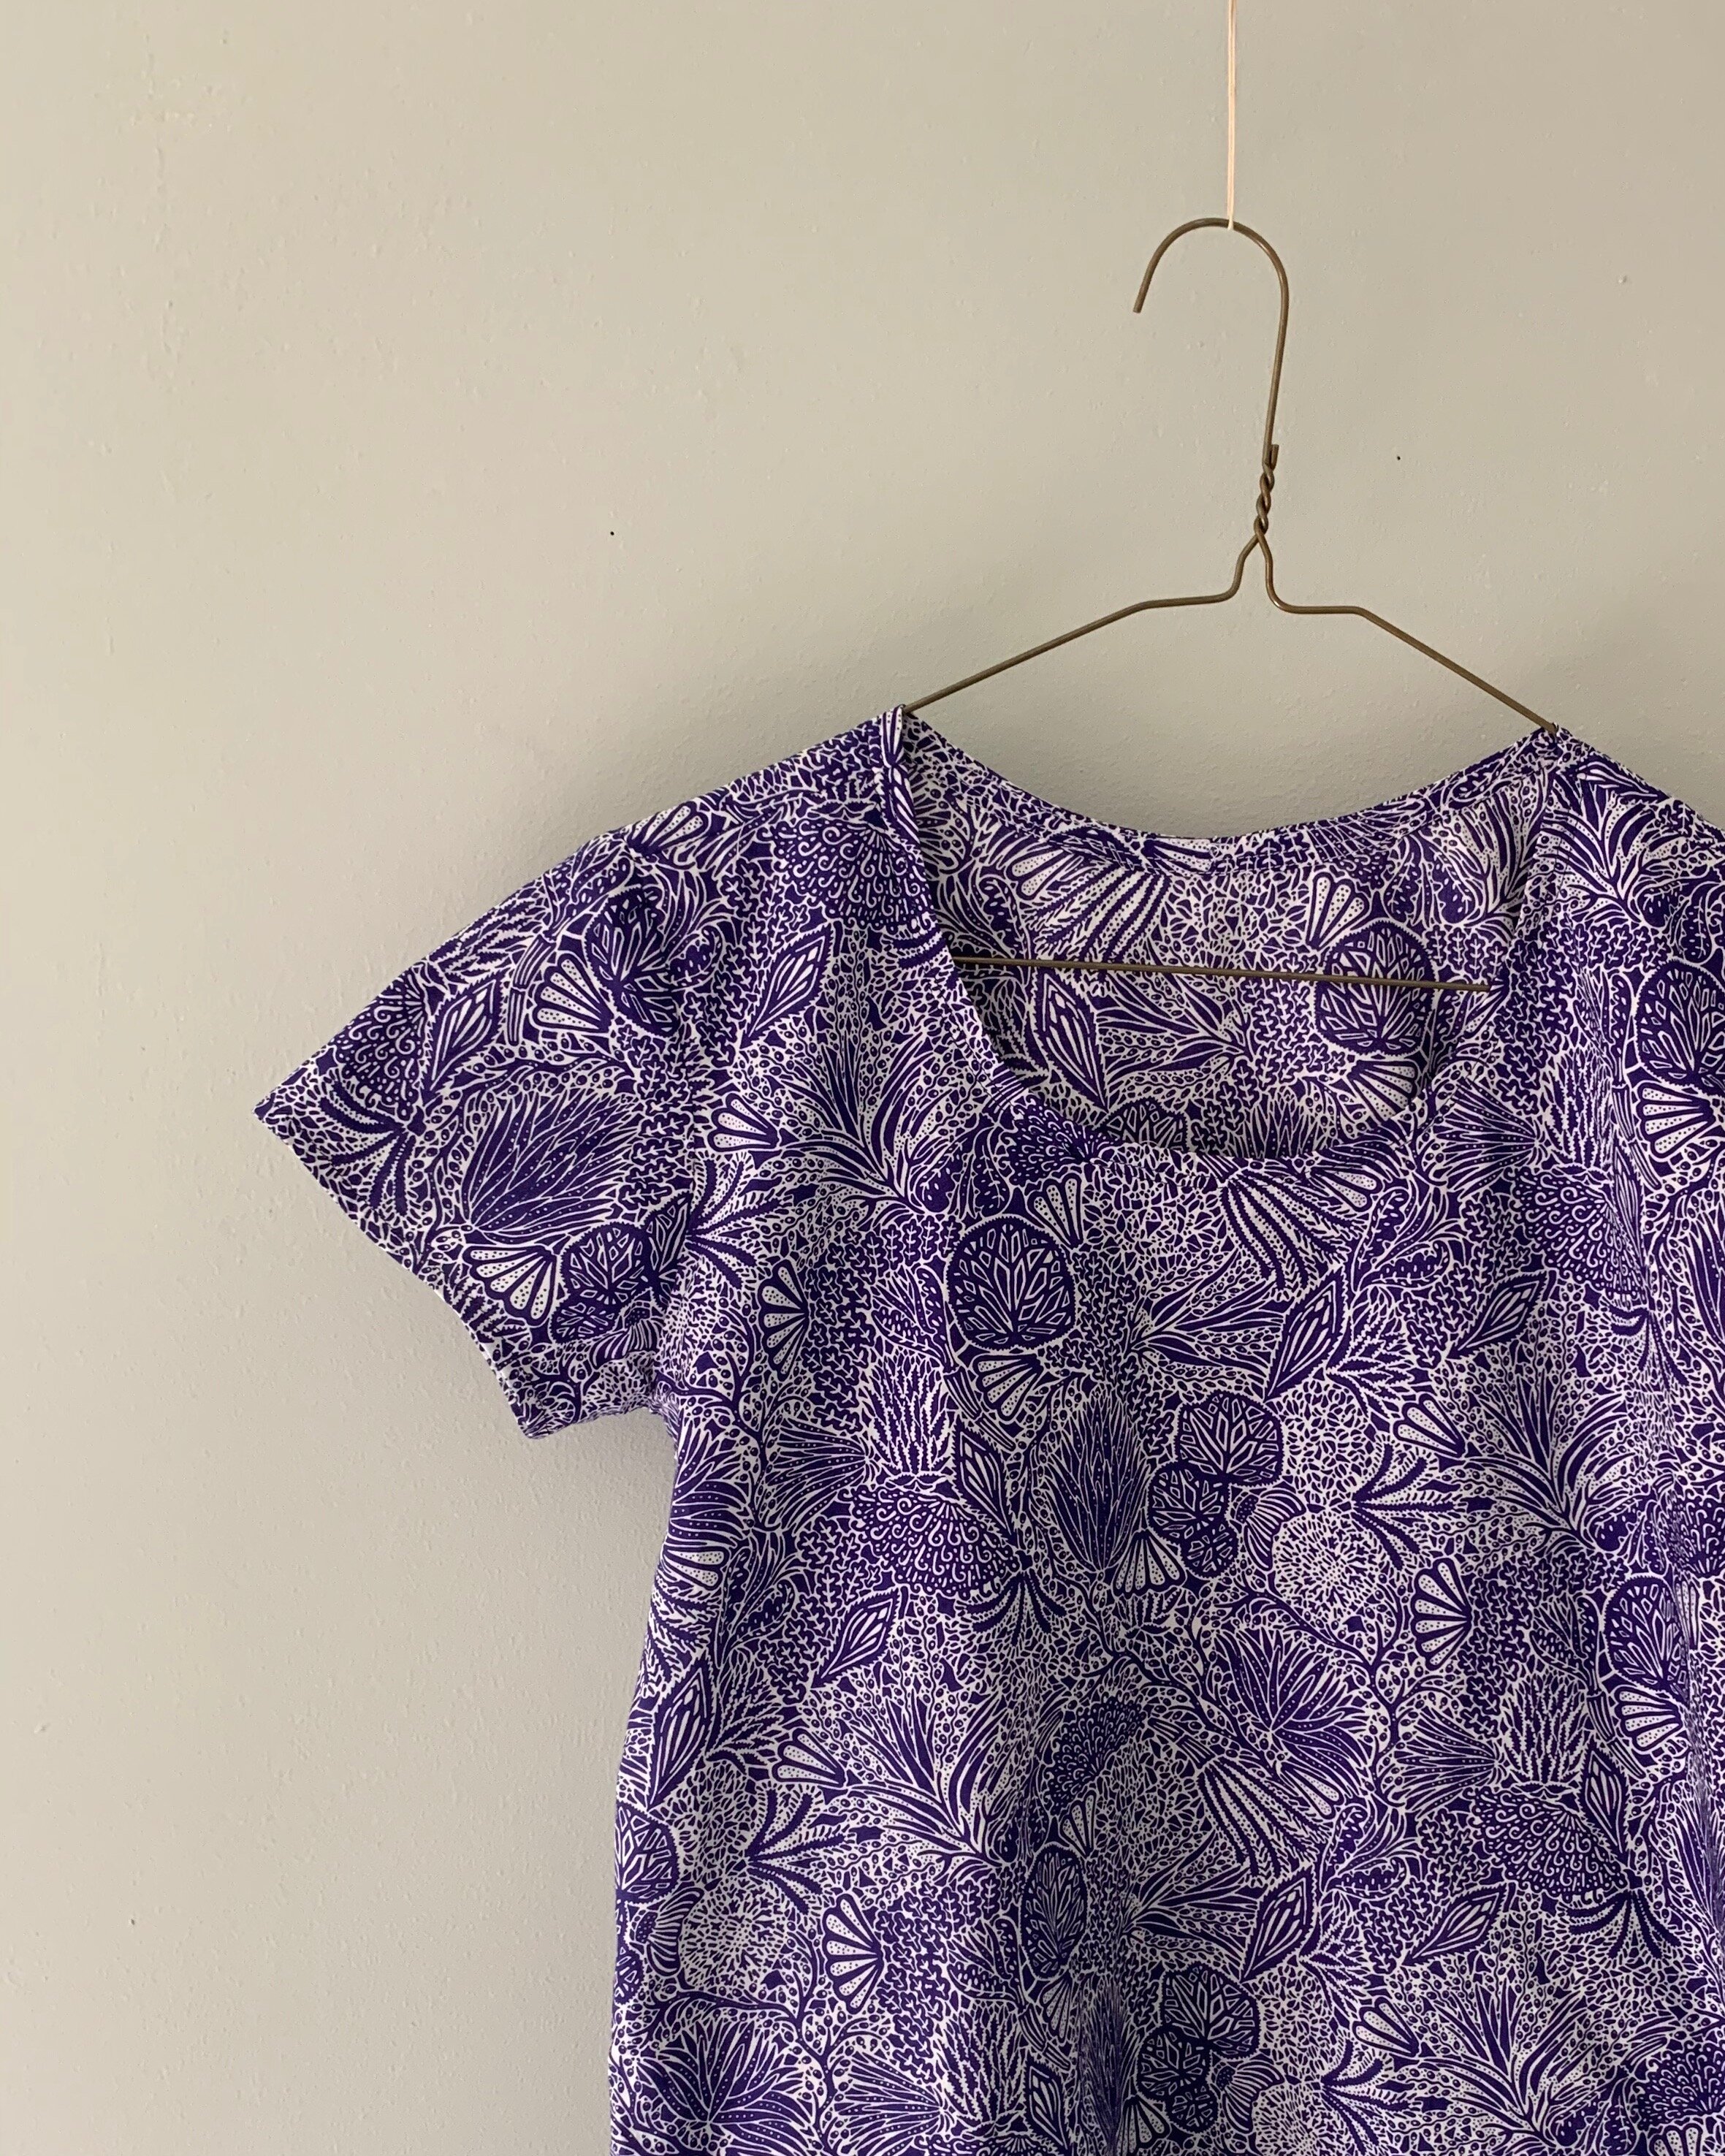
This jersey is a beautiful -but different -shade of blue that happened to match perfectly with a Grainline Scout Tee I made ages ago out of Liberty fabric.  I like a woven tee shirt, and the Grainline pattern is aces.  The fit and ease is super comfortable.  Again an easy and thoughtfully drafted project.  It’s surprisingly easy to get in and out- no tugging or struggling that might happen with some pullover woven tops-even with those slim sleeves.  Another star feature of the Scout pattern is the perfect not to high-not too low neckline that lays super flat.  

IMG_5565.jpg

I cut a straight size 2, going off my bust size- and once again I didn’t grade out for waist and hips- so it’s a bit slimmer around the waist and hip.

No buttons, snaps, zips or any other stumbling blocks for either of these patterns. These separates are a leisurely make and ideal for leisure at home wear.

Liberty Blouse Pattern Trifecta

I have been making and wearing cotton shirts for ages.  They tend to fall into one of two camps: 1) the button down -sometimes these lean a bit to the stuffy/workwear side; and 2) the boxy top with sleeve variations -sometimes these lean simple and perhaps a little shapeless.  For this cotton top, I wanted a softer version of the standard button down.  I imagined a blouse with a collar band- but no pointy collar- an easy popover style with soft gathers and a bit of shape.  After scouring blouse patterns until I went a bit bleary eyed- I landed on not one, not two, but three patterns- to mash together for this Liberty project.  The bright side is that I already own all these patterns- which makes sense, because – well — the design elements were calling to me

IMG_1340.jpg

I like the collar band on McCalls 7360 – see how nice and flat it lays on the neckline!  But I don’t want darts and I want a wee bit fuller blouse, so I like the soft gathers front and back on the McCalls 7324. But- I don’t love the pleat in front on that pattern.  I also decided to pass on the two piece sleeve in both McCall’s patterns and prefer a simple (albeit pretty traditional) sleeve from the Grainline Archer.

IMG_1365.jpg

My pattern mashing steps are elementary.  I line up the shoulders and waist markings- in this case from McCalls 7324 and 7360. I used McCalls 7360 as the base -including collar and placket- and modified by adding fullness from 7324.  I used the entire back piece from 7324. The sleeve cap from McCalls two-piece sleeve was nearly identical to the Grainline Archer sleeve, so I simply cut the Grainline sleeve and cuff pieces.

It is not the perfect blouse- but it is getting close.

IMG_1341.jpg

Let’s take a moment to not only admire the great Liberty print, but extol the virtues of this Tana lawn.  Tana lawn is the perfect fabric for blouse making.  This cotton is woven so tightly, you never are in danger of fraying.  The fabric is lightweight but incredibly stable , all seams are simple.  French seams are also a breeze because there is no danger of slip sliding with this fabric.

IMG_1219.jpg

Parting comments are confessional- I made an ENORMOUS pattern matching mistake.  Kind of a forest for the trees issue.  In fact, I un-picked the placket and re-attached it because I originally put the placket fabric in upside down.  I think I stared at the fabric so intensely to determine what was up and what was down, that I TOTALLY missed the vertical design- see red flowers below. Oh man- I was devastated when I tried it on and noticed it. Sadly, my blouse is completely off.  There is absolutely no way to salvage this- I used up all of the fabric.  Liberty fabric is such an asset- this may get unpicked and transformed into something more perfect. But, I will wear it a few times as is- mostly to analyze this pattern trifecta for comfort and wearability.

IMG_1362.jpg

The useful Tamarack

The Tamarack!  This is both a versatile tree and fabulous Grainline pattern.  Tamarack -from the native Abenaki language- means “wood used for snowshoes.”  Tamarack trees are native to Minnesota and their wood is used for framing houses, utility poles, paper pulp, and dog sled runners in addition to those wooden snowshoes.  Tamarack needles can be made into a tea to soothe sore throats!  So versatile- so many uses.

Grainline’s Tamarack pattern is also adaptable; I was inspired by Jen’s version of a non-quilted Tamarack . This option matched my need/want for a jacket/topper/blazer that works for my casual/professional work environment.

Here’s the low-down on my take on the useful Tamarack pattern:

I used an amazing cotton jacquard from Mood Fabrics. This particular design is no longer available, but there are similar choices here.

I cut my usual size 4 and squared the bottom front and back.

IMG_0243.jpg

I faced the jacket instead of binding the edges per pattern instructions.  The fabric is a bit bulky and uneven- with a cool handmade vibe- and I worried that a self binding might be too lumpy.  Full disclosure- I also didn’t have enough fabric to make a bias binding- so typical!  It was easy to draft facings using the front and back pattern pieces.

I also skipped lining the jacket. I spiffed up the inside of the jacket with a snappy Hong-Kong finish on all seams and the hem. Oops- note that skimpy hem. Another sign of my lack of sufficient yardage.

IMG_4757.JPG

No Tamarack trees were harmed in this post. Leftover holiday greenery!

IMG_0531 (1).jpg