Cendre top- improving sustainability and international relations

I had great intentions to improve my sustainability efforts by making a zero waste pattern for quite some time- yet I never seemed to quite get around to it until inspiration came from across the border- Canada!.    .

An Instagram challenge suggested completing a sewing project with a friend, so I reached out to Hélène- @hportemanteau -who hails from Canada. I follow charming Hélène on Instagram and we have exchanged messages. Also, I admit I am a bit of a Canada fan girl- Banff, the genuinely friendly people,  Joni Mitchell, maple syrup, etc. I contacted Hélène and proposed improving the Minnesota-Montreal or US- Canada alliance with a joint February sewing project. Hélène agreed and brilliantly suggested we both make a zero waste project. Superb!

Zero waste patterns are patterns that produce a garment with little or no scraps.  A zero waste pattern typically has pattern pieces that fit together perfectly so virtually no fabric is wasted when cutting.

Hélène had already done a bit of zero waste pattern research and purchased a few zero waste patterns by Liz Haywood. For the February challenge, we both decided to make the Cendre top for maximum wearing potential and because it had several design variations - although in the end, we both chose the simple bateau neckline.

FullSizeRender.jpg

The Cendre pattern is more similar to a recipe than a traditional sewing pattern.  There are no pattern pieces to trace or tape- which can be a relief but also unsettling. You get drawn diagrams and measuring instructions.  I had that old adage measure twice, cut once in the back of my head.  In fact, I measured probably twenty times.  I was a bit nervous without the typical pattern piece security.  The pattern fits together like a puzzle and the leftover bits of fabric are used for embellishments, such as a belt or frills for this top. Although, I didn’t end up making any of those.

For my Cendre, I chose a piece of silk from my stash originally purchased from the remnant bin at Treadle Yard Goods -another sustainability win.

To begin, this top is cut across the fabric, with the selvedges at the top and bottom-which took me a minute to get my head around. This also means that you need a perfectly straight cut edge on both ends of the fabric. A tall order! Here is where I thank the fabric fairies, because I was able to tear the silk fabric which is not only super easy and eliminates measuring another ten times ten times- it also guarantees a perfectly straight edge.

IMG_7365.jpg

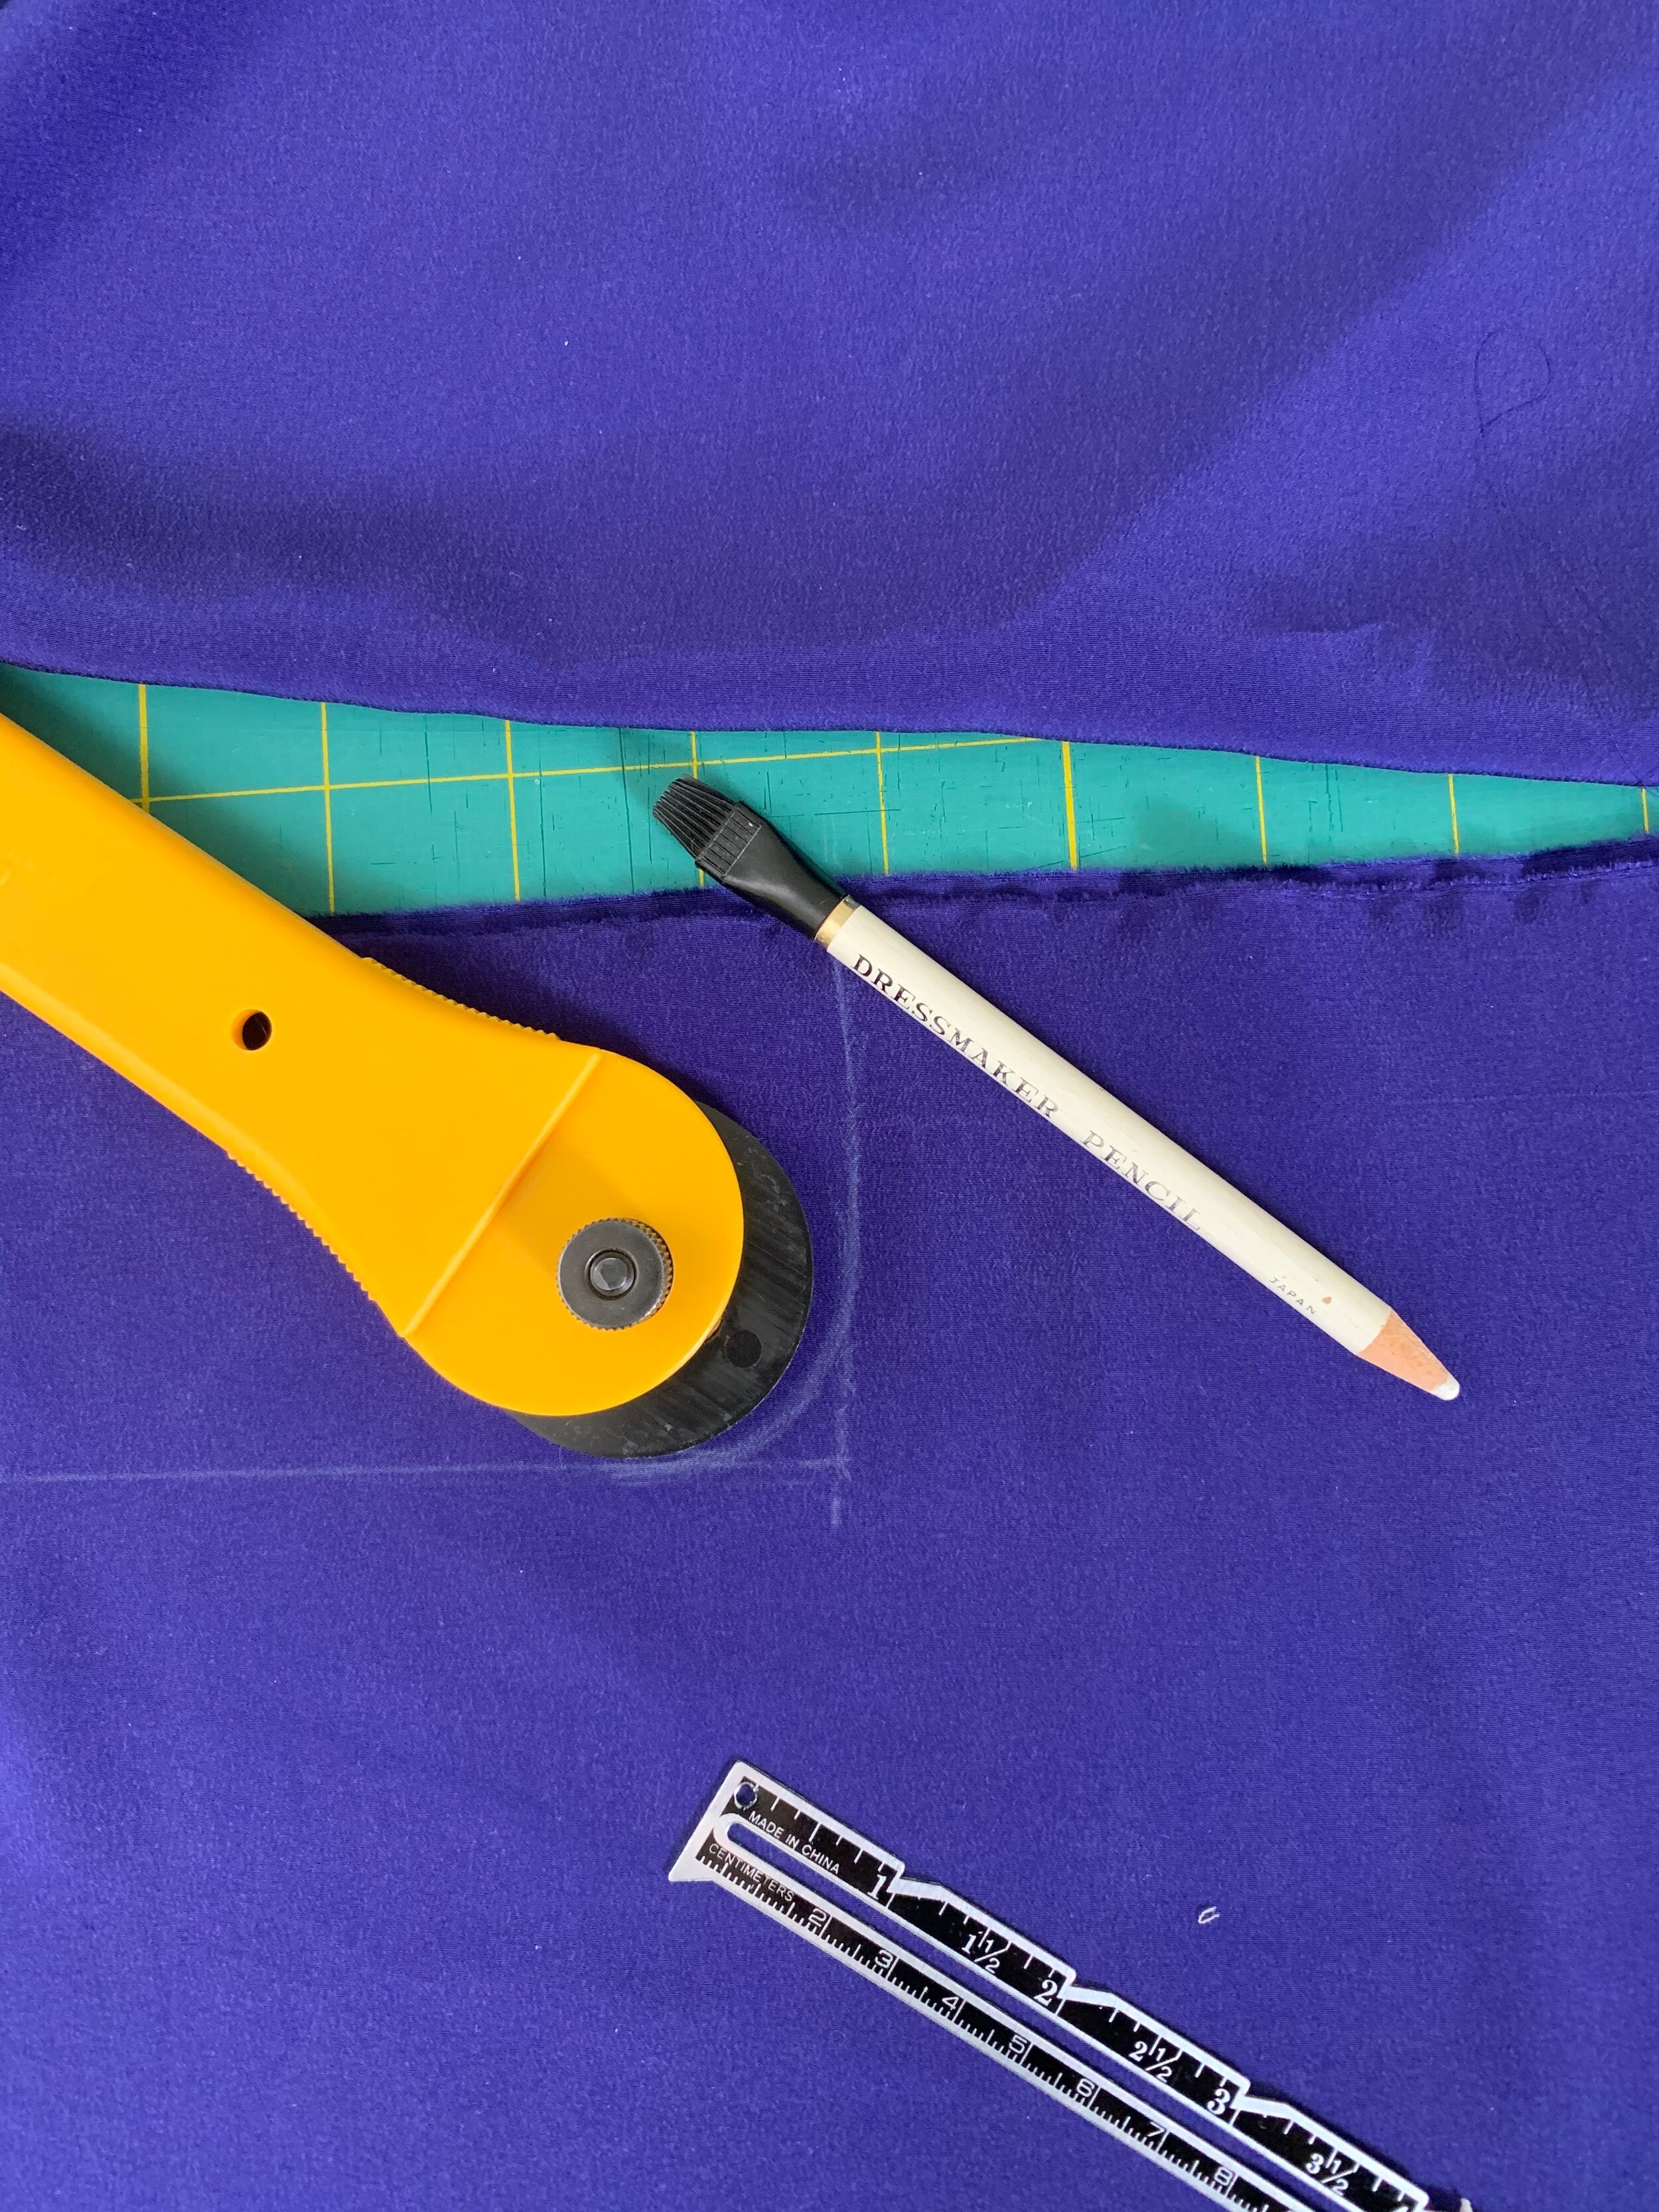
Look at the start of a lovely tear! I snipped through the selvedge and tore the fabric for an easy peasy absolutely straight edge. Then, I lined up the two pieces selvedge to selvedge for cutting as instructed.  Liz’s instructions and measuring guidelines are very clear. The actual pieces generally require drawing straight lines which is a snap with a straight edge.  For the one curve cut under the arm, I used my rotary cutter to trace a nice arc.

IMG_7368.jpg

The top was easy to put together once I puzzled out the pattern cutting. I made one slight modification- the instructions suggest using bias tape to finish the neck edge, but you need quite a bit of fabric to cut a self bias- and I was dealing with zero waste here.  The pattern suggests purchased bias tape but that wouldn’t be compatible with this silk.  So I created slim neck facings from the scraps.  I added a very light interfacing to the neckline facings- using interfacing scraps of course to stay on theme. I attached the facings and under-stitched them in place. I actually love a nice faced neckline.

FullSizeRender (1).jpg

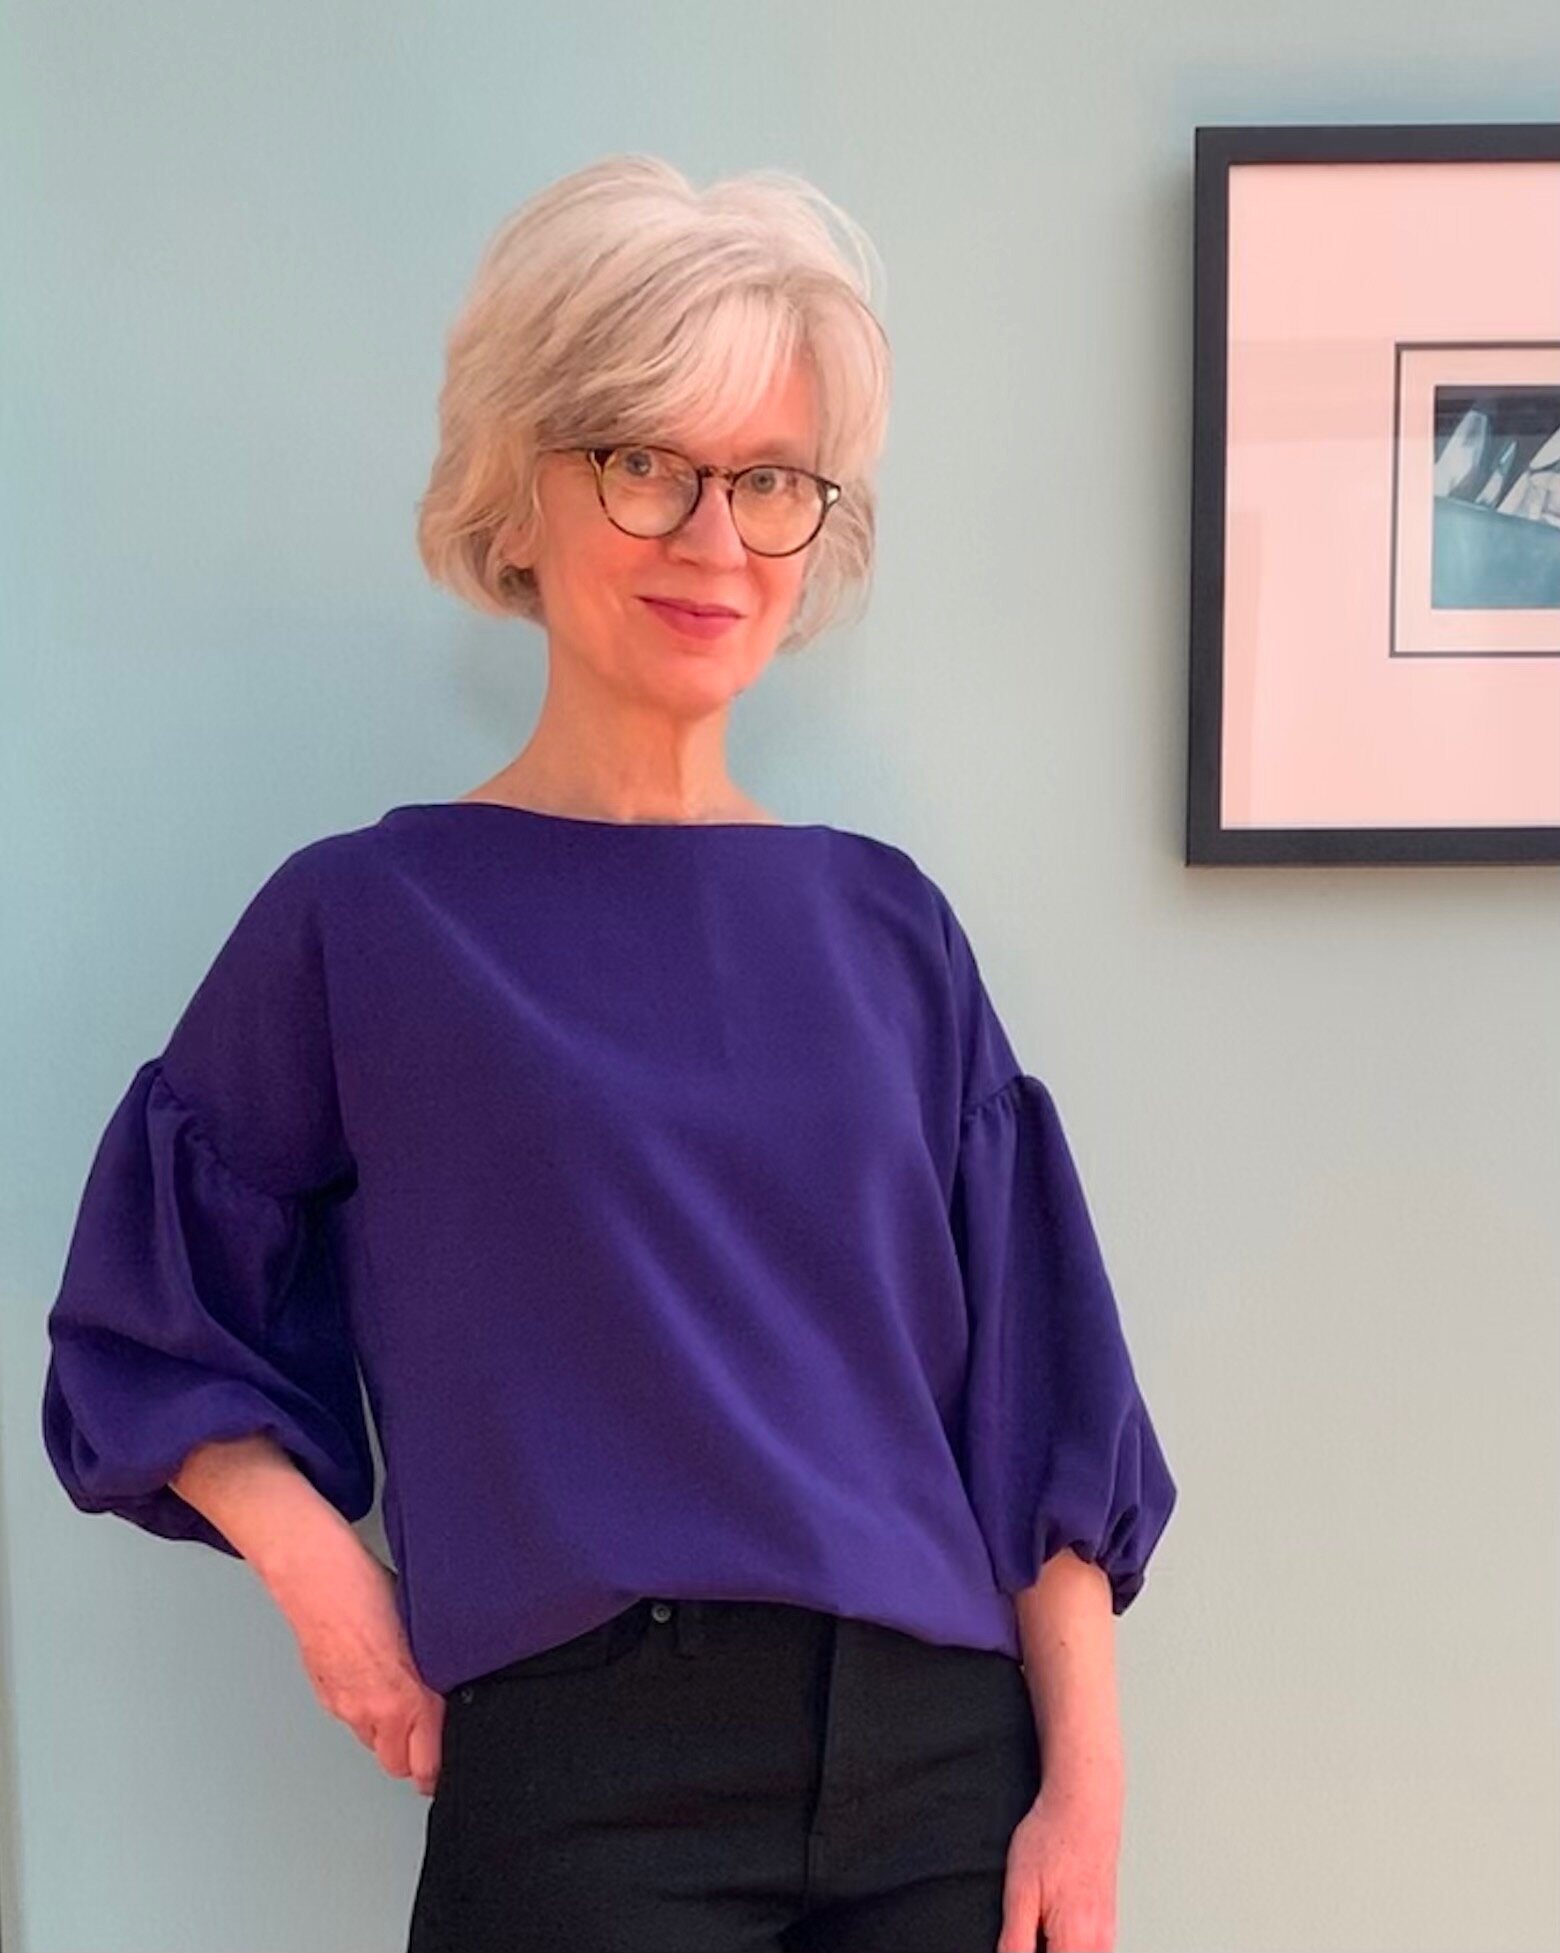
For a zero waste pattern, this top packs plenty of style- especially the pretty (always flattering) boat neck and the sleeves.  I love how this looks in this swishy silk.

FullSizeRender (2).jpg

And as an appropriate finale to round out this little Canadian friendship project, my planned mini winter holiday just happened to take place in Grand Marais in Northern Minnesota.  While hiking in Grand Portage state park, only an icy river separated me from Canada! You can see Canada right behind me- Bonjour Hélène! Someday the borders will open again and we can meet in real life.

FullSizeRender (3).jpg

Upcycling and Refashioning with Vogue 9004

I was cleaning/organizing the cupboards in the basement on Saturday – just living my typical best life weekend edition.  Among our silk screening supplies, there were several old men’s dress men’s (discarded from the spouse) that we wear to protect our clothes when silk screening.  Two of the shirts looked so nice together, I started plotting a refashion sewing project, and my life and outlook immediately improved.

IMG_9364.jpg

 I am more than familiar with taking apart my sewing projects and remaking to get a good result.  But refashioning and upcycling, is a relatively new adventure for me.  With a refashion, the original garment gets a complete transformation into something very different. After spending a moment journeying down the refashion rabbit hole on the internet, I settled on using Vogue 9004, because I owned it, and because it was hot and a sleeveless blouse seemed a perfect idea.

IMG_8862.jpg

First step was to disassemble the shirt.  After I took the sleeves off and separated the front and back from the collar, I played around with placing the pattern pieces.  I hoped to make use of the buttons or button holes for the back instead of using a zipper as called for in the pattern.  Love the fact that everything I need for this project can be found in these two shirts- except for thread and some interfacing.   In the best of all possible worlds, I would have preferred to make use of the button holes- button hole anxiety is real even after all these years.  But fitting front and back pattern pieces left me with the button side- which was better than nothing.  Although, note it was a little tricky when finishing to line up the button holes with the pre-sewn buttons.

IMG_8863.jpg

The pattern actually calls for a zipper in back and you can see the back is a little bit nipped and fitted.  I cut the back straight to make use of the button up closure, so the top is a less fitted- which I prefer. That was the only change I made to the pattern.  I cut the bias strips for finishing the armholes from the sleeves.

IMG_9361.jpg

The only tricky aspect to this project was negotiating the different weights of the shirts.  The white stripe is woven tighter and firmer (nicer) than the blue- I assume this translates to a higher thread count.  I had to fuse in some additional interfacing in the end to get a little extra body on the blue half of this top.

IMG_9357.jpg

I had so much fun with this project and it was such a win to make a fun top out of something destined for the recycling bin. So, I promptly asked the spouse if there were any other dress shirts that he was ready to discard.  Stay tuned.

IMG_8860.jpg


Working from Home in Hudsons

Stay at home – work from home orders were also marching orders to finally make myself a pair of the well-loved Hudson Pants by True Bias.  Participating in online team meetings means I only need to look strictly business from the waist up.  I wear leggings quite a bit for leisure wear and on weekends. The Hudson jogger is still stretchy and slim, but a little different than a legging. I was looking forward to another comfy leisure bottom option- still slim but not completely skin tight.

IMG_5211.jpg

I previously made Hudson pants for a few of the young men in my life- and I intended to make myself a pair- but kept getting distracted by those flashy, dress-up projects. Here’s an example of the Hudson pant for men I made for Adam:

IMG_6366.jpg

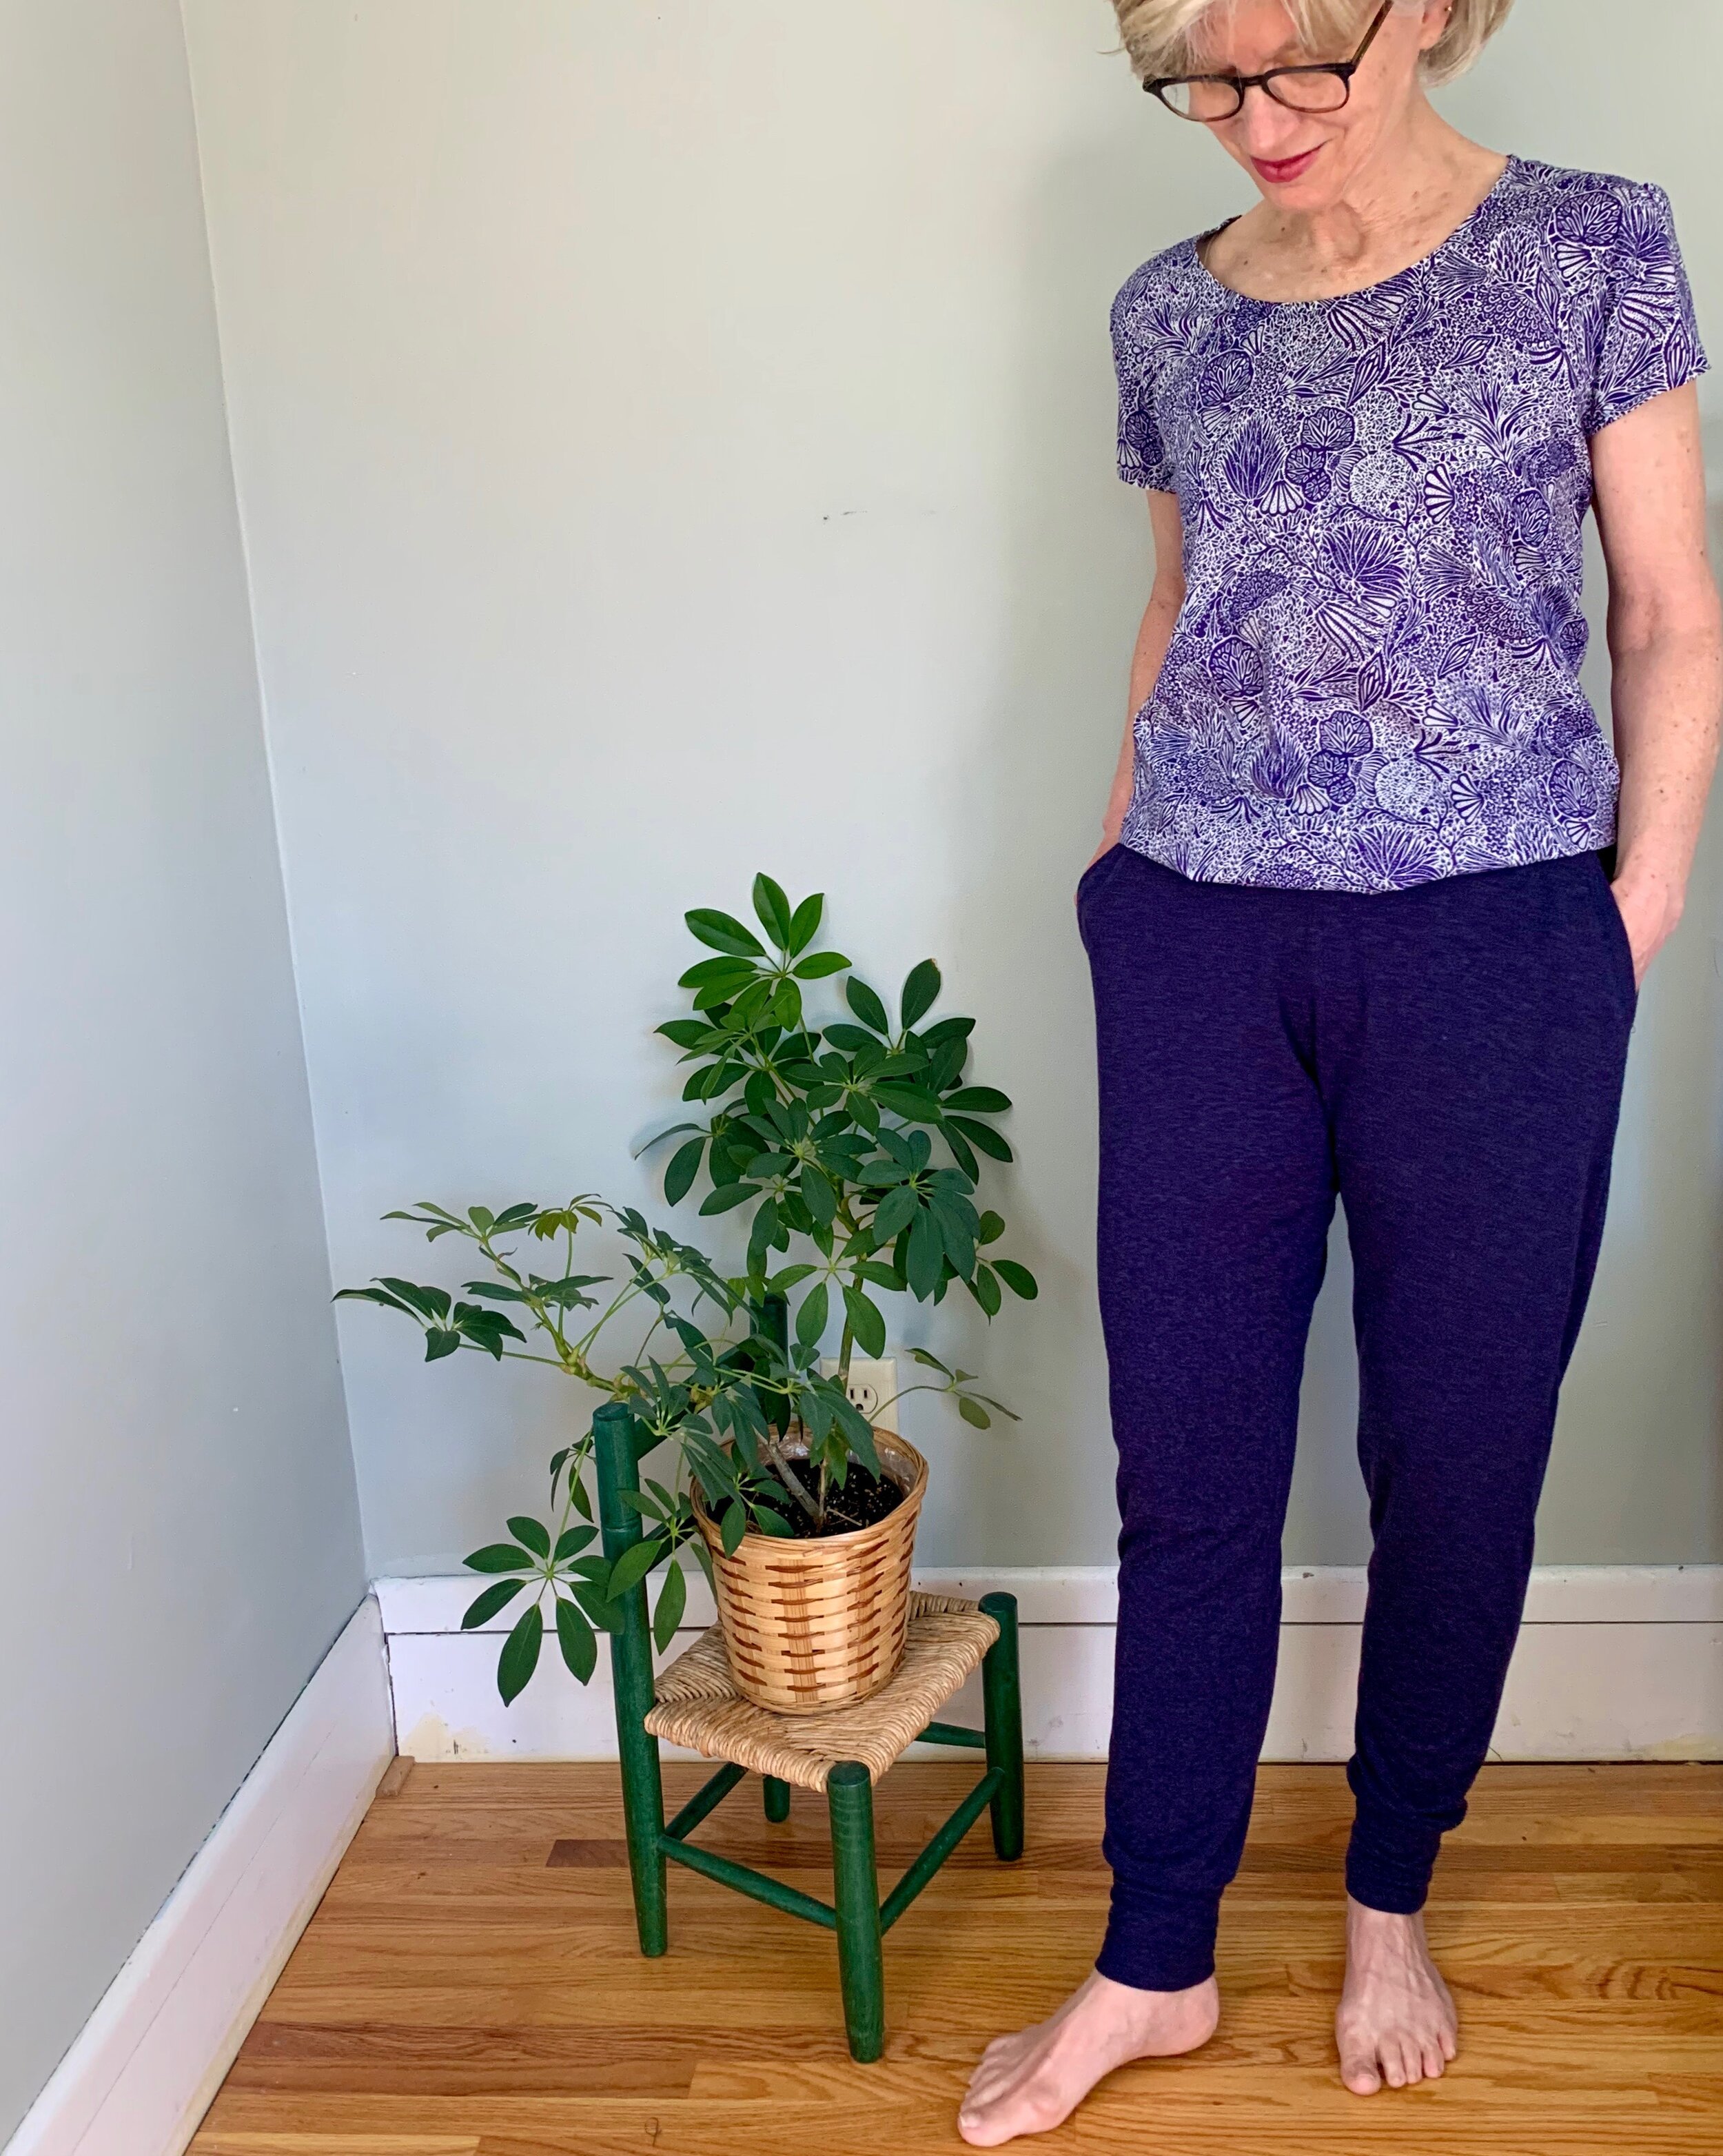
A major attraction of the Hudson pants is their feminine fit – somewhat slimmer than the typical jogger pant.  I cut a size 4 and did not grade out a size at the hips according to my measurements- and I still had plenty of ease.  The fabric is plenty stretchy, so I wasn’t worried. I used a merino wool blend jersey.  This fabric is fairly lightweight, but with the wool content, they are perfectly cozy.

These are definitely a quick make. They are thoughtfully drafted and the instructions are straightforward- check out the pockets. Even though there are only a few construction steps- I actually skipped a couple. I kept the waist band flat and simple by skipping the stitching through the elastic, and I also omitted the tie front. I opted for a flat and clean waistline finish. Next time I will shorten them by a wee amount to prevent any pooling at the ankles. But overall, I love them and already plan to make another pair.

IMG_5557.jpg

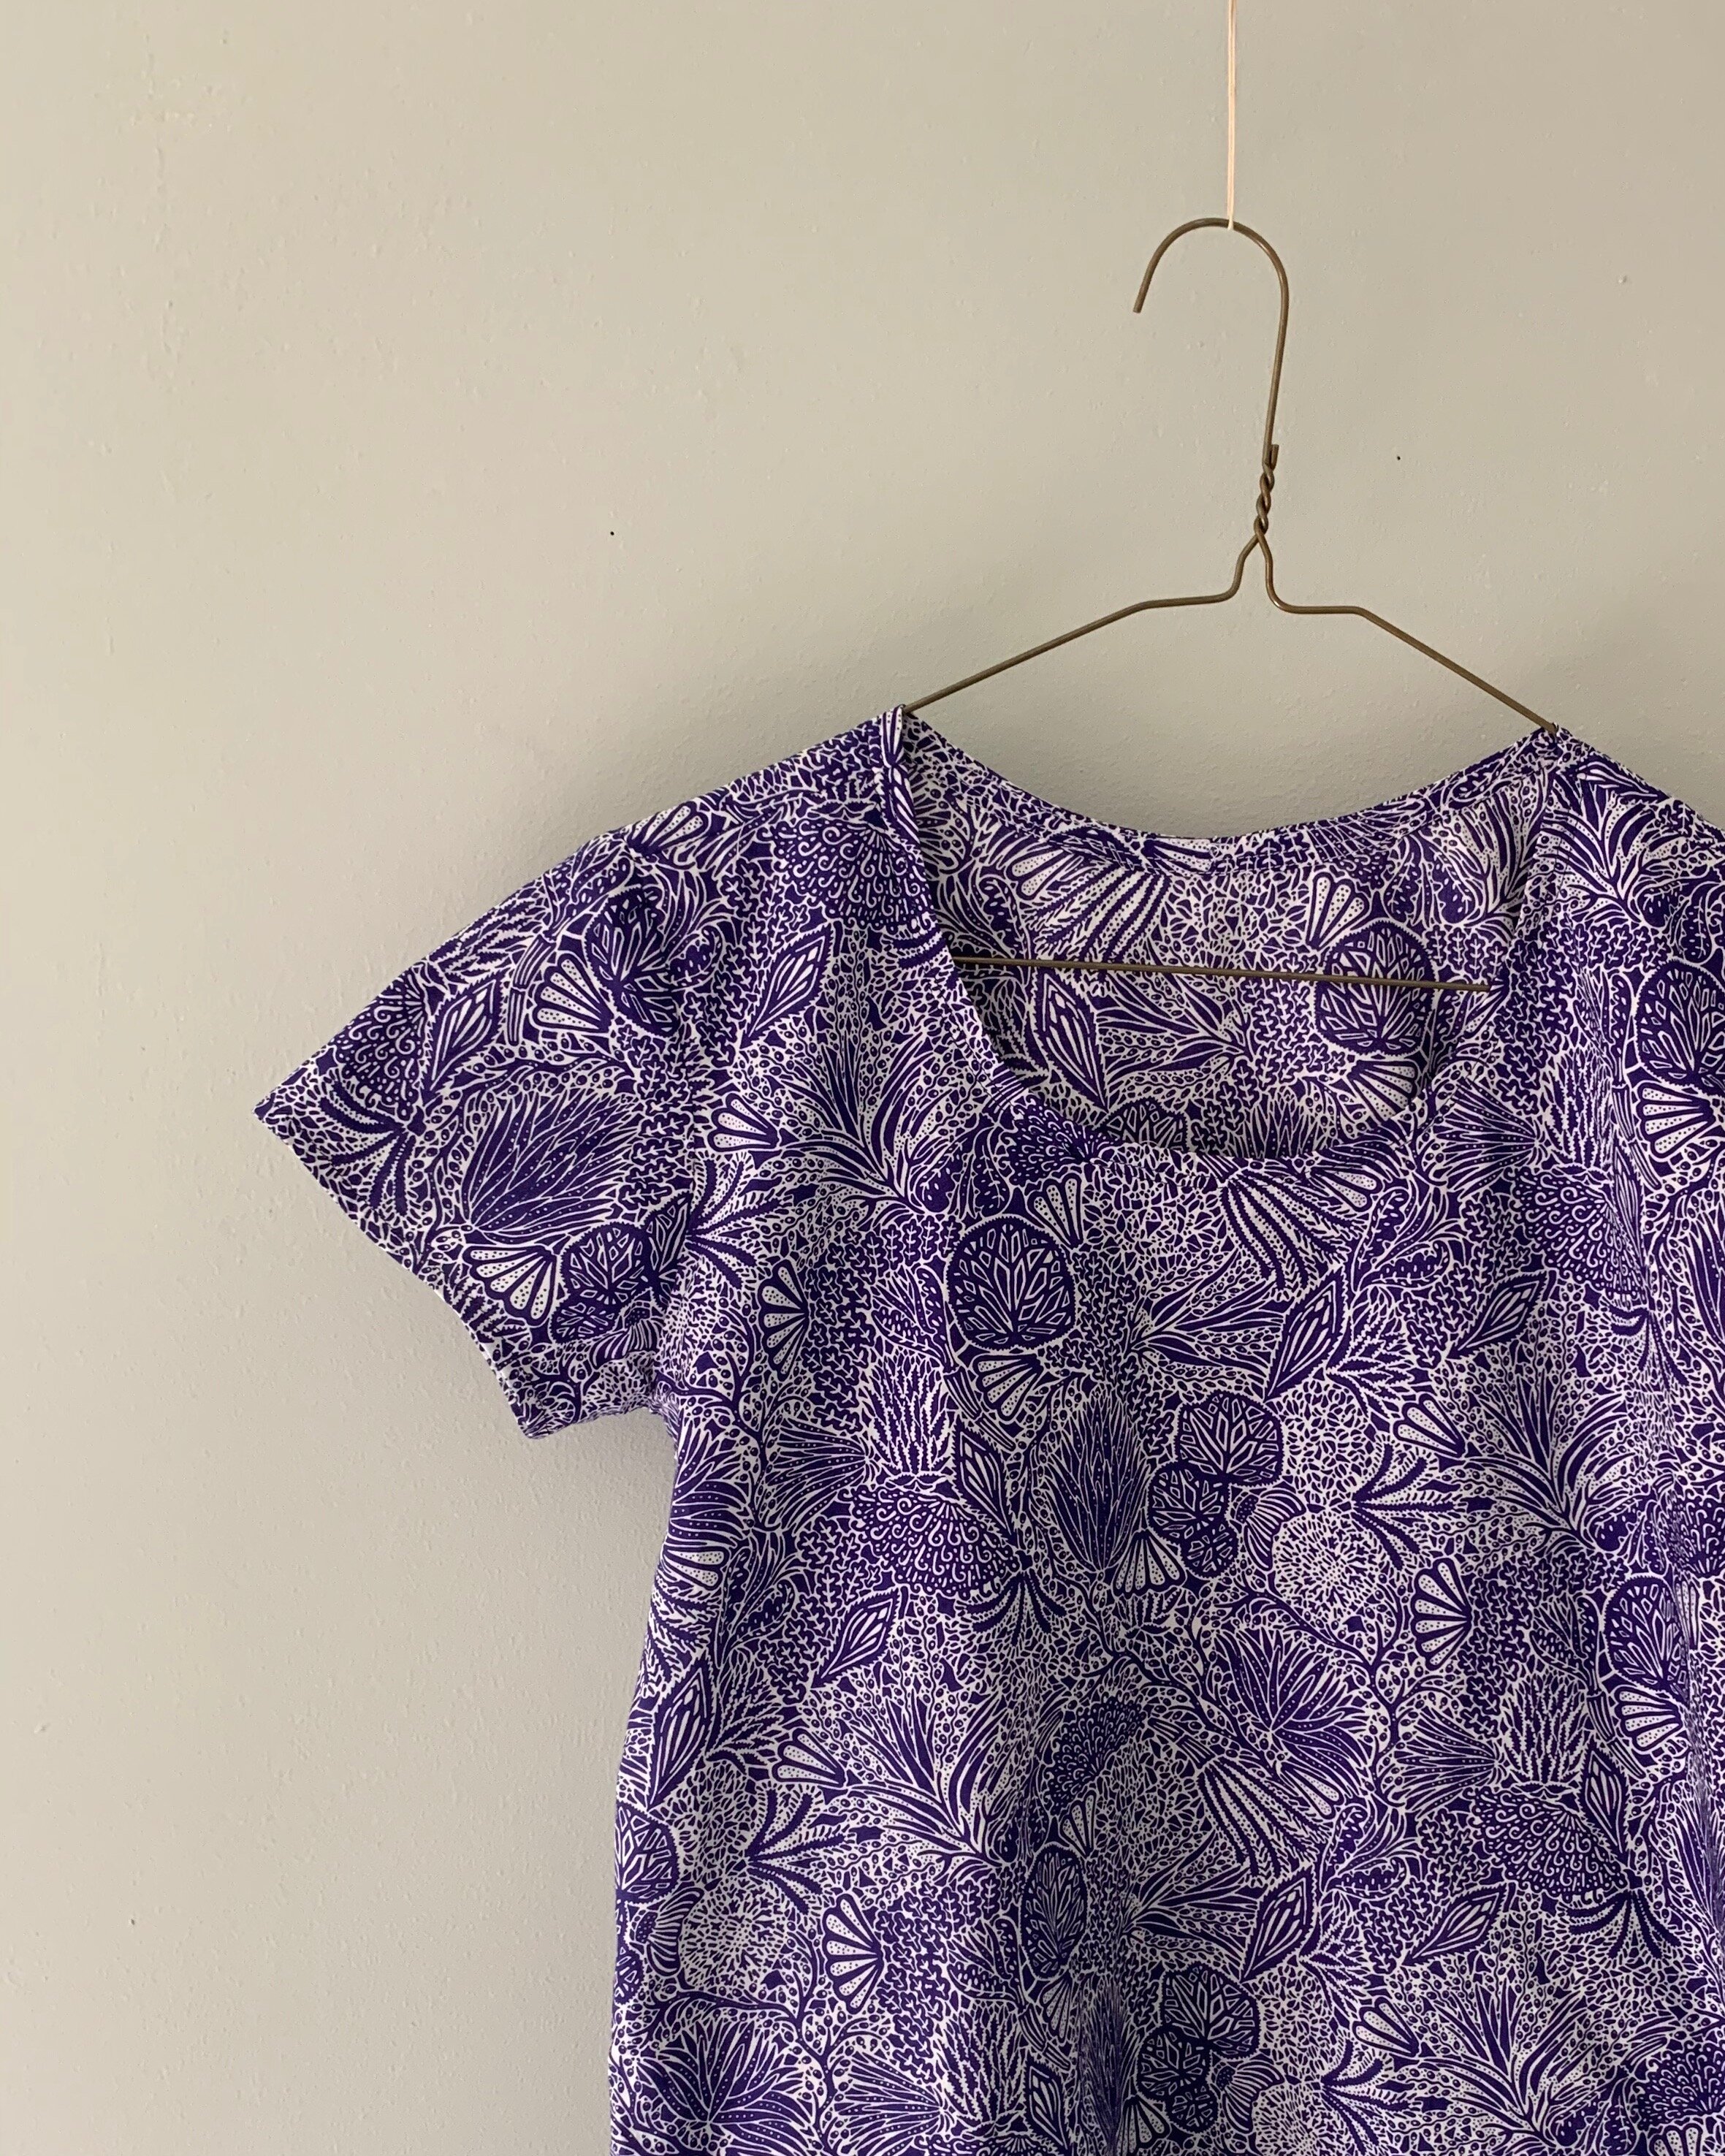
This jersey is a beautiful -but different -shade of blue that happened to match perfectly with a Grainline Scout Tee I made ages ago out of Liberty fabric.  I like a woven tee shirt, and the Grainline pattern is aces.  The fit and ease is super comfortable.  Again an easy and thoughtfully drafted project.  It’s surprisingly easy to get in and out- no tugging or struggling that might happen with some pullover woven tops-even with those slim sleeves.  Another star feature of the Scout pattern is the perfect not to high-not too low neckline that lays super flat.  

IMG_5565.jpg

I cut a straight size 2, going off my bust size- and once again I didn’t grade out for waist and hips- so it’s a bit slimmer around the waist and hip.

No buttons, snaps, zips or any other stumbling blocks for either of these patterns. These separates are a leisurely make and ideal for leisure at home wear.

Another Esme, Easter, and necessity

Necessity is the mother of invention- or as Plato penned in The Republic, "our need will be the real creator"

Plato’s philosophy is definitely on over-drive this Spring as creative solutions are plied every day- from finding alternatives to personal protective equipment, elastic, real life gatherings, hand sanitizer, toilet paper, and so on.

This holiday weekend I got creative in light of shortages, and the end result is better than if I wasn’t caught short handed. I needed a palette cleansing project after making face coverings all week, and I also craved something to brighten up Easter in isolation. I knew I had a sweet Easter themed fabric in my stash: Cotton and Steele’s Wlldwood Fable.  I bought a yard of this last year from Lakes Makerie, because when I stopped in the owner was making adorable table runners out of this fabric.  I simply couldn’t resist the squirrels and bunnies and left with a yard of it- just because.  A yard is pretty limiting, but I was determined to make something festive that I could wear for our Easter zoom gathering with my family.  

IMG_1851.jpg

So I squeezed out a simple little top. I knew the Esme top in Lotta Jansdotter’s book Everyday Style would be a quick make. And here is the necessity and invention part of the story: because I couldn’t make the sleeves as long as I like- I used the selvedge of the fabric to create a decorative hem detail. 

IMG_1813.jpg

If I had enough fabric to make the top, I wouldn’t have added the little sleeve finishing detail.  But I think this feature makes the top more interesting.

IMG_1815.jpg

I also used a wide bias tape remnant to keep the top as long as possible>

IMG_1814.jpg

Here’s another happy result of creative problem solving.  My Mom and Dad typically host our annual Easter Holiday family gathering.  This year, due to the pandemic and stay home orders, we set up a Zoom meeting for the 33 members of their family.  Halfway through the virtual party and after several updates from children and grandchildren and great grandchildren, my mom noted that the online get together was in some ways better than the typical Easter party.  For one, it was the first time the whole family was “together” for Easter in many years.   In addition, my mom noted that this year she could listen to all the kids and grandkids; because when we celebrate in person at her house, she’s often busy in the kitchen and misses many of the updates.

And, here’s another solution found due to need. I didn’t have any egg dye, but found a way to decorate the Easter eggs in a new and pretty way.

IMG_1803.jpg

Liberty Blouse Pattern Trifecta

I have been making and wearing cotton shirts for ages.  They tend to fall into one of two camps: 1) the button down -sometimes these lean a bit to the stuffy/workwear side; and 2) the boxy top with sleeve variations -sometimes these lean simple and perhaps a little shapeless.  For this cotton top, I wanted a softer version of the standard button down.  I imagined a blouse with a collar band- but no pointy collar- an easy popover style with soft gathers and a bit of shape.  After scouring blouse patterns until I went a bit bleary eyed- I landed on not one, not two, but three patterns- to mash together for this Liberty project.  The bright side is that I already own all these patterns- which makes sense, because – well — the design elements were calling to me

IMG_1340.jpg

I like the collar band on McCalls 7360 – see how nice and flat it lays on the neckline!  But I don’t want darts and I want a wee bit fuller blouse, so I like the soft gathers front and back on the McCalls 7324. But- I don’t love the pleat in front on that pattern.  I also decided to pass on the two piece sleeve in both McCall’s patterns and prefer a simple (albeit pretty traditional) sleeve from the Grainline Archer.

IMG_1365.jpg

My pattern mashing steps are elementary.  I line up the shoulders and waist markings- in this case from McCalls 7324 and 7360. I used McCalls 7360 as the base -including collar and placket- and modified by adding fullness from 7324.  I used the entire back piece from 7324. The sleeve cap from McCalls two-piece sleeve was nearly identical to the Grainline Archer sleeve, so I simply cut the Grainline sleeve and cuff pieces.

It is not the perfect blouse- but it is getting close.

IMG_1341.jpg

Let’s take a moment to not only admire the great Liberty print, but extol the virtues of this Tana lawn.  Tana lawn is the perfect fabric for blouse making.  This cotton is woven so tightly, you never are in danger of fraying.  The fabric is lightweight but incredibly stable , all seams are simple.  French seams are also a breeze because there is no danger of slip sliding with this fabric.

IMG_1219.jpg

Parting comments are confessional- I made an ENORMOUS pattern matching mistake.  Kind of a forest for the trees issue.  In fact, I un-picked the placket and re-attached it because I originally put the placket fabric in upside down.  I think I stared at the fabric so intensely to determine what was up and what was down, that I TOTALLY missed the vertical design- see red flowers below. Oh man- I was devastated when I tried it on and noticed it. Sadly, my blouse is completely off.  There is absolutely no way to salvage this- I used up all of the fabric.  Liberty fabric is such an asset- this may get unpicked and transformed into something more perfect. But, I will wear it a few times as is- mostly to analyze this pattern trifecta for comfort and wearability.

IMG_1362.jpg