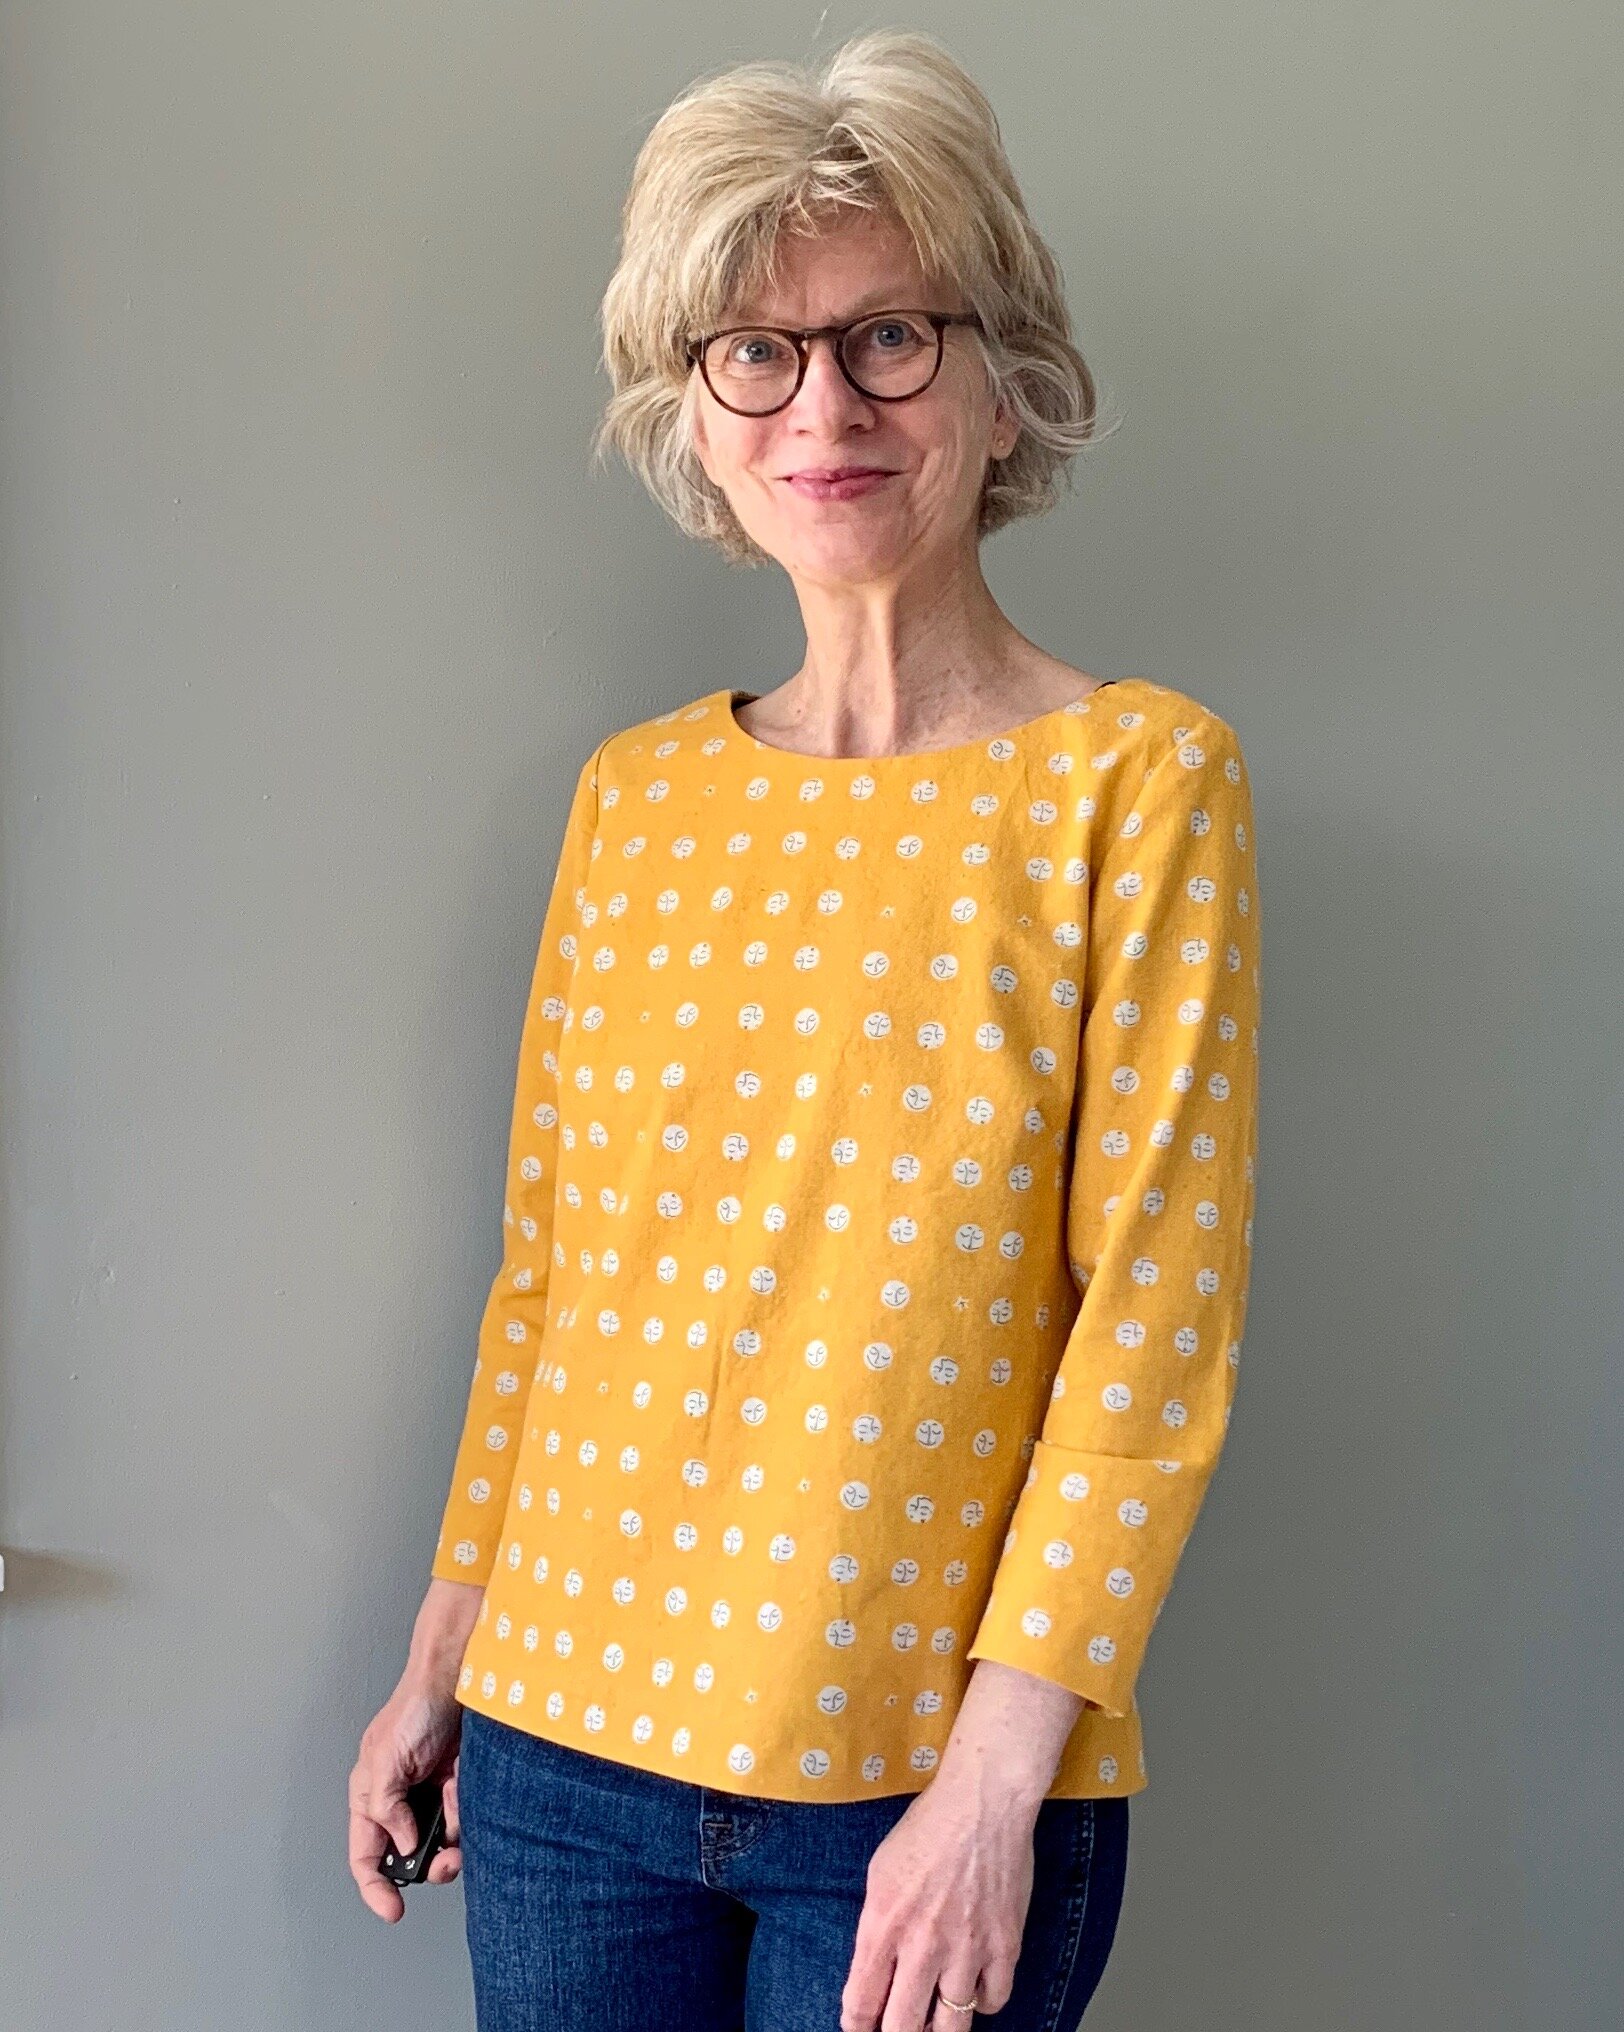
Oslo in Minnesota

I don't live in a Nordic country- but I wish I did.   My grandpa was 100 percent Norwegian and my state is home to the largest population of Scandinavians outside of Europe, so Nordic customs and traditions have long been a part of my life.  Was it my affinity for all things Nordic that led me to making the Oslo coat pattern from Tessuti Fabrics?   Perhaps. 

For Christmas, my spouse and I got tickets to the Minnesota Orchestra’s Nordic Landscapes and Portraits concert.  It’s been a minute since I’ve been to the Orchestra and here was a winter dress coat opportunity.  In my mind, a coat is a big project- and even though I had this fabric lingering in my stash for decades- I needed some sort of sign or prompt or nudge.  Finally it came: a Nordic inspired coat for a Nordic concert event.

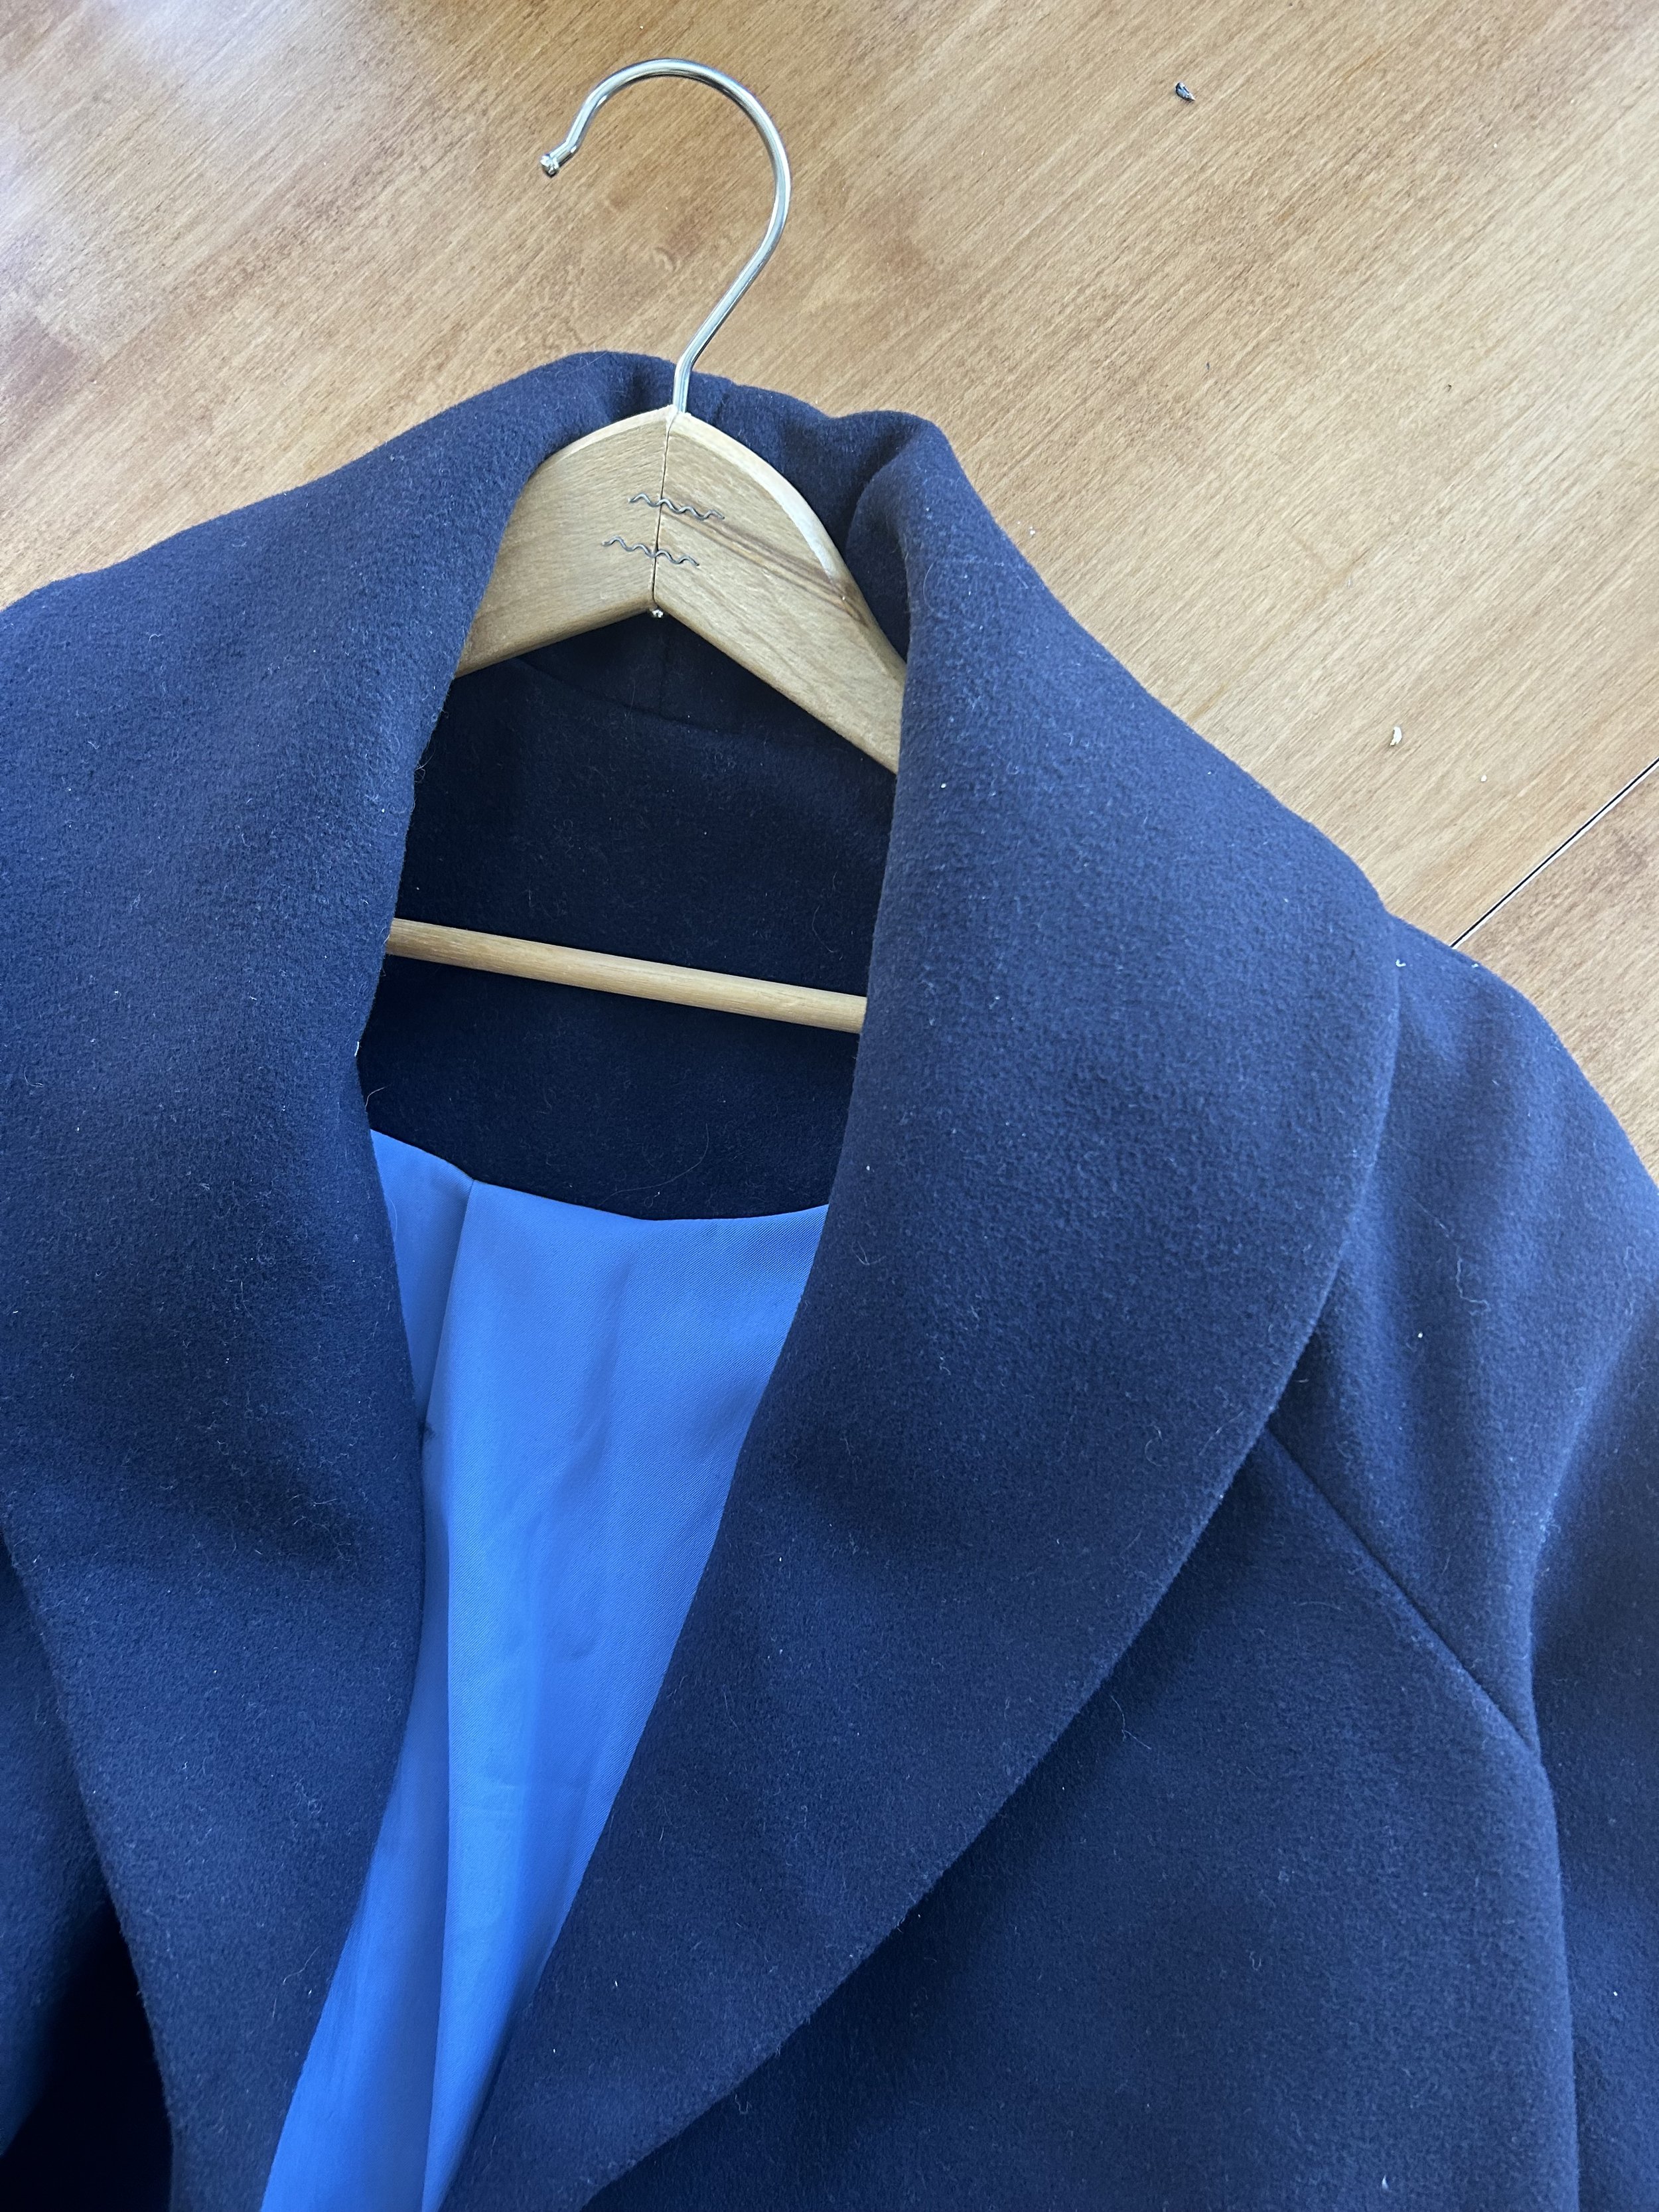
I had my eye on the Oslo coat because of the raglan sleeves and shawl collar and the just right not too large and not too small profile.  It is very similar to a Max Mara coat which I’ve coveted for a few years.  This is not a new pattern, and I've admired a few Oslo coats out there.  The fabric- lingering in my stash for maybe a decade- is a wool cashmere blend from Mood fabrics. The fabric is not super heavy and pretty drapey.   I wanted a bit more body in the coat, so after consulting with the ace staff at the Sewing Lounge, I purchased some fusible knit interfacing that they recommended as an interlining to add body.  I fused every piece of the coat and then used the same interfacing to interface the pieces that called for interfacing- the collar etc.  The lining is also from Mood- it is a twill of some mystery fiber in a happy cornflower blue.

If you haven’t used a Tessuti pattern before, the first thing you will notice is the pattern is drawn- which I think is very cool. I didn’t make any alterations and I did not make a toile- risky I know- but with raglan shoulders- fit is a little less of a gamble.  The good news is the only change I would make thing is to raise the pockets- which are positioned quite low on the body.  The instructions are very comprehensive and include several photos which is super helpful.

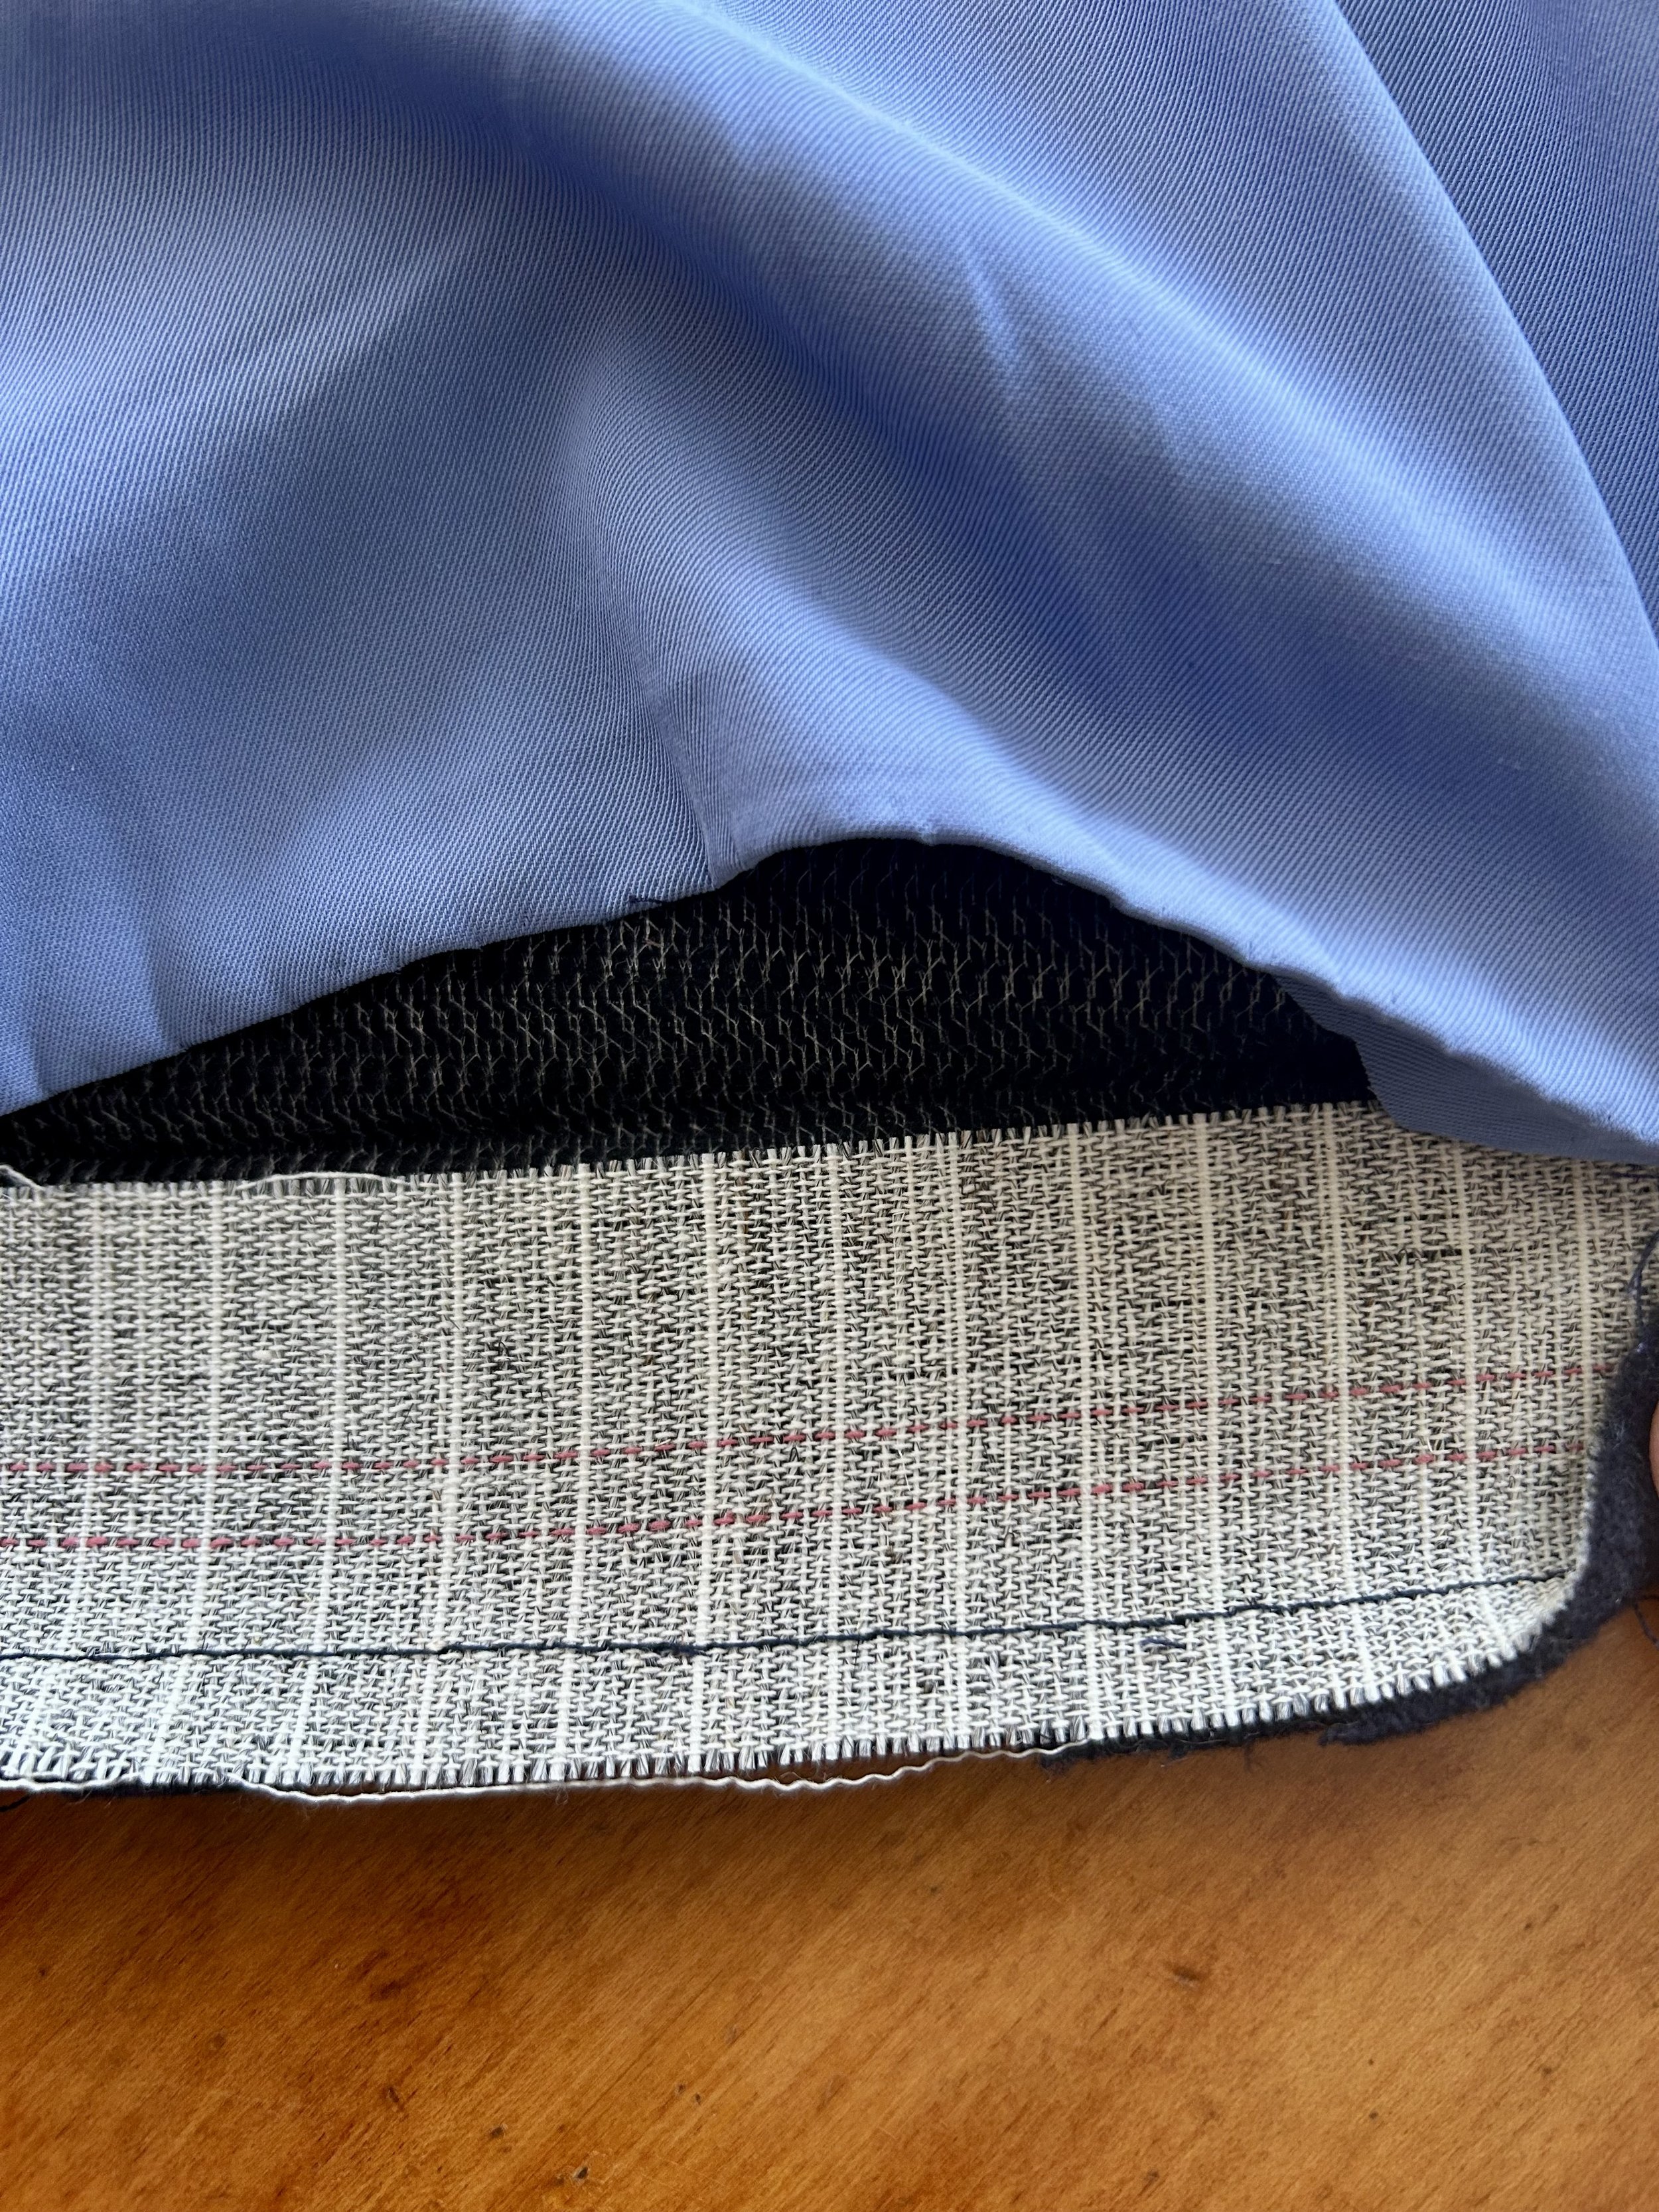
This is a straightforward make- nothing really tricky in the assembly.  The only thoughtful thing I did was the hemline.  I had some non fusible hair canvas that I considered using as interfacing, but I went the easier fusible route.  However, I did use it for the hemline.  I cut 2 inch strips of the canvas and sewed them to the bottom edge of the coat and sleeves.   Then, I followed the instructions for the bagged lining.  I actually have never done a bagged lining- but now I can’t imagine any other method.  The sleeve trick is amazing.  I consulted the Closet Core instructions which I found easier to understand- and the lining worked out so slick- hardly any hand sewing. I din’t ever really hem the bottom- I just turned the hem on the interfacing and pressed. It seems to work.

In retrospect, the coat wasn’t as big a project as I anticipated.  Of course, I wans’t brave enough to put in a bound buttonhole- next time. I used a big snap but I like the clean finish uniteruppted by a button. The most difficult part of this project was trying to get pictures between snow falls and a long streak of icy cold weather- these past weeks it’s been hovering around -12 Celsius,

Lotta love: Pilvi and Esme

Pre-pandemic, my sewing plans for March included making a project (or two) from the sewing book Everyday Style by Lotta Jansdotter. I had my eye on this book for nearly a year, and I finally got the nudge I needed to purchase it when Sue Stoney and Ali @robinsnest1926 announced a Lotta challenge on Instagram.  I love the Scandinavian design and styling in this book- it is modern, unfussy and joyful. As it turns out, sewing from Everyday Style was the perfect antidote to our current upended world. The projects I made provided a much needed tonic for these complicated pandemic days. Both of the projects are happy and effortless.

IMG_0823.jpg

I made the Esme Tunic first.  I am one of those rare birds that actually likes a woven pullover top.  I think it’s because I am most comfortable sewing woven fabrics.  The Esme features a great looking neckline and French style darts and facings.  I made a wearable toile from a Japanese cotton canvas from Treadle Yard Goods that I found in my deep stash.  I think I actually purchased this material for a home dec project that went wayward.  This isn’t a color I normally wear- or let’s be honest- previously have never worn!  But, it sure is happy, and yellow is definitely prominently featured in the styling in this book. 

IMG_9706.jpg

First step is to trace off the pattern pieces.  The seam allowances are included- so it’s actually super quick.  Also the top has only a few pattern pieces.  I cut out a straight size extra small even though according to the measurements, I should have graded out a size for waist and hips.  But the top looked like it had plenty of ease and that was a good call.

IMG_9697.jpg

This is a super straightforward and simple top.  I like the easy cut and -I may be old school- but I actually prefer a neckline facing to bias binding.  There is plenty of ease across the back and shoulders and through the sleeves- bonus.  This proved very comfortable to wear- the drafting is spot on.  The instructions call for top stitching around the neckline, but I omitted that because the print is busy.  I simply under-stitched the facings and they lay perfectly flat. I found I had only an inch for a hem which I think looks a little skimpy if it’s top-stitched, so I hand sewed a blind hem. 

IMG_9698.jpg

My second project from the book is the Pilvi coat- which is actually the pattern that first attracted me to this book.  This is a super clean and simple style. The only trick was finding a fabric that was interesting but not crazy. I happily stumbled over the fabric of my dreams at the Sewing Lounge.  The fabric is PERFECT for this coat.  It is a hefty polyester jacquard with great body and a fabulous happy print.  Again, this fabric and pattern proved to be a necessary mood boost for troubling days. 

IMG_0232.jpg

I LOVE the look and fit of this coat.  It is easy and comfortable and the raglan sleeves give perfect range of motion.

IMG_0293.jpg

The only tiniest complaint is the sleeve length is short.  I like a three quarter sleeve length, but I had minimal length for the hem on the sleeves.  For reference I am 5’ 4”.  The coat body length, however, is generous- I had to trim 2 inches and still had a substantial hem.

The only time consuming part of this project is finishing the seams.  I used a Hong Kong finish- which I discovered is not the same as a bias finish- explained beautifully by Colette here.  For my Hong Kong finish I purchased bias tape- since the fabric is polyester a cotton polyester blend is perfectly fine and the store bought blue was a good match. For a Hong Kong finish, the binding on the wrong side of the seam allowance is left unfolded- which reduces bulk. For directions on bias bound seams, see Colette’s instructions here.

IMG_0899.jpg

Both the Esme tunic and the Pilvi coat patterns are also remarkable because they are modeled in the book by women who are 50 years of age or older. Definitely LOVE and am happy to support pattern makers who include older models in styling and other marketing for the pattern. Thanks Lotta!

IMG_0316.jpg

The useful Tamarack

The Tamarack!  This is both a versatile tree and fabulous Grainline pattern.  Tamarack -from the native Abenaki language- means “wood used for snowshoes.”  Tamarack trees are native to Minnesota and their wood is used for framing houses, utility poles, paper pulp, and dog sled runners in addition to those wooden snowshoes.  Tamarack needles can be made into a tea to soothe sore throats!  So versatile- so many uses.

Grainline’s Tamarack pattern is also adaptable; I was inspired by Jen’s version of a non-quilted Tamarack . This option matched my need/want for a jacket/topper/blazer that works for my casual/professional work environment.

Here’s the low-down on my take on the useful Tamarack pattern:

I used an amazing cotton jacquard from Mood Fabrics. This particular design is no longer available, but there are similar choices here.

I cut my usual size 4 and squared the bottom front and back.

IMG_0243.jpg

I faced the jacket instead of binding the edges per pattern instructions.  The fabric is a bit bulky and uneven- with a cool handmade vibe- and I worried that a self binding might be too lumpy.  Full disclosure- I also didn’t have enough fabric to make a bias binding- so typical!  It was easy to draft facings using the front and back pattern pieces.

I also skipped lining the jacket. I spiffed up the inside of the jacket with a snappy Hong-Kong finish on all seams and the hem. Oops- note that skimpy hem. Another sign of my lack of sufficient yardage.

IMG_4757.JPG

No Tamarack trees were harmed in this post. Leftover holiday greenery!

IMG_0531 (1).jpg