Oslo in Minnesota
/I don't live in a Nordic country- but I wish I did. My grandpa was 100 percent Norwegian and my state is home to the largest population of Scandinavians outside of Europe, so Nordic customs and traditions have long been a part of my life. Was it my affinity for all things Nordic that led me to making the Oslo coat pattern from Tessuti Fabrics? Perhaps.
For Christmas, my spouse and I got tickets to the Minnesota Orchestra’s Nordic Landscapes and Portraits concert. It’s been a minute since I’ve been to the Orchestra and here was a winter dress coat opportunity. In my mind, a coat is a big project- and even though I had this fabric lingering in my stash for decades- I needed some sort of sign or prompt or nudge. Finally it came: a Nordic inspired coat for a Nordic concert event.
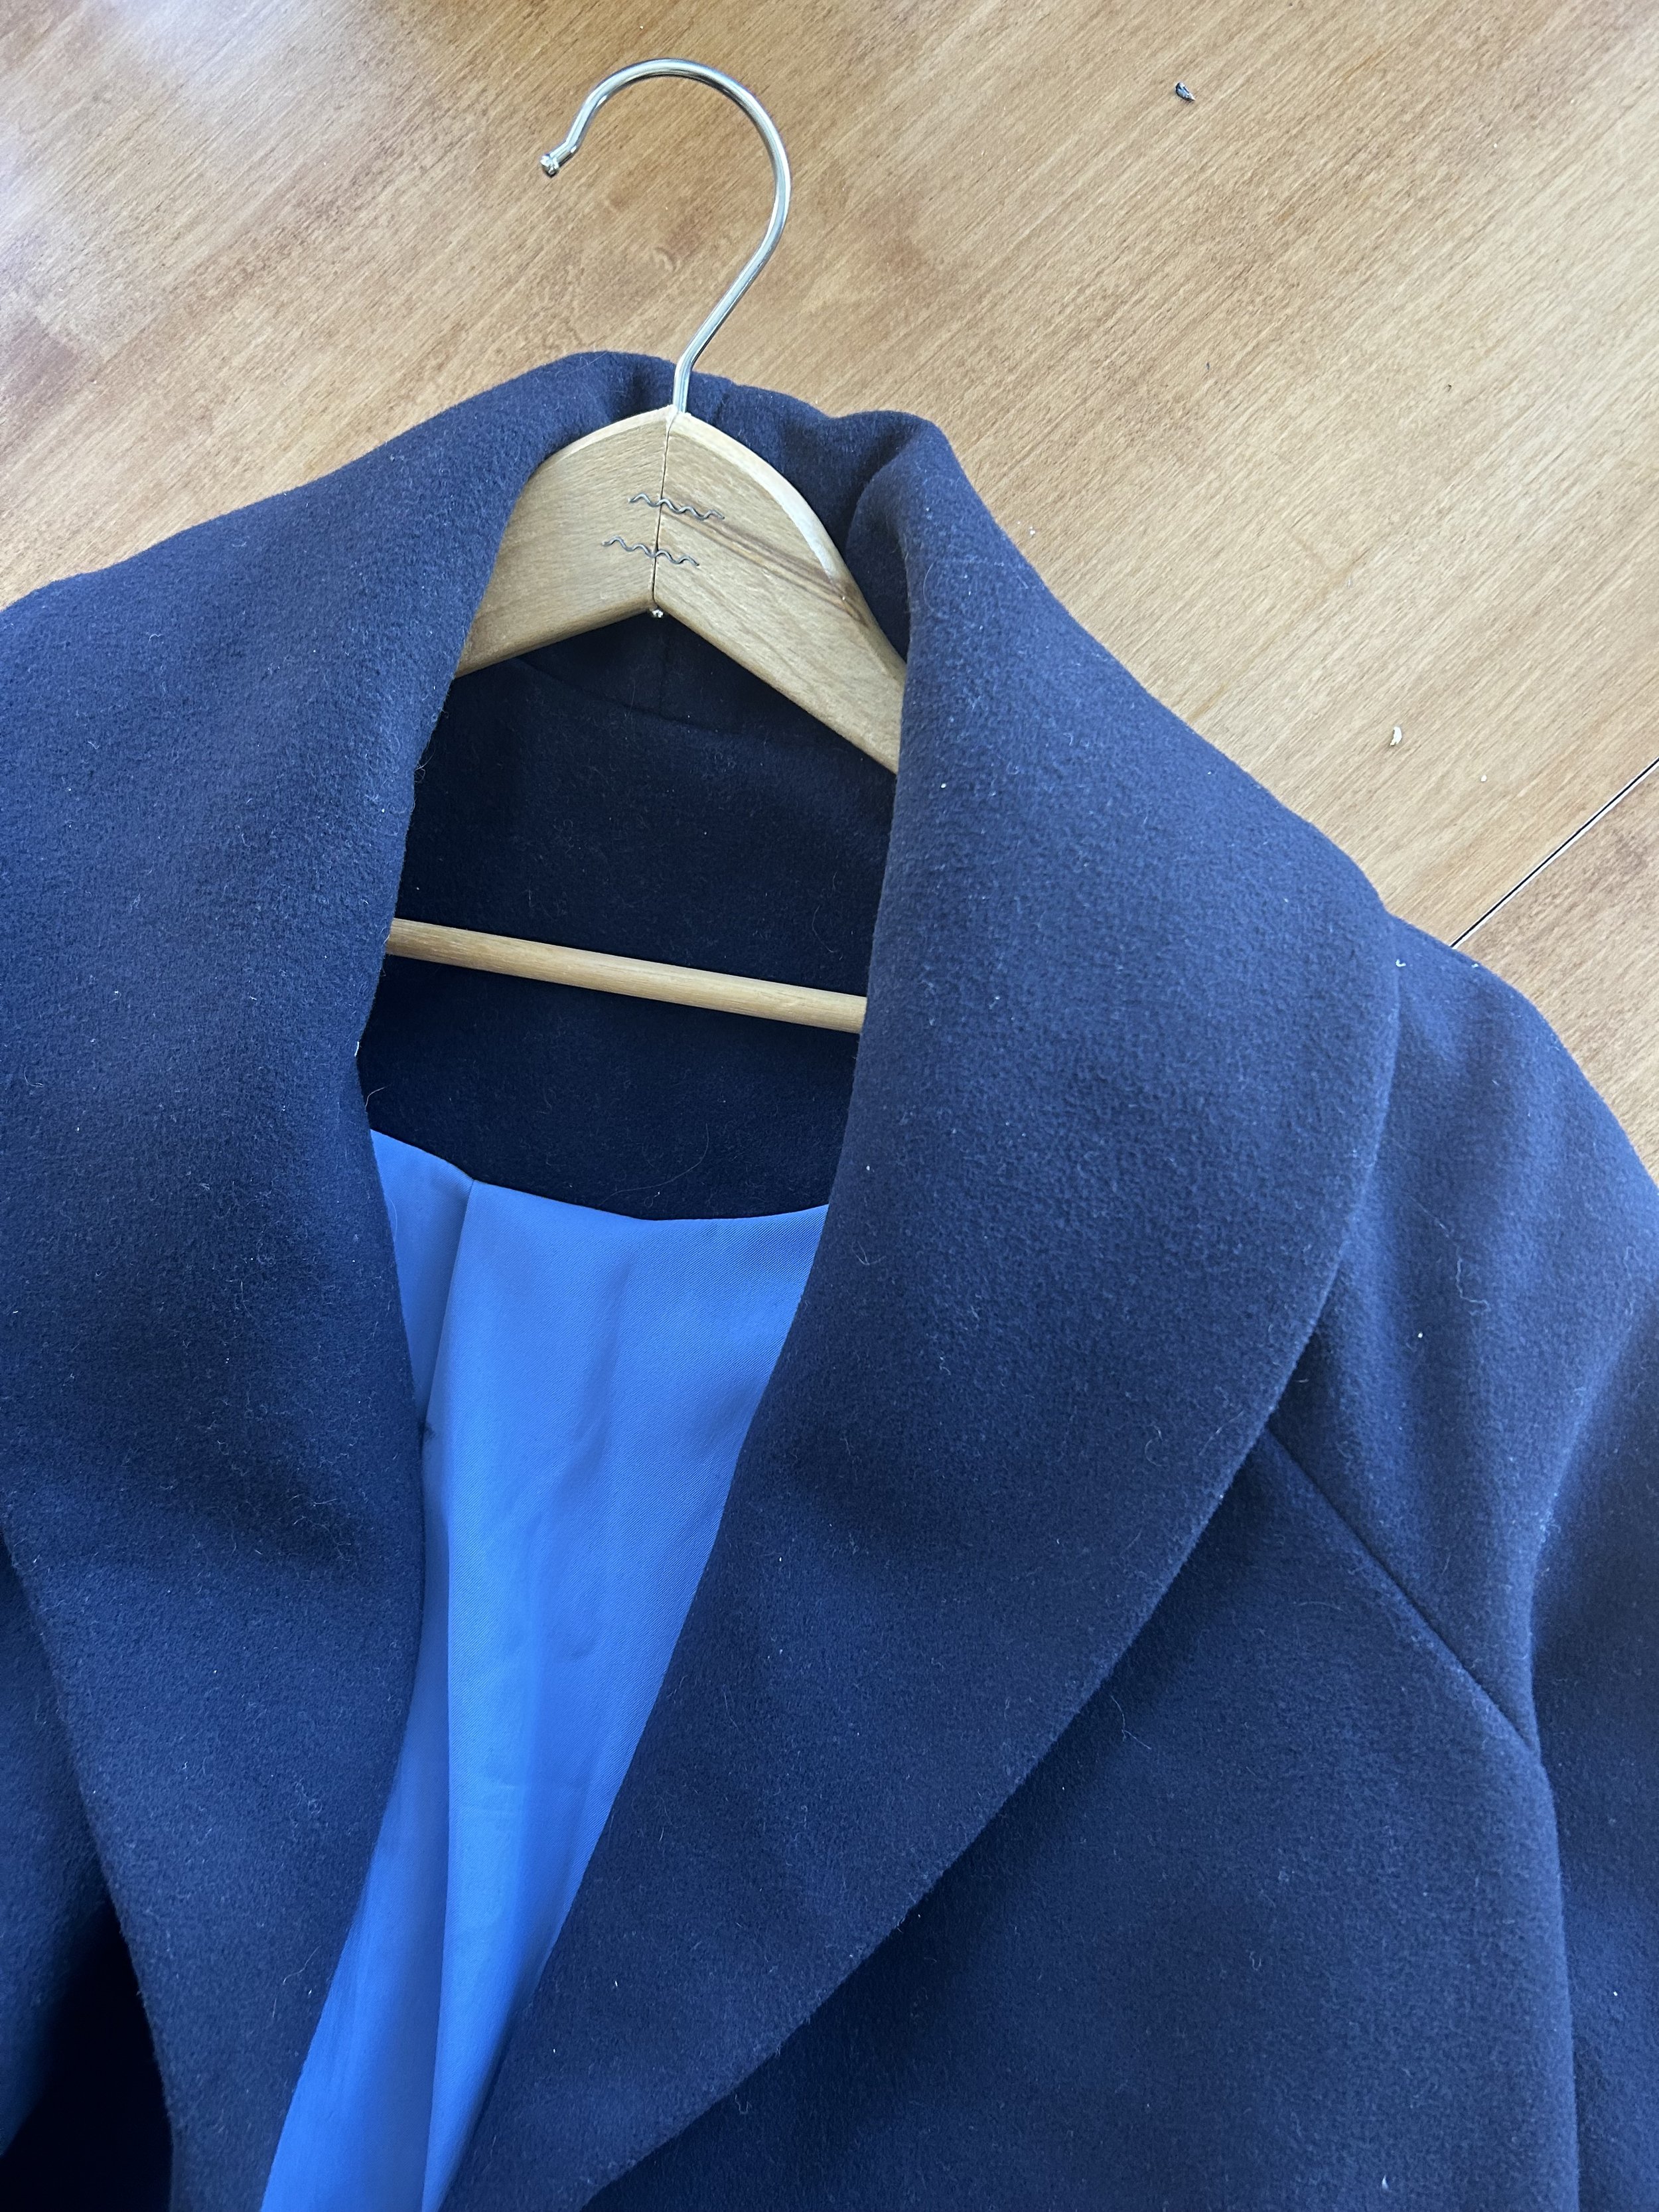
I had my eye on the Oslo coat because of the raglan sleeves and shawl collar and the just right not too large and not too small profile. It is very similar to a Max Mara coat which I’ve coveted for a few years. This is not a new pattern, and I've admired a few Oslo coats out there. The fabric- lingering in my stash for maybe a decade- is a wool cashmere blend from Mood fabrics. The fabric is not super heavy and pretty drapey. I wanted a bit more body in the coat, so after consulting with the ace staff at the Sewing Lounge, I purchased some fusible knit interfacing that they recommended as an interlining to add body. I fused every piece of the coat and then used the same interfacing to interface the pieces that called for interfacing- the collar etc. The lining is also from Mood- it is a twill of some mystery fiber in a happy cornflower blue.
If you haven’t used a Tessuti pattern before, the first thing you will notice is the pattern is drawn- which I think is very cool. I didn’t make any alterations and I did not make a toile- risky I know- but with raglan shoulders- fit is a little less of a gamble. The good news is the only change I would make thing is to raise the pockets- which are positioned quite low on the body. The instructions are very comprehensive and include several photos which is super helpful.
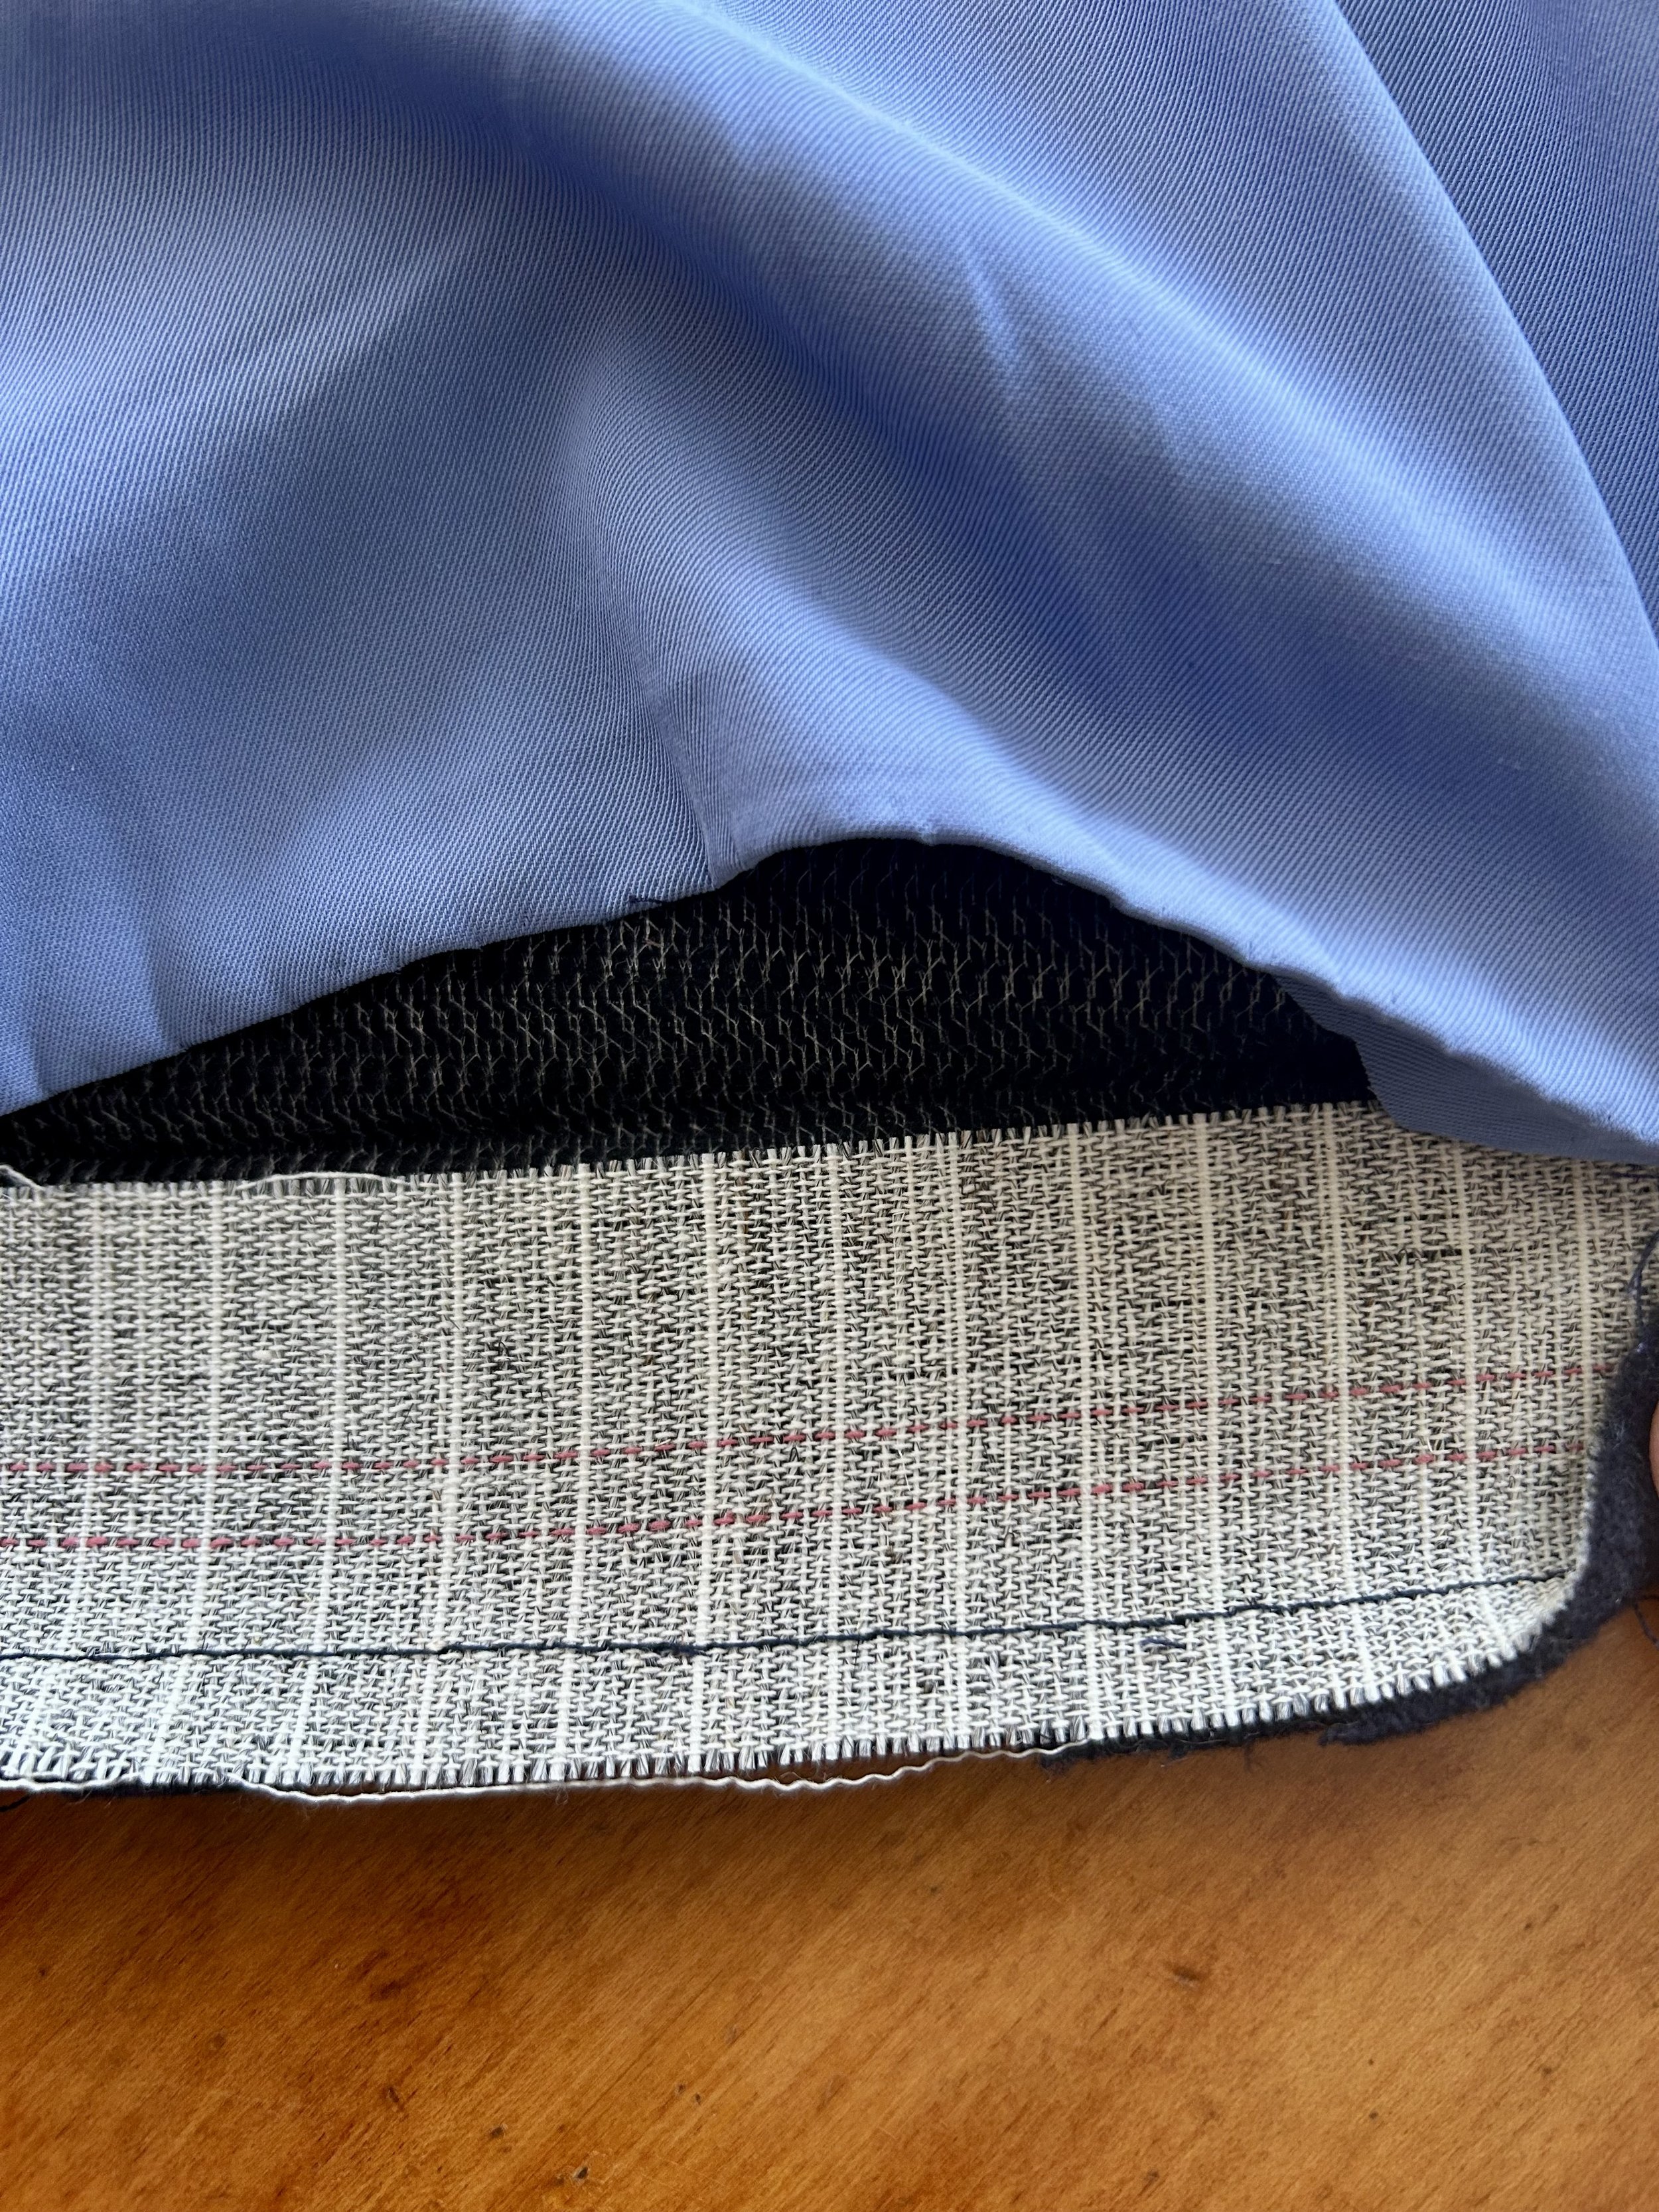
This is a straightforward make- nothing really tricky in the assembly. The only thoughtful thing I did was the hemline. I had some non fusible hair canvas that I considered using as interfacing, but I went the easier fusible route. However, I did use it for the hemline. I cut 2 inch strips of the canvas and sewed them to the bottom edge of the coat and sleeves. Then, I followed the instructions for the bagged lining. I actually have never done a bagged lining- but now I can’t imagine any other method. The sleeve trick is amazing. I consulted the Closet Core instructions which I found easier to understand- and the lining worked out so slick- hardly any hand sewing. I din’t ever really hem the bottom- I just turned the hem on the interfacing and pressed. It seems to work.
In retrospect, the coat wasn’t as big a project as I anticipated. Of course, I wans’t brave enough to put in a bound buttonhole- next time. I used a big snap but I like the clean finish uniteruppted by a button. The most difficult part of this project was trying to get pictures between snow falls and a long streak of icy cold weather- these past weeks it’s been hovering around -12 Celsius,


