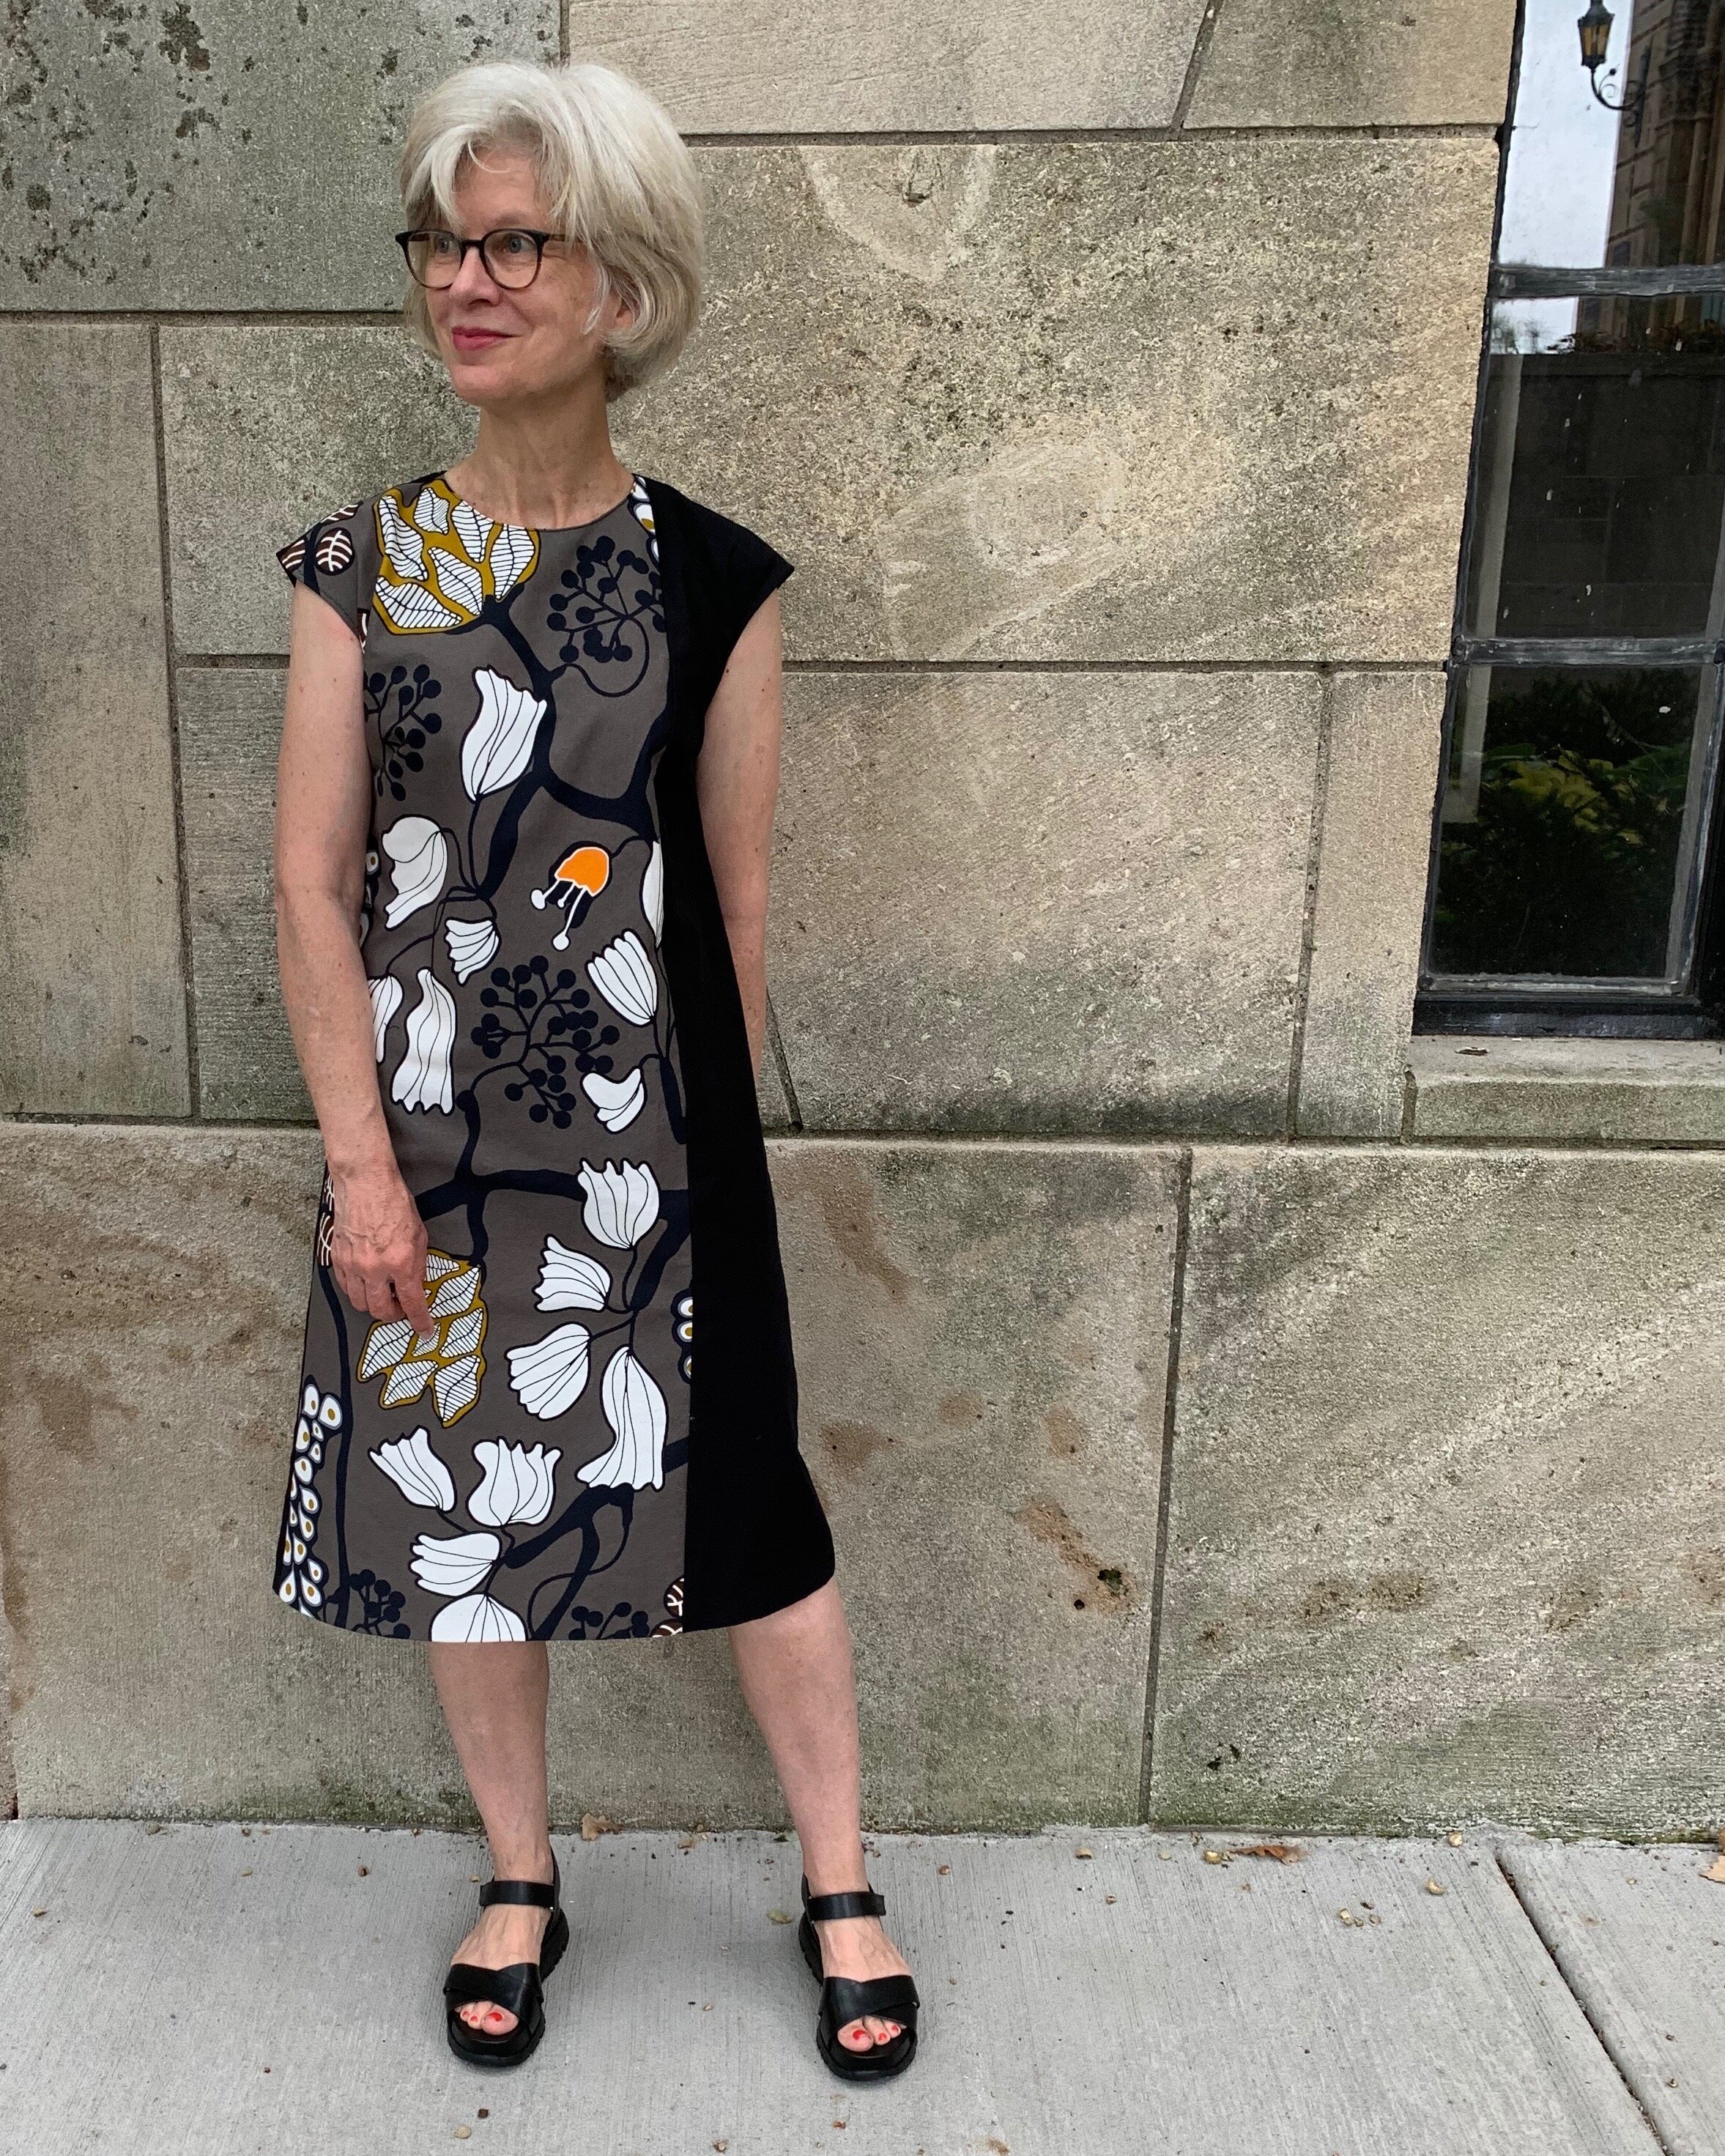
Four Fennel Fanny Packs

The Fennel Fanny Pack by Sarah Kirsten is a charming, functional little pouch that I have been eyeing on social media, and my middle daughter requested I make for her at least a year ago.  It takes extra effort and motivation for me to tackle sewing projects that are not garments.  A great Christmas gift idea is a pretty good motivator, so in December, I decided to go big and make the fennel fanny pack for all of the young adult women in my family.  I sewed three in succession, and – embarrassingly- I made more than one major blunder while constructing each and every single one.  I am not adverse to unpicking a seam, but I mortified myself for the cavalcade of mistakes on each of them.  I eventually got them all done and delivered to everyone’s delight.  You would think that would be end of story.  But, still smarting from my mistakes, I decided to try this pattern again.  It is January and dull, and I broke my arm and it’s hard to try on clothes and the world news is dismal or worse.  So, I challenged myself to make a fourth fanny pack without having to rip out any seams.  The challenge reward is a fanny pack for myself which would be incredibly useful in my present one arm state. 

FullSizeRender (1).jpg

Challenge results- I had to rip out a few stitches here and there- but not total seams- as was the case in the first three makes. So, I consider that a win.  The real win, however, is a fabulous little fanny pack for me.  Here are my recommendations for mistake free fennels.

FullSizeRender (2).jpg

I used lovely Rifle Paper Co. cotton linen canvas fabric from Lakes Makerie for the exterior and a quilting weight cotton for the lining.  I interfaced all pieces with Pellon light-weight sew in interfacing, and I ordered this webbing clasp package.  I also used Wrights double fold seam binding .25 inch wide.

Tip number one to make assembly easier- use regular nylon zippers in the 7 and 12 inch lengths recommended by the pattern.  It’s just plain easier measuring and constructing and safer for your sewing machine needle. 

Number two and most important- read and follow the instructions.   My bad, but sometimes I get ahead of myself in sewing or decide I should do things in a different order- the hazard of being a long time sewist and thinking I know what’s going on.  Well, with this sweet little pack, I actually didn’t fully understand the construction, so I should have simply FOLLOWED THE INSTRUCTIONS.  The instructions and diagrams are very good, thorough and clear.  I understand some people have trouble with diagrams in two dimensions.  SewNorth has a good tutorial here with photos to accompany all the steps.  This is a good resource for those who are more visual learners.

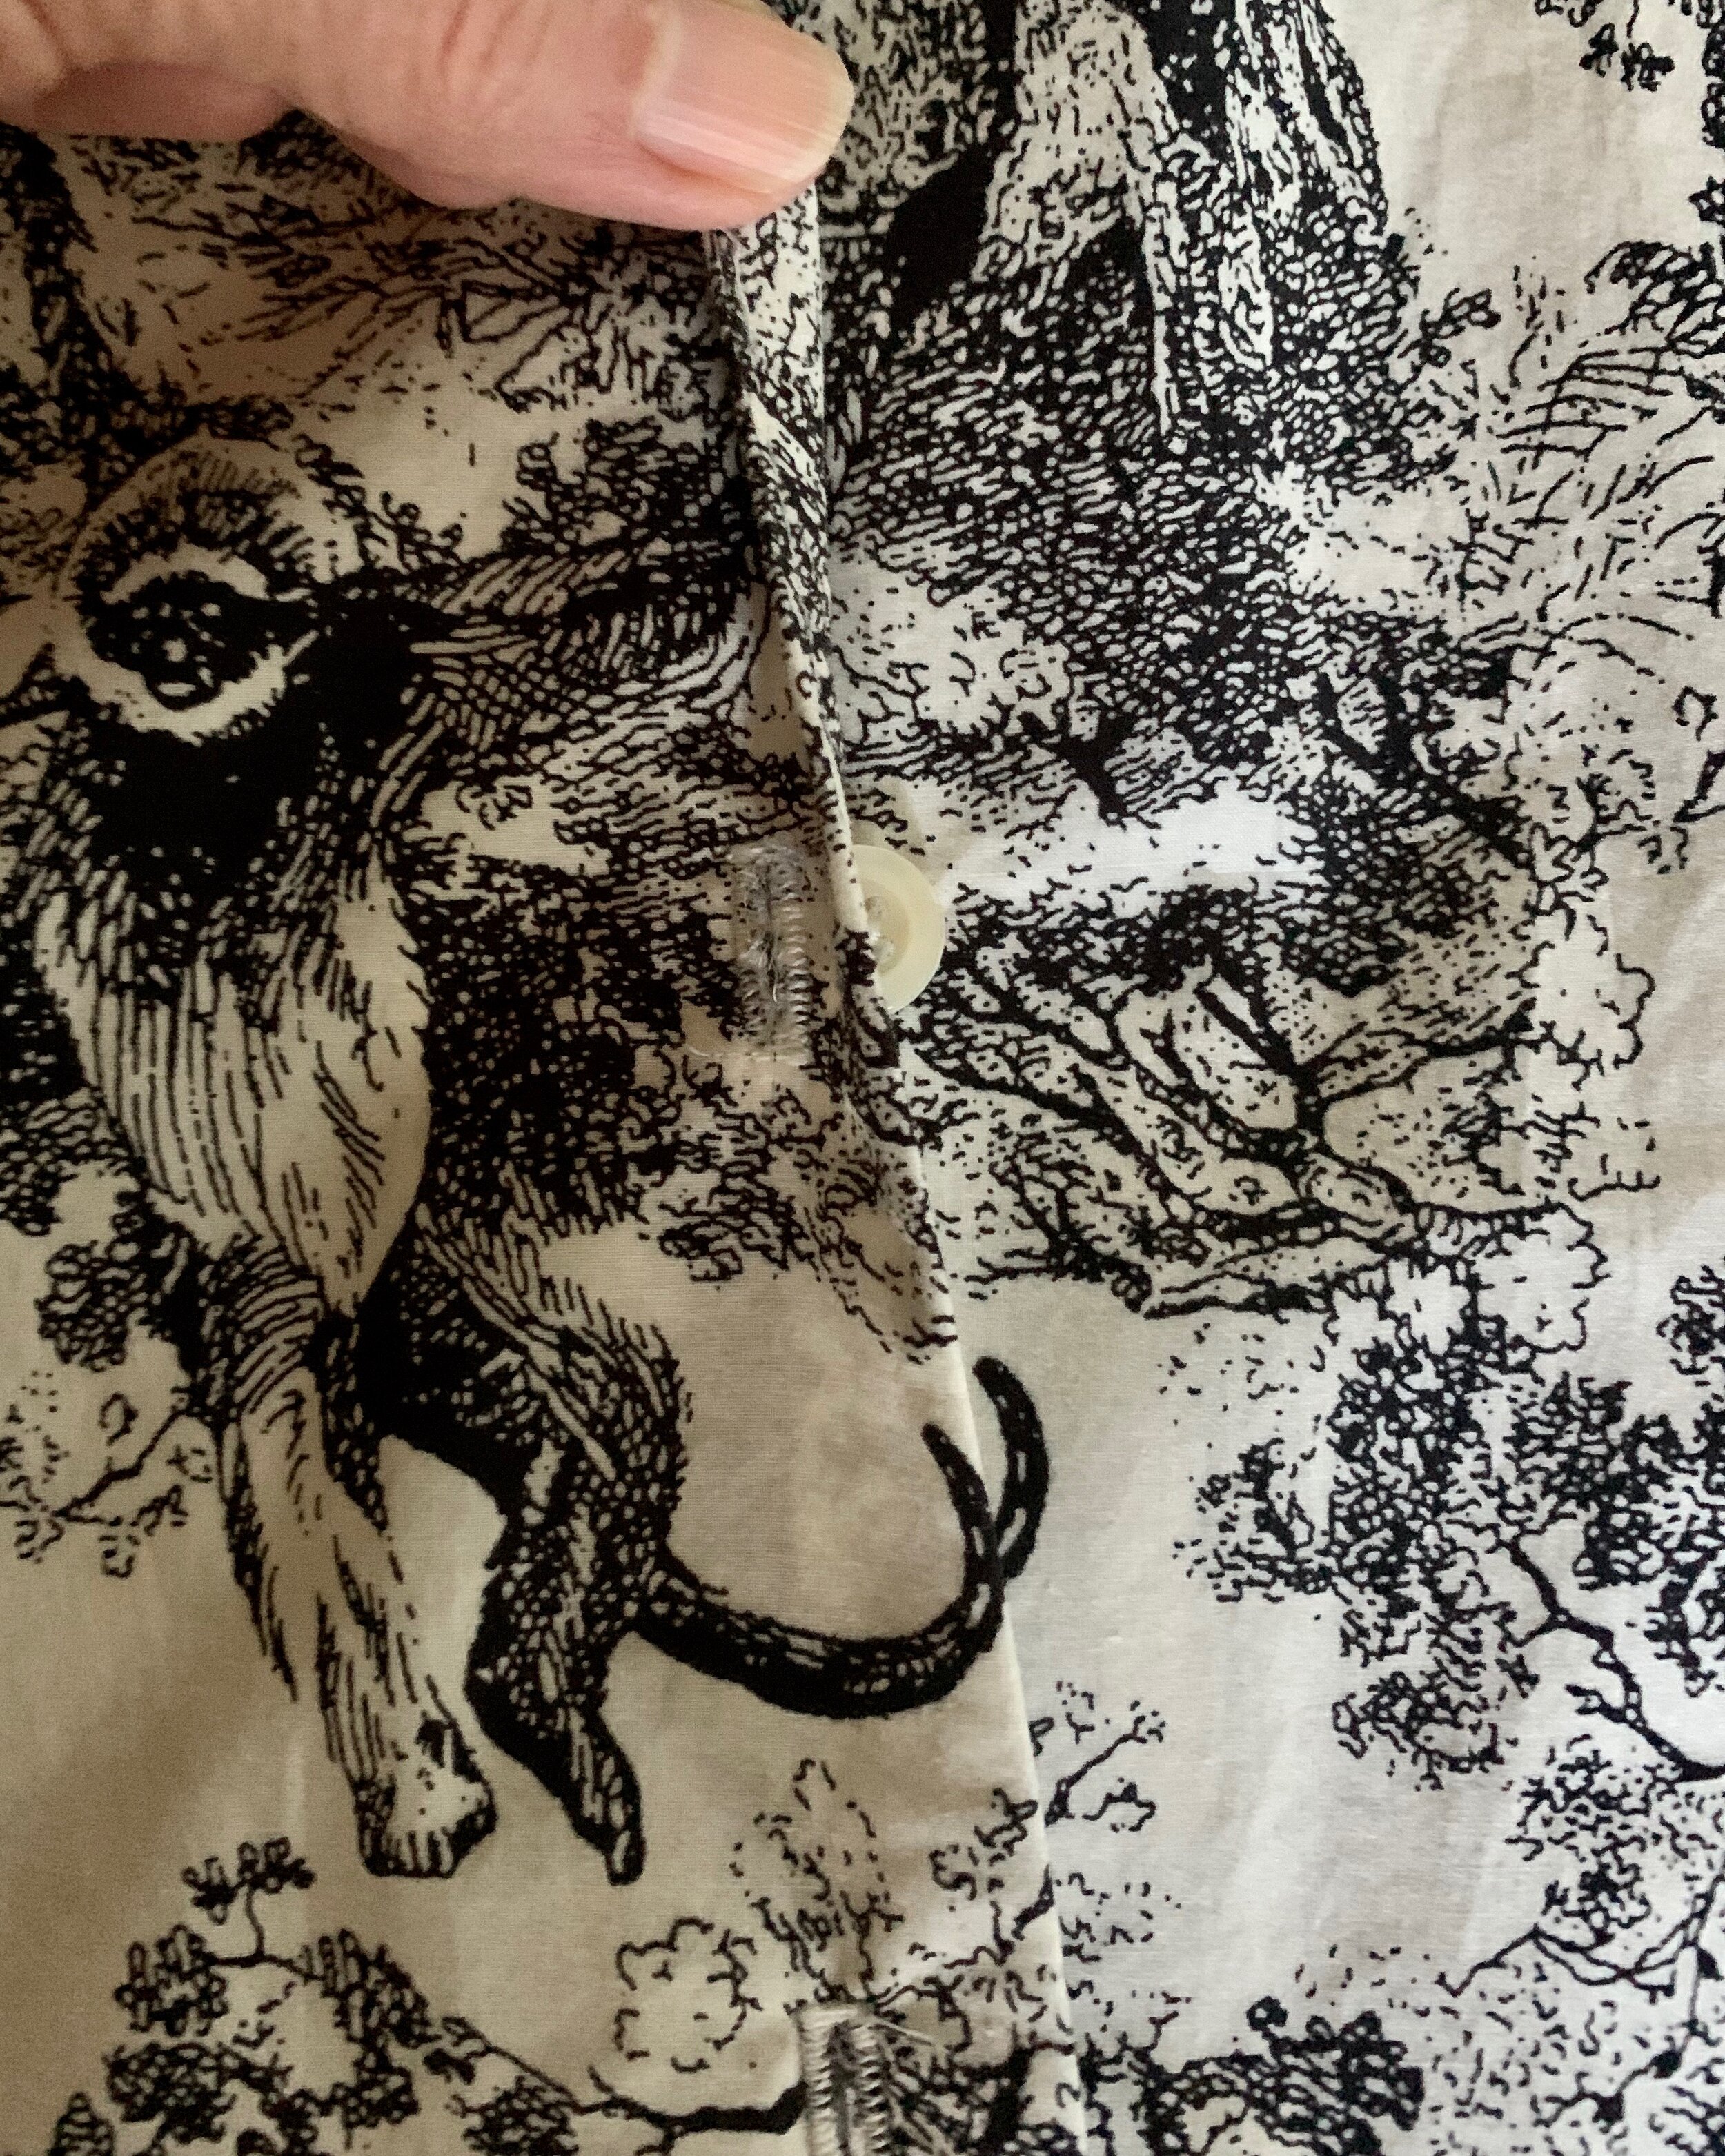
Number 3- or where I previously screwed up.  If you are using a print, double check to make sure your print and zip openings line up directionally- you want both zips to start on the same side of the pack.  I am right handed so I determined the zips would start on the left when wearing the pouch.

IMG_6140.jpg

Number 4- Measure accurately and use the 3/8 seam allowance as directed for all seams.  However, for the zipper installation, I used a ¼ inch seam allowance.  That seemed to leave the right amount of zipper exposed and worked best with overall fit.

IMG_6141.jpg

Be sure to clip the corners on the main panels- step 21- this of course is essential for fit.

IMG_6144.jpg

Number 5- Add the binding after the main panel is added- after step #22.  This is the only time I strayed from the order in the instructions.  It is worth it to wrestle with the bias binding even though it is a struggle.  It might be worthwhile to make a wider binding- say 3/8 inch.  If you are going with pre-packaged, the .25 inch narrow binding is the most appropriate size.  I trimmed the seams a bit especially the corners.

IMG_6145.jpg

Happily, the fourth fennel was almost effortless.  I enjoyed making this one so much, I already have plans for another.


A Kalle Shirtdress and a sense of proportion

 I feel pretty confident in my ability to get a garment to fit- I have been working on that for years and getting a good fit is really one of the big reasons we sew.  But, what do you do when the style trend is oversized?  I am constantly drawn to oversized and chic easy looking styles – particularly this year when I seem to seek comfort wherever I can find it. Despite the attraction, once I put a finished oversized project on, I feel a bit overwhelmed, and I often find myself scaling down an oversized pattern to become more of a fitted pattern.  I used to think I couldn’t do oversized because I was short- but I have learned that is not the reason.  There are plenty of petite women who rock the oversize trend and at 5”4” I am technically not considered petite.  Truth be told- I tower over all of the other women on our block.  Seriously I feel like a giant in my neighborhood- it’s weird.  Proportion isn’t just about height.  There are other considerations such as long legs or long body etc.  The trick is to get the proportion mix right.

FullSizeRender (5).jpg

I was sold on an oversized and easy look for this Kaufman mammoth flannel purchased from Lakes Makerie.  This fabric is soft, thick and heavy and oozes comfort. One thing about plaid flannel is you have to consciously avoid potential pitfalls.  Potential pitfall number one: avoid looking like a lumber jack- even though it is an iconic look here in Minnesota.  Pitfall number two: try not to look like I’m wearing the spouse’s flannel shirt.  That look is chic on young cool girls but often young chic fashion looks simply won’t work for me.  Finally, I didn’t want to look like I am ready for bed- even if that is more often true than not.  That said, I wouldn’t mind feeling like I am heading to bed, just not looking like that’s the case.

FullSizeRender (4).jpg

I decided to make the Kalle Shirtdress by Closet Core Patterns with long sleeves.  This is a slightly oversized style with dropped shoulders and lots of ease through the body. I have my all-time favorite tried and true shirt dress pattern blogged about here and here, but this pattern is closer to the roomy, comfy look I was going for.  I cut a straight size 4 which is the size that matches my bust measurement. I did not grade out for waist and hips as I would need to do for a tailored style. There is plenty of fullness in this pattern, and I actually reduced some of the back fullness with a narrower back pleat.

This plaid is balanced which makes pattern matching so easy- but I still am pretty proud of my placket.  It took more than a little thinking. I kept the placket simple without buttons- not because I am lazy- but to keep it clean and unfussy.

IMG_4401.jpg

You will notice bracelet length sleeves, which I admit up front are a big measurement mistake.  However, I usually roll up my shirt sleeves because even when I am at my desk- there is a lot of hand-washing in a day and I hate soggy cuffs.  So these bracelet sleeves might actually be a genius design feature.  And for some reason, I like the proportion.  So maybe I got the proportions right?

FullSizeRender (1).jpg

A riff on a jean jacket: Vogue 1644

I totally get the compelling reasons to own and wear a classic jean jacket: it’s timeless cool kid style; it’s high-low versatility; and it’s season spanning powers. I have dabbled in jean jackets in the past and owned and worn a few- the best one was purchased second-hand when I was just out of University and living uptown.  It’s been a minute since I had a denim jacket in my closet, and with the change of seasons approaching, I thought long and hard about making one as I continue towards my goal to create a mostly handmade wardrobe.  But, despite the allure of the traditional jean jacket, and the brilliant and tempting patterns here and here, I went down a slightly different jacket path with Vogue 1644.  I decided to make something that would be kind of a cross between a denim blazer and denim jacket.

IMG_1808.jpg

My unorthodox idea was not popular in the family.  Both adult daughters expressed disapproval when I sent them a pic of the nearly finished jacket asking about button choices. A big thumbs down -and I think they used the word matronly. Hmmmmm- matronly defined is “a staid and conservative older woman". I admit I lean conservative in dressing, and I am an older woman. Perhaps I should not be put off by that word. But let me point out- in real life, as an advocate for people experiencing homelessness and previously working to provide health care for individuals without insurance, I am staunchly liberal in my point of view.

IMG_1786.jpg

In any case, their comments were not as troublesome as my hassles with top stitching.  In this jacket mash up, I went with traditional gold buttons for that blazer feel and decided to add top stitching in gold thread to match and to evoke jean jacket style.

IMG_2213.jpg

 I used two gold threads through the top needle for a pretty perfect traditional topstitch color.  Because this jacket has a fold-over collar, the topstitching shows from both sides in front.  So I wound a bobbin with two threads, knowing I was playing with fire- and gave it a go but that was a messy disaster.  So I went back and used one thread in the bobbin, the recommended way.   But I had to pick a point midway up the bodice topstitching to stop and turn the piece over so the thread would show on top.  If you look closely you can see the turning point.  Not terrible, but not ideal.

IMG_2810.jpg

The pattern calls for finishing the facings -shown below -with bias trim.  I finished the back center seam with a mock flat felled finish which looks spiffy with gold top stitching down the back.

IMG_2809.jpg

This is a well drafted pattern.  The collar is perfect and I really appreciate the two piece sleeves which are so comfortable to wear.  This jacket is drafted with plenty of room in the bust.  I am actually much better suited to the traditional tomboy jean jacket fit, and this jacket probably has too much ease in the bust for me- not terrible, but not ideal.

IMG_2751.jpg

The sleeves are also surprisingly short.  I only had room for a narrow turn under and top stitch which is never the case.  I almost always have to shorten the arms in a big three pattern.

The youngest daughter softened her disapproval a bit, once I style the jacket, but the middle daughter was not swayed.  I am not surprised because she is a devotee of the classic jean jacket and probably considers this riff a bit of a sacrilege. And actually, this denim jacket is so useful and versatile, maybe I could use a traditional jacket too!


Tiger Toile Fabric Crush

When it comes to fabric love, I tend to fall hard and fast for prints- even though my head tells me solids are more versatile.  I am thoughtful about solid color fabric purchases and- typically - thoughtfully making a purchase for a specific purpose. But when it comes to prints- the heart takes over and I simply purchase because I love it without a clear idea of what the fabric will ultimately become. That was the case with this jungle toile cotton lawn from Stone Mountain Fabric, sadly- no longer available.

IMG_1177 (1).jpg
IMG_1357.jpg

Even though I fell head over heels for this fabric, I wasn’t ready to commit to a pattern for months. This fabric is a prefect shirting weight- it has a little crispness but it is still lightweight, so I was leaning to making a shirt dress- I know -predictable.  As I was deliberating over styles ad nauseam, I did some poking around online- which is my preferred mode of procrastination.  To my surprise and delight, I stumbled across a designer item that looks pretty much identical to my adored fabric here  - yes- that is Dior!!! I feel pretty self-satisfied and rather smug about my print purchase. In addition, this internet intelligence also sealed the idea to make a shirt dress.

IMG_1159.jpg
IMG_1333 (1).jpg

With special fabric, it is much less stressful to use a tried and true pattern, so I went with my favorite and perfect fitting shirt dress pattern – Simplicity 8014.  There are plenty of skirt and sleeve options- I chose a straight cut for comfort.  The only modifications I made were to add a cuff to the short sleeves and put a pleat in the back instead of gathers. Happily, I think the style works with and without a belt.

IMG_1166.jpg

 I spent what feels like the better part of the day fiddling with pattern placement.  I had to be careful with where the tiger rear ends landed on the body of the dress.  This is very rare precaution for me- being a somewhat hasty sewer at times- but I cut each front piece separately to allow for pattern matching.  I actually don’t know how to systematically pattern match when the design is such a large repeat- I should do some research.  I was very trial and error about it- but look at the final match.

IMG_1546.jpg

 I typically finish my shirts with French seams, but for this model I went with mock flat felled seams following the Colette instructions here.

IMG_1550.jpg
IMG_1245.jpg

 I understand a shirt dress may be a rather staid and safe choice, but this print is so fabulous, I think this style lets the fabric do the roaring.

IMG_1102.jpg


A scrappy shift dress

With all of this stay at home time, I find myself poking around in less traveled corners of the house just looking for a diversion.  On one of my weekend adventures nosing around up in the attic, I stumbled upon a narrow swath of fabric leftover from a shower curtain I made for Adam for his first apartment at University of Wisconsin Madison- more than 10 years ago.  The fabric is from Ikea. I really like the print (nordic cool) and even though the fabric is a sturdy home decorating weight, I started noodling around on a dress idea because – unchecked- that’s where my mind goes when fabric is involved. Shower curtain to dress!

IMG_0766.jpg

The fabric remnant was 15 inches wide and over 70 inches long. I knew I would have to pattern block- I am not narrow enough anywhere for 15 inches in width- and the pattern must run up and down.  With those constraints, the dress options were narrowed.  I didn’t want to do anything with much piecing because the fabric is stiff.  However, I must note, I am very drawn to patchwork trend right now and am eager to do a serious patchwork project but that’s another day and not with this scrap. 

For this simple pattern blocking project, it was easy to land on a solid black to balance the dramatic print. I just needed to match the weight of the Ikea fabric so I looked for a canvas or twill weight fabric. This black twill was hands down the best option. I used the wrong side of the fabric for a smoother finish.

IMG_0780.jpg


In order to keep the fabric (and pattern) largely intact, I chose a simple a-line dress. I used my favorite a-line shift pattern -a Cynthia Rowley Simplicity 2584 shift pattern - crossed with some features from Vogue 8945.  My tip for a winning shift dress is the old Goldilocks standard- make sure it’s not too big and not too small. This pattern is a “just right” fit for me so I only had to fiddle with pattern piecing dissection for pattern blocking.

IMG_0748.jpg

I simply cut the front of the dress as wide as the fabric piece allowed and fortunately, that was a well placed asymmetrical line just after the neckline which made measuring and piecing a breeze.  I cut the remaining front from black twill – adding accommodation for ½ inch seams. The back piece was easily cut from the black twill. Two pattern pieces- easy.

IMG_0753.jpg

The other little modification to this shift-is an easy dropped shoulder that I drafted at the armhole without adding fullness to the shift.  I simply drew an extended sleeve for this hack. There is a good discussion (including diagrams and guidance) about the range of dropped shoulder options here

IMG_0723.jpg

The cap sleeve was a good design choice because it was easy to finish the armholes with purchased black bias binding. I also used this binding to finish the neckline. Staying home more than usual during this pandemic has it’s small silver linings. It was a bonus to discover this fabric treasure -and to remember it’s origin story. Best of all, it feels like a “free” new dress.